The sleek, obsidian surface of a water stone holds the key to unlocking the razor-sharp edge of your knives, transforming mundane kitchen tasks into effortless precision. For centuries, water stones have been the preferred choice of discerning chefs and craftspeople, prized for their ability to hone blades to an unparalleled degree of sharpness and refinement. Their use, however, requires patience, understanding, and the correct technique. Mastering this ancient art not only preserves your valuable knives but elevates your culinary skills and overall experience in the kitchen.
This guide will unravel the mystery surrounding water stone knife sharpening, leading you through a step-by-step process that will empower you to achieve a consistently razor-sharp edge on all your knives. From choosing the right stone and preparing your workspace to the nuanced angles and pressures involved, we'll cover every aspect of this rewarding technique. Prepare to transform your dull blades into instruments of culinary precision.
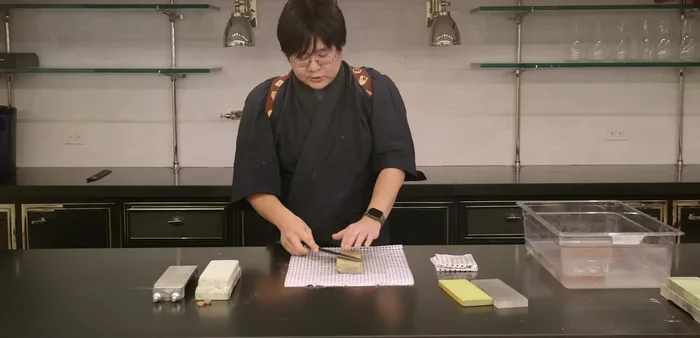
Preparation and Safety Guidelines
- Water stones are abrasive; always use a stable, flat surface to prevent slippage and injury.
- Maintain consistent pressure and angle throughout the sharpening process to avoid uneven sharpening and damage to the blade.
- Water stones can become clogged. Regularly clean the stone with water or a specialized cleaning agent to maintain effectiveness.
Step-by-Step Instructions
Preparation
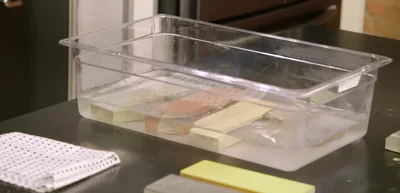
- Soak your water stones in water for 15-20 minutes before use.
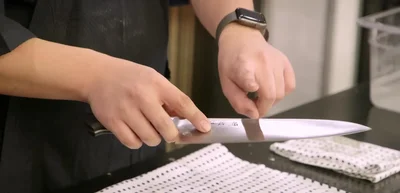
- Identify the angle of your knife's bevel and which side is your dominant sharpening side.

Preparation Set Sharpening Angle
- Use the three-penny trick for the non-dominant side (backside), and the two-penny trick for the dominant side to set the angle. This ensures consistent angle throughout the process.
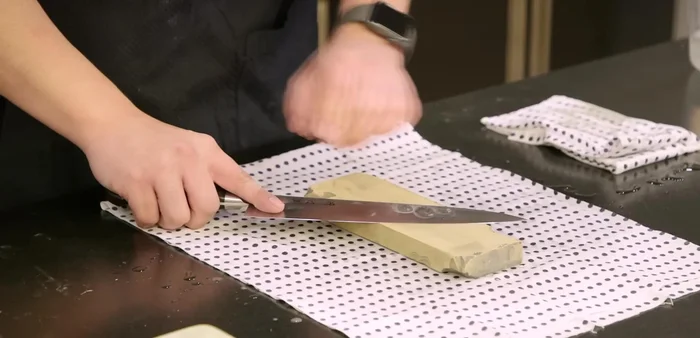
Set Sharpening Angle Sharpen Non-Dominant Side
- Hold the knife diagonally, using thumb on the spine and index finger on the heel. Apply pressure while pulling straight down, releasing pressure on the upward stroke. Work in sections.
Sharpen Non-Dominant Side Sharpen Dominant Side
- Switch your grip (thumb on heel, index finger on spine). Use the two-penny trick for angle guidance and push straight up, releasing pressure when coming down. Work in sections.
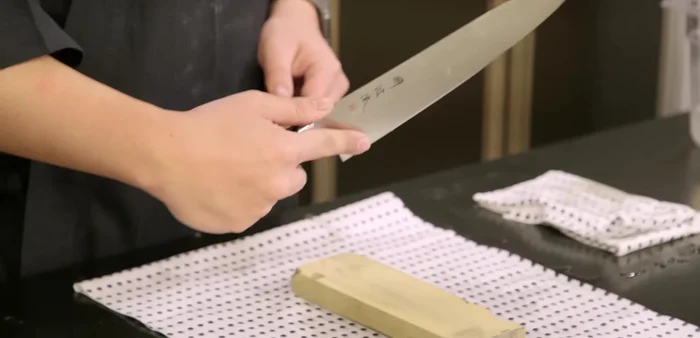
Sharpen Dominant Side Check for Burr
- After multiple passes on both sides, feel for an evenly formed burr along the entire edge. This indicates a successful sharpening process.
Finish Sharpening
- Once the burr is even, switch to a higher grit finishing stone (e.g., 8000 grit). Use the same technique as above, but apply lighter pressure.
Finish Sharpening Test Sharpness
- Use paper to test the sharpness, ensuring that the knife glides smoothly across the paper without resistance.
Tips
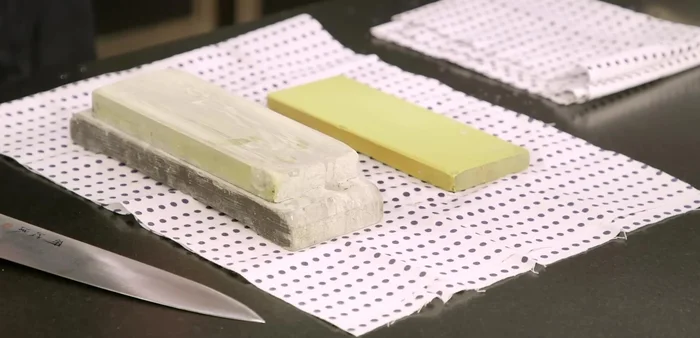
- Use a good quality stone: A high quality stone improves sharpening results.
- Maintain consistent pressure: Maintain consistent pressure in each section to ensure an even sharpening process.
- Proper stone care: Keep sediment on the stone for better sharpening and dry your stones completely after use. Use a stone fixer to maintain the flat surface.
- Use thinner paper to test: For a more precise test, use thinner paper to test the sharpness of your knife.