The delicate art of sushi rolling, a culinary tradition honed over centuries, is more than just assembling rice, fish, and seaweed. It's a dance of precision and finesse, demanding patience, practice, and a keen eye for detail. From the perfectly seasoned sushi rice to the elegant arrangement of ingredients, each element contributes to the overall aesthetic and flavour experience. Mastering this craft unlocks a world of creative culinary possibilities, allowing you to craft beautiful and delicious sushi rolls tailored to your own preferences. The visual appeal is undeniably crucial; perfectly formed, evenly sliced sushi rolls are a hallmark of a true sushi master.
This pursuit of perfection, however, is achievable with the right guidance. This article will take you through a step-by-step process, revealing the secrets to achieving those coveted, flawless slices every single time, transforming your sushi-making journey from amateur attempts to impressive culinary creations. Let's embark on this journey together and unlock the artistry of sushi rolling.
Preparation and Safety Guidelines
- Shun 8-inch chef knife
- Wet stone
- Cling film
- Always maintain a clean and sanitized workspace. Wash your hands thoroughly before and after handling ingredients, and ensure all utensils are clean.
- Handle raw fish with extra care to avoid cross-contamination. Use separate cutting boards and utensils for raw fish and other ingredients. Refrigerate all ingredients promptly.
- Be mindful of allergens. Clearly label dishes containing common allergens like fish, shellfish, soy, or wheat, and inform guests of potential allergens when serving.
Step-by-Step Instructions
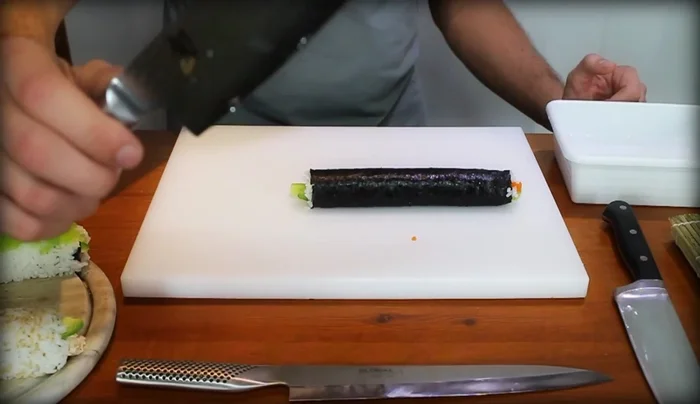
Prepare Sushi Rolls
- Prepare your sushi rolls. Ensure they are tightly packed and preferably use cling film to wrap the rolls before cutting. This prevents the rice from sticking to the knife and ensures cleaner cuts.
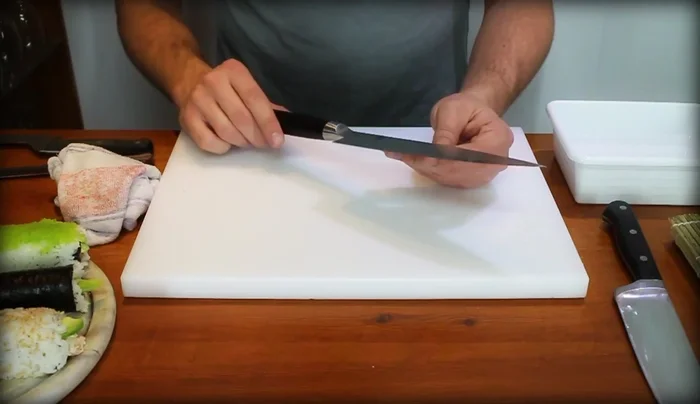
Sharpen Your Knife
- Sharpen your knife using a wet stone to maintain its extreme sharpness. A sharp knife is crucial for clean, precise cuts.

Sharpen Your Knife Prepare for Cutting
- Dip your knife in water before each cut. A bead of water running down the blade prevents sticking and helps the knife glide smoothly through the sushi.
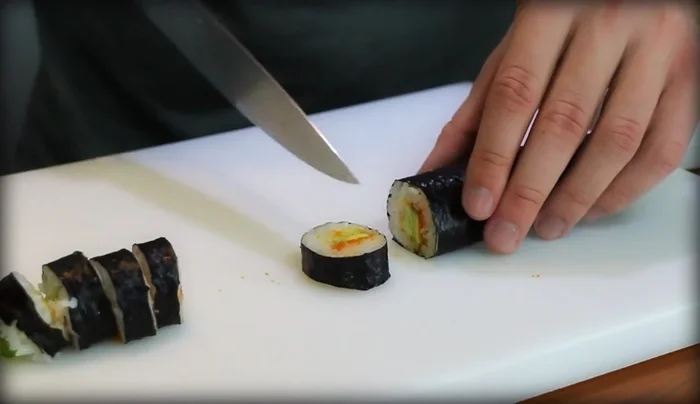
Prepare for Cutting Cut the Sushi Roll
- Cut quickly and decisively. Ensure each slice goes all the way through to the cutting board. Remove any lingering pieces of nori.
- Cut the sushi roll in half, then into quarters, and finally into eights (or more, depending on preference). Aim for thin, even slices.
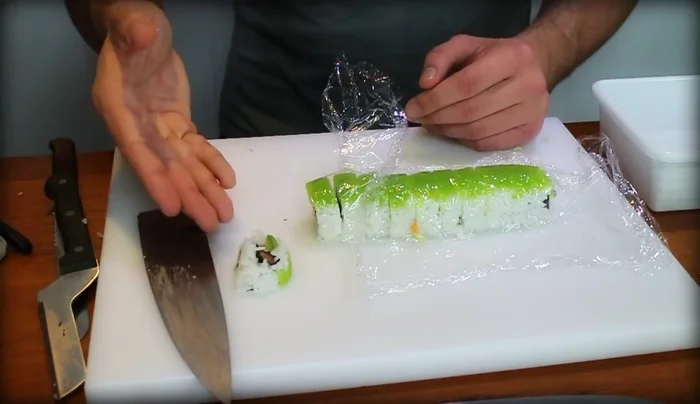
Cut the Sushi Roll Finish and Present
- Remove the end pieces. The presenter prefers to discard or eat the end pieces, which are less visually appealing, to give only the best-looking center slices.
Finish and Present

Read more: Sharpen Japanese Knives Like a Pro: The Wet Stone Method
Tips
- Always use cling film around your inside-out rolls before cutting to help prevent the rice from sticking and maintain the roll’s shape.
- Use a very sharp knife, like a Shun chef knife, for the cleanest cuts.
- Maintain the sharpness of your knife using a wet stone for optimal performance.
- For exceptionally thin slices (approximately half a centimeter or 1/5 of an inch thick), use quick, decisive movements.