Botamochi, a delightful Japanese rice cake, is a perfect embodiment of spring's sweet and chewy charm. These adorable little treats, traditionally enjoyed during the Hinamatsuri (Doll Festival), are surprisingly simple to make, even for novice cooks. Their soft, slightly sweet rice cakes, wrapped in vibrant mochi-colored wrappers, offer a delightful textural contrast and a burst of seasonal flavor. Forget complicated recipes and lengthy preparation; this version leverages the convenience of a rice cooker for effortlessly fluffy rice, making the process incredibly streamlined.
Imagine sinking your teeth into a perfectly soft, subtly sweet rice cake, its gentle sweetness balanced by a hint of salt. This easy rice cooker method simplifies the process dramatically, yielding delicious botamochi without the fuss. Ready to experience the joy of making these spring delights? Let's dive into the step-by-step instructions to create your own batch of these irresistible treats.
Tools Needed
Ingredients
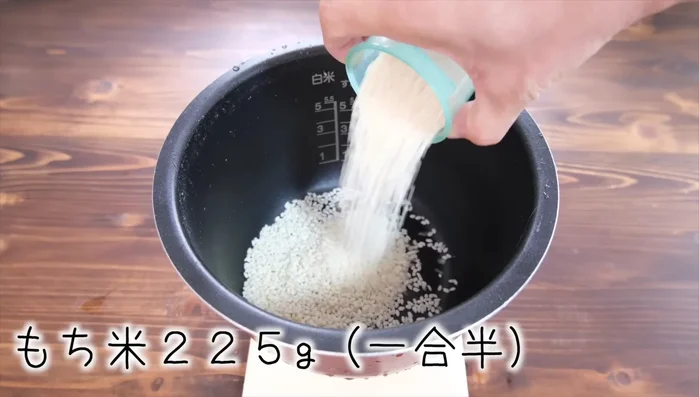
- Mochi rice: 1.5 cups (225g)
- White rice: 75g
- Water: Slightly less than 25g
- Sugar: 15g
- Salt: a pinch
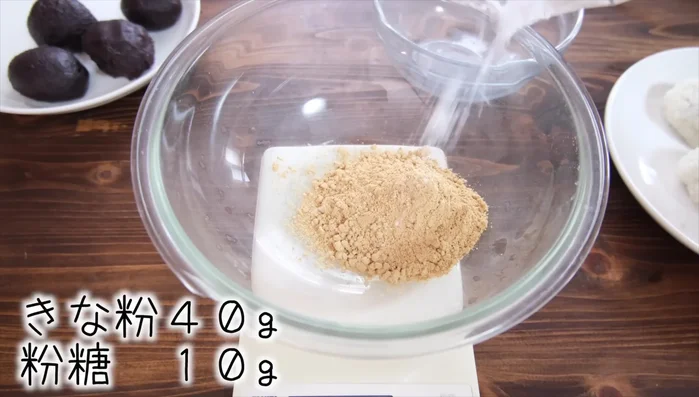
- Soybean flour (Kinako): 40g
- Uguisu (optional): 10g
Step-by-Step Instructions
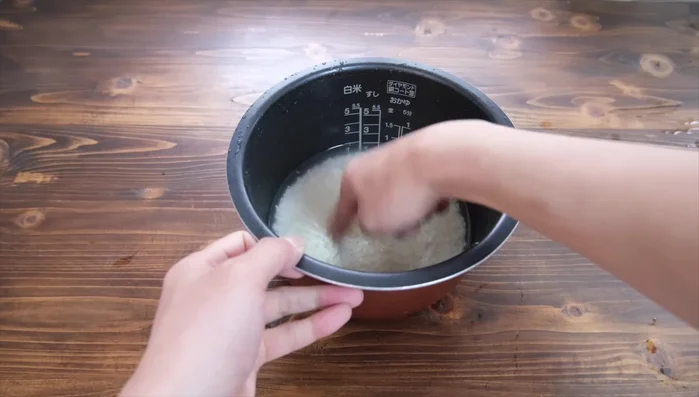
Step 1. Prepare and Cook the Rice
- Add 1.5 cups (225g) of mochi rice and 75g of white rice to the rice cooker.
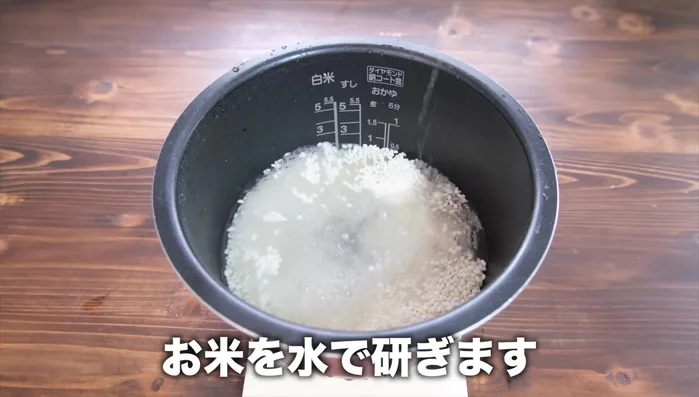
- Gently wash the rice to avoid crushing it.
- Add slightly less than 25g of water.
- Add 15g of sugar and a pinch of salt.
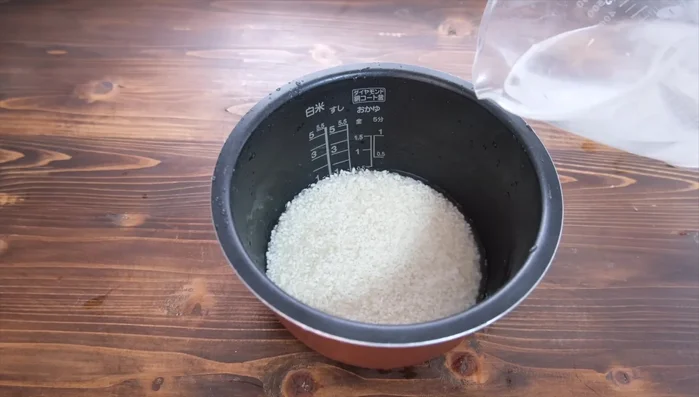
- Stir the ingredients lightly to combine.
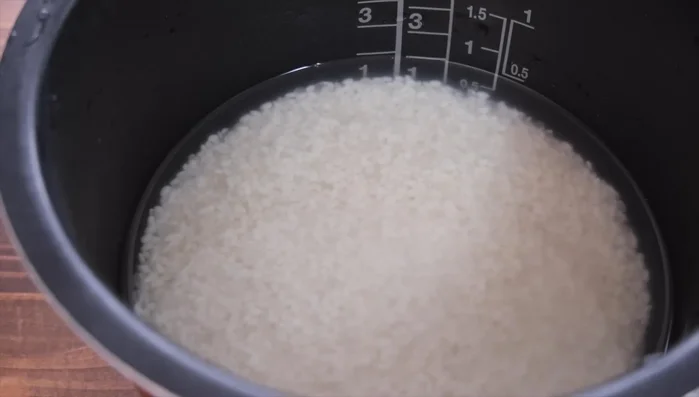
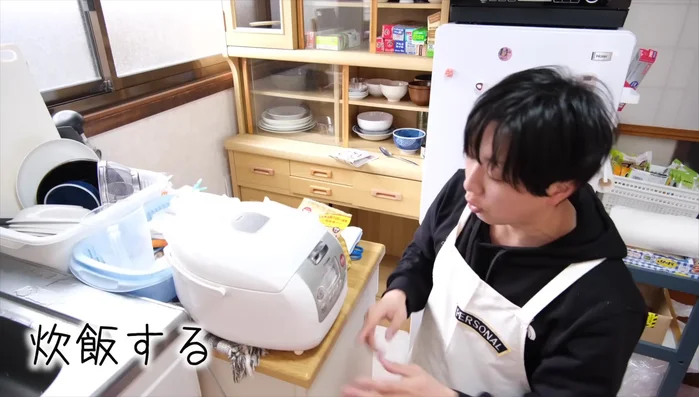
- Cook in the rice cooker using the normal cooking setting.
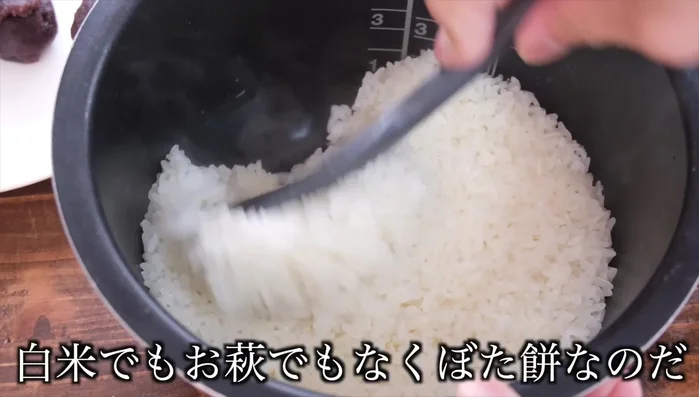
Step 2. Knead and Shape the Mochi
- Once cooked, knead the mochi while it's still warm. Wet your hands to prevent sticking.
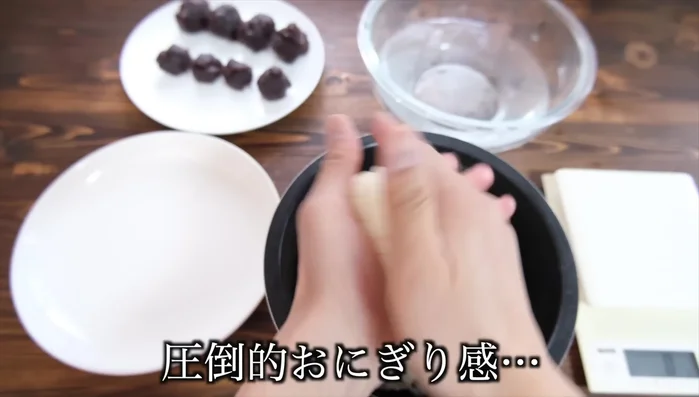
- Tear the mochi into approximately 30g pieces for kinako coating, or 50g pieces for other coatings.
- Shape the mochi into balls. You can use your hands or plastic wrap for easier handling.

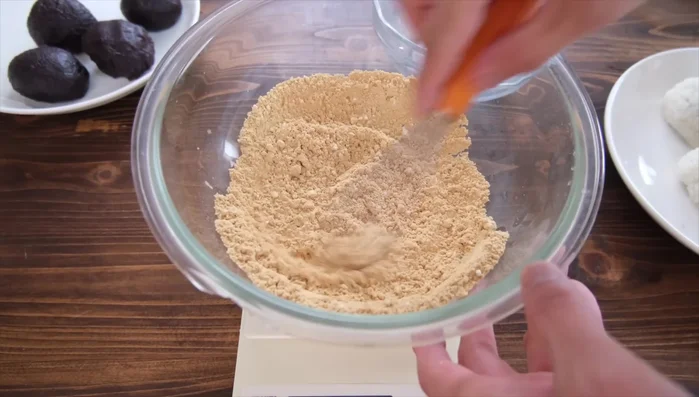
Step 3. Prepare the Kinako Coating (Optional: Uguisu)
- Use 10g Uguisu for a different flavor).
Step 4. Coat and Serve
- Coat the mochi balls in the kinako mixture.
Read more: Ochazuke Recipe: Easy Japanese Green Tea Rice Bowl
Tips
- The ratio of mochi rice to white rice is crucial for preventing hardness and maintaining flavor.
- Don't over-wash the rice, as this can affect the flavor and texture.
- Mixing kinako and sugar improves the coating's texture and prevents dryness.
Nutrition
- N/A
FAQs
1. Can I use a different type of rice for this recipe?
While short-grain sweet rice is traditional and recommended for the best texture, you can experiment with glutinous rice. However, the texture might be slightly different.
2. How long can I store the finished botamochi?
Store your botamochi in an airtight container in the refrigerator for up to 3 days. They’re best enjoyed fresh but will still be tasty the next day.
With minimal effort and readily available ingredients, you’ve now mastered the art of making delightful botamochi. Enjoy these charming springtime treats as a sweet snack or a unique addition to your next gathering. Happy cooking, and may your botamochi bring a touch of sweetness to your spring!