Imagine the irresistible comfort of grilled cheese, perfectly melty and gooey, but reimagined as a fun, handheld snack. That's the magic of cheesy yakionigiri – Japanese rice balls infused with the delightful warmth of melted cheese. This recipe takes the classic onigiri and elevates it to a whole new level of cheesy deliciousness, combining the best of both worlds in a surprisingly simple way. Forget plain rice balls; prepare yourself for a flavor explosion that's both savory and satisfying.
This unique twist on a traditional Japanese staple is surprisingly easy to make, even for beginner cooks. We'll guide you through each step, from preparing the rice to achieving that perfect golden-brown crust. Ready to discover the secret to creating these incredibly addictive cheesy yakionigiri? Let's dive into the step-by-step instructions!
Tools Needed
- Pot
- Rice cooker (optional)
- Oven
- Parchment paper
- Small bowl
- Mixing bowl
Ingredients
- Japanese rice: 2 cups
- Katsuobushi (bonito flakes): 2 packs
- American cheese or shredded cheese: 6 slices
- Soy sauce: 1 tablespoon
- Water: 2 cups
Step-by-Step Instructions
Step 1. Prepare the Rice and Filling
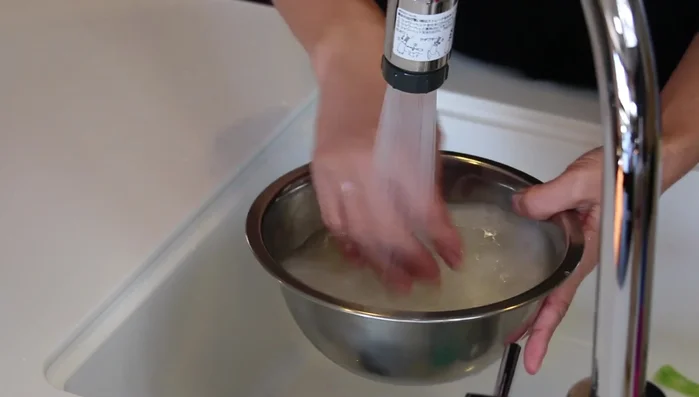
- Rinse the rice thoroughly 3-4 times until the water runs clear.
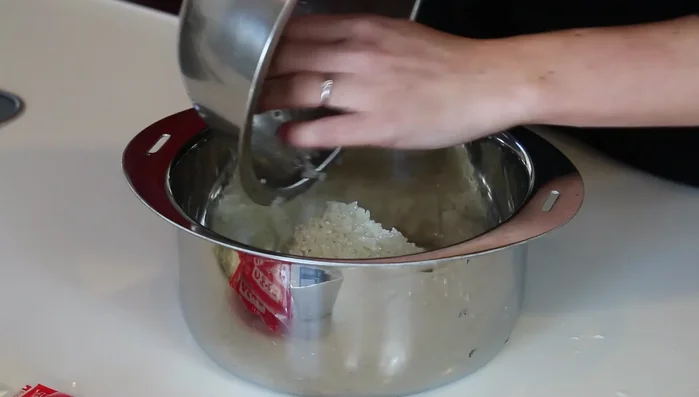
- Add rice and water (2 cups each) to a pot. Let it soak for at least 30 minutes.
- Bring the rice to a boil over medium-high heat. Once boiling, reduce heat to low and simmer for 12 minutes with the lid on.
- Turn off the heat, keep the lid on, and let the rice steam for another 10 minutes.
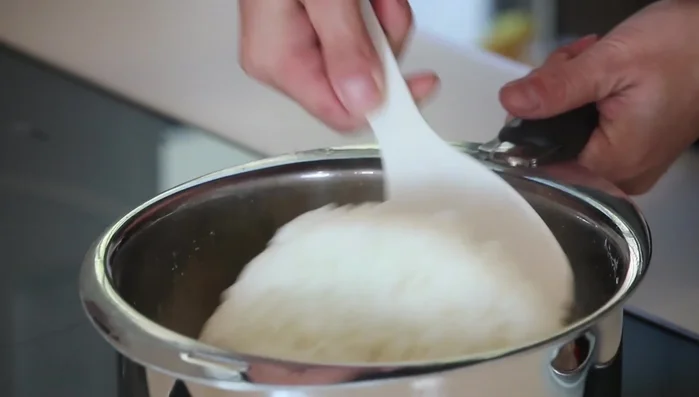
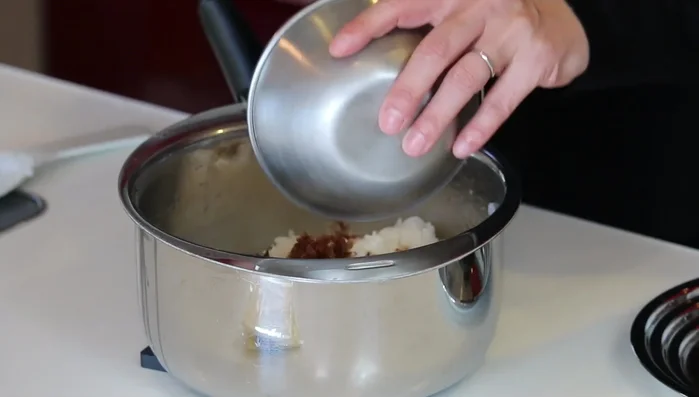
- Fluff the cooked rice with a rice paddle or fork. Let it cool to lukewarm.
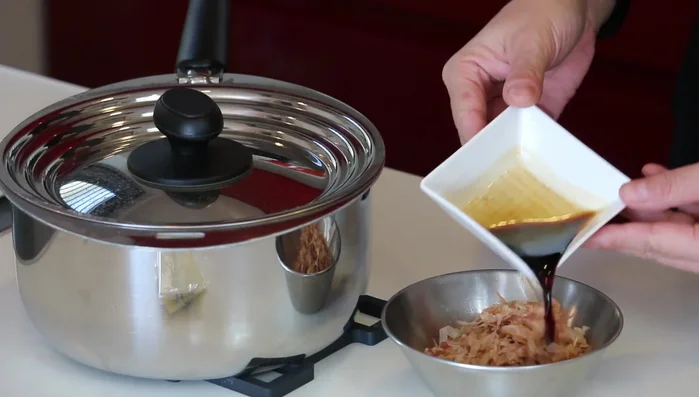
- In a small bowl, mix katsuobushi and soy sauce.
- Add the katsuobushi-soy sauce mixture to the cooled rice.
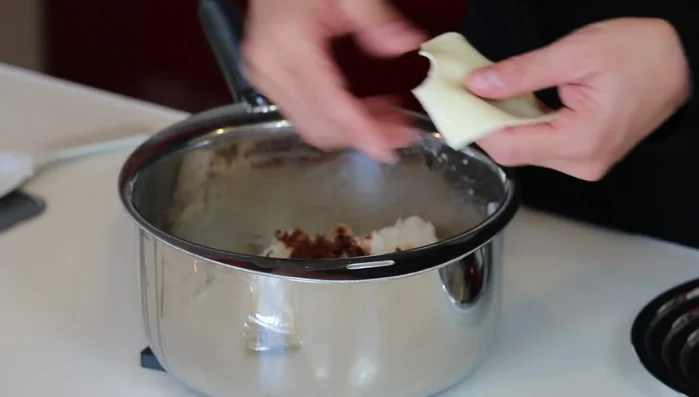
- Cut the cheese into small pieces and add it to the rice. Mix well.
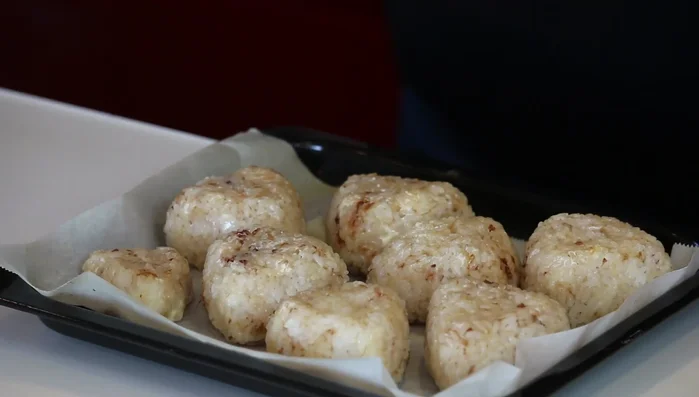
Step 2. Shape the Onigiri
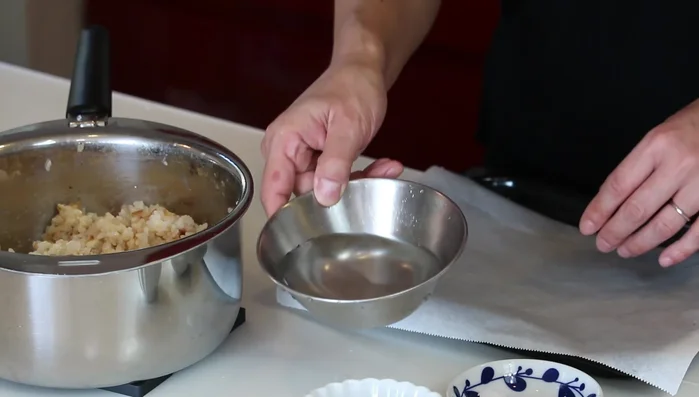
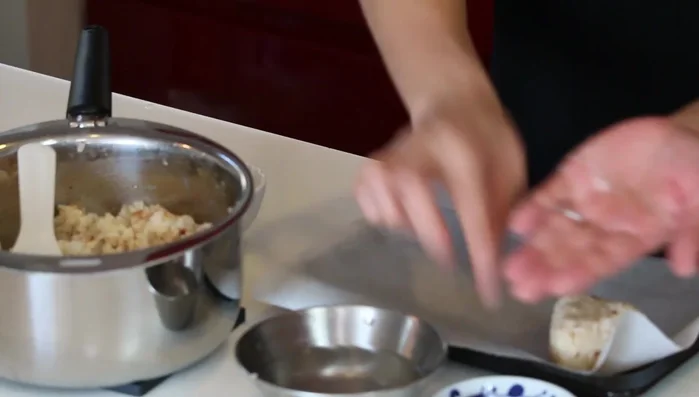
- Prepare an oven sheet lined with parchment paper. Wet your hands and sprinkle salt on your palms. Shape the rice mixture into triangles or balls, using a small bowl as a guide for even size.
Step 3. Bake the Cheesy Onigiri
- Arrange the onigiri on the prepared baking sheet.
- Bake in the oven at 250°C (482°F) for 15 minutes, or until golden brown and the cheese is melted and bubbly.
Read more: Steamed Meat-Topped Tofu with Sesame Sauce: A Delicious Japanese Recipe
Tips
- To prevent uneven soy sauce distribution, mix the katsuobushi and soy sauce before adding them to the rice.
- Make sure the rice is lukewarm before adding the cheese to prevent it from melting too quickly.
- Keep your hands wet while shaping the onigiri to prevent the rice from sticking.
Nutrition
- N/A
FAQs
1. Can I use any type of cheese in this recipe?
While cheddar works great, you can experiment! Cheeses that melt well, like mozzarella, Monterey Jack, or even a blend, will work wonderfully. Avoid very crumbly cheeses.
2. How do I prevent the yakionigiri from sticking to the pan?
Lightly oil your pan before cooking. Using a non-stick pan also helps. Make sure your rice balls aren't too wet before grilling; gently pat them dry with a paper towel.
So there you have it – your very own batch of irresistibly cheesy yakionigiri! These delightful rice balls are perfect for a quick snack, a fun lunchbox addition, or even a unique appetizer. Enjoy the satisfying crunch and gooey cheese filling – happy cooking!