Craving a light yet satisfying appetizer or a unique meal? Look no further than these crispy chicken and shiso leaf spring rolls! This recipe delivers a delightful fusion of flavors – the savory, crispy chicken contrasts beautifully with the fragrant, subtly anise-like shiso leaves and a creamy, melty cheese filling. These spring rolls are surprisingly easy to make, offering a sophisticated touch without the fuss of complex cooking techniques. Perfect for a casual weeknight dinner or an impressive party snack, they're guaranteed to be a crowd-pleaser.
Imagine the satisfying crunch of the perfectly golden-brown spring roll wrapper, giving way to succulent chicken, vibrant shiso, and gooey cheese. Ready to create this culinary masterpiece? Let's dive into the simple step-by-step instructions to make your own delicious Chicken & Shiso Spring Rolls.
Tools Needed
- Microwave
- Frying pan
- Fork
- Kitchen paper
- Heat-resistant plate
- Mortar and pestle (optional)
Ingredients
Step-by-Step Instructions
Step 1. Prepare the Chicken and Filling
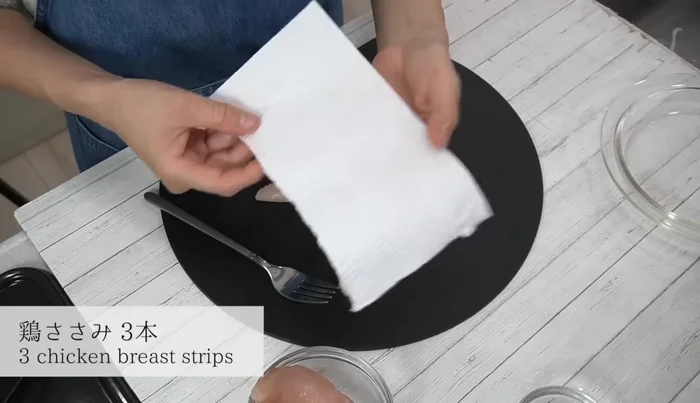
- Remove tendons from chicken breasts using a fork and kitchen paper
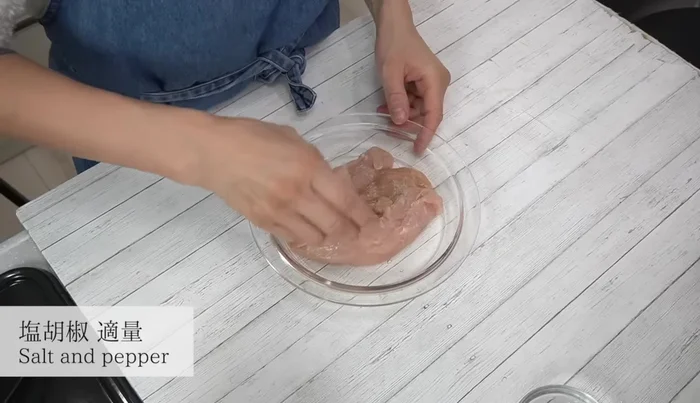
- Season chicken with salt and pepper, pour sake over, and cover loosely with plastic wrap. Microwave at 600W for 1.5 minutes, flip, and microwave for another 1.5 minutes
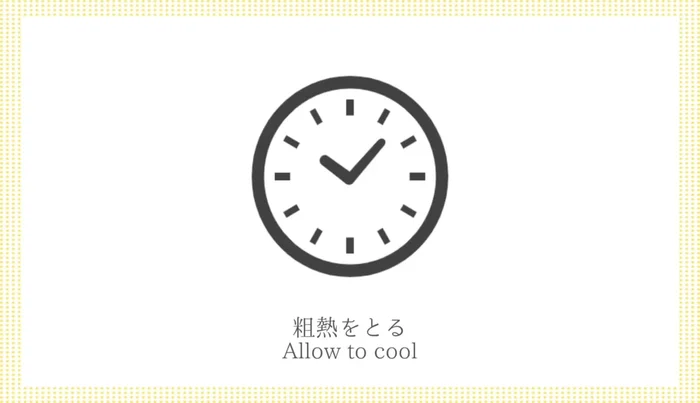
- Let the chicken cool, loosely covering with paper to prevent drying
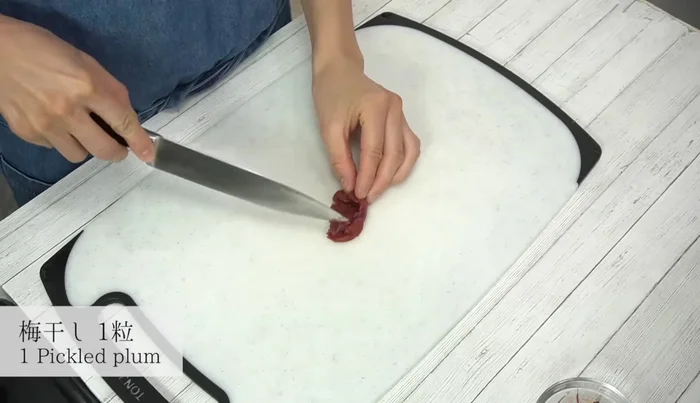
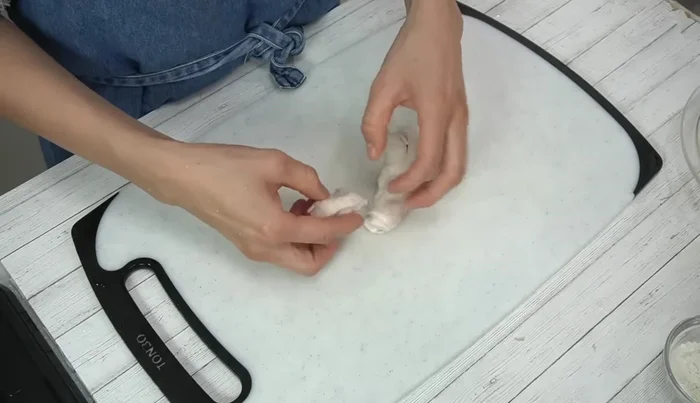
- remove seeds from umeboshi, lightly pound, add bonito flakes, and mix
- Roughly loosen the cooked chicken breast with your hands
Step 2. Assemble the Spring Rolls
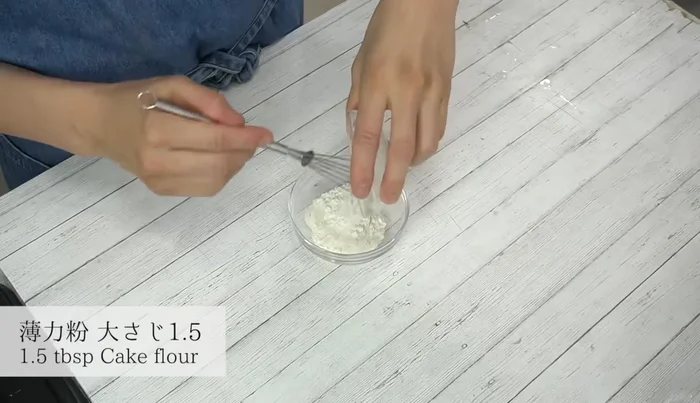
- Mix cake flour and water to create a paste for sealing the spring rolls
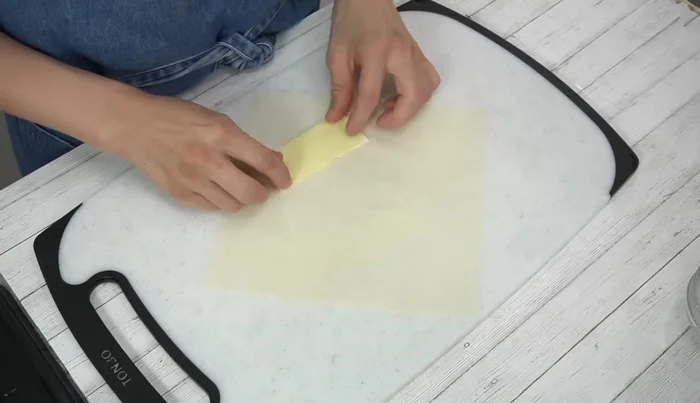
- Place sliced cheese, chicken, and umeboshi mixture on the rough side of a spring roll wrapper. Fold in the sides, add shiso leaves, and roll tightly, sealing with the flour paste
Step 3. Fry the Spring Rolls
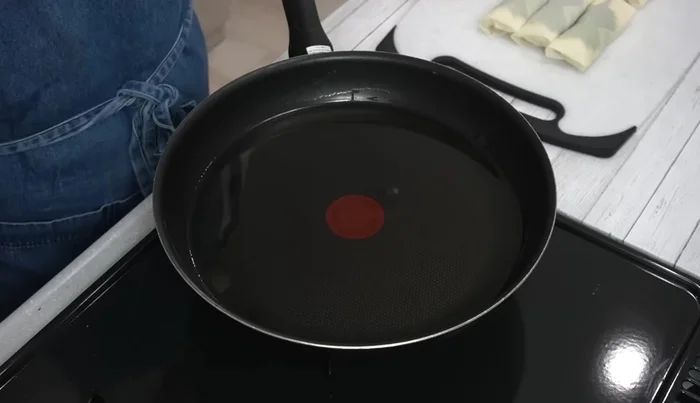
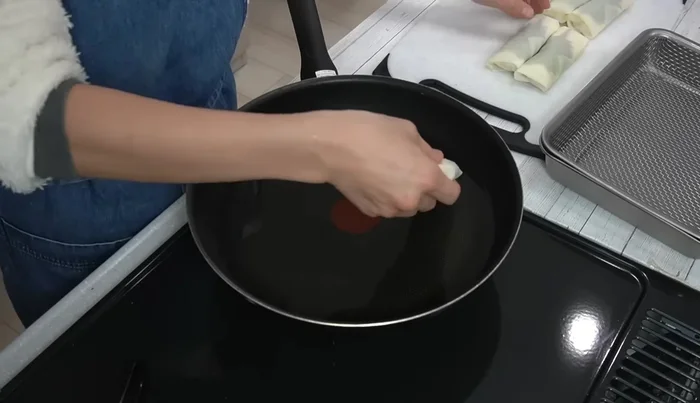
- Heat frying oil to 170°C
- Deep-fry spring rolls for about 2 minutes per side, until golden brown and crispy
Step 4. Serve
- Drain on a wire rack for 3 minutes before serving

Read more: Chikuwa Isobeage Recipe: Crispy Fish Cake Tempura
Tips
- Use a non-melting type of sliced cheese
- Don't overcook the spring rolls, as the cheese may melt and leak out
- Slightly increase the heat after adding the spring rolls to maintain oil temperature
Nutrition
- N/A
FAQs
1. Can I substitute the chicken breast with other meats?
Yes! Shrimp, pork, or even tofu would work well. Adjust cooking time as needed.
2. What type of cheese is best for this recipe?
A melty cheese like mozzarella, Monterey Jack, or a blend works best. Avoid anything too firm.
3. How far in advance can I prepare the spring rolls?
You can prepare the filling components ahead of time and assemble the rolls just before serving for optimal crispness.
These crispy chicken and shiso spring rolls are a testament to the power of simple ingredients combined creatively. From appetizer to main course, their versatility makes them perfect for any occasion. Enjoy the delicious results of your culinary adventure!