Chirashi sushi, meaning "scattered sushi," is a vibrant and visually stunning Japanese dish that's surprisingly easy to make at home. Forget the complicated sushi rolls; chirashi offers a delightful alternative, showcasing a colorful array of fresh seafood and vegetables delicately arranged over a bed of seasoned sushi rice. This isn't your grandmother's tuna salad; chirashi sushi is a sophisticated and elegant meal perfect for a special occasion or a simple weeknight dinner. The fresh, bright flavors and textures combine to create a truly unforgettable culinary experience.
The beauty of chirashi lies in its adaptability. Feel free to customize the ingredients to your liking and dietary needs, using whatever fresh seafood and vegetables are available. From salmon and tuna to shrimp and avocado, the possibilities are endless. Ready to create your own masterpiece? Let's dive into the step-by-step process of making delicious, homemade chirashi sushi.
Tools Needed
- Sharp knife
- Skewers
- Pot
- Plate or Bowl
Ingredients
- Sushi Rice
- Rice Vinegar
- Sugar
- Salt
- Tamagoyaki (rolled omelette)
- Cucumber
- Shrimp
- Tuna Sashimi
- Salmon Sashimi
- Yellowtail Sashimi
- Nori Seaweed
- Shiso Leaves
- Ikura (Salmon Roe)
- Pickled Ginger
- Wasabi
- Soy Sauce
Step-by-Step Instructions
Step 1. Prepare the Sushi Rice and Key Ingredients
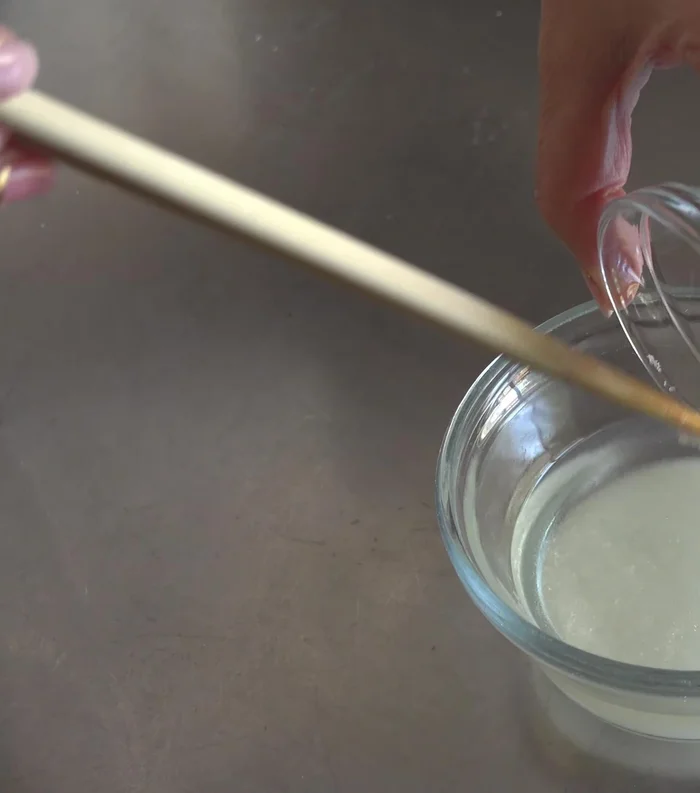
- Mix rice vinegar, sugar, and salt. Pour over hot, freshly cooked short-grain rice.
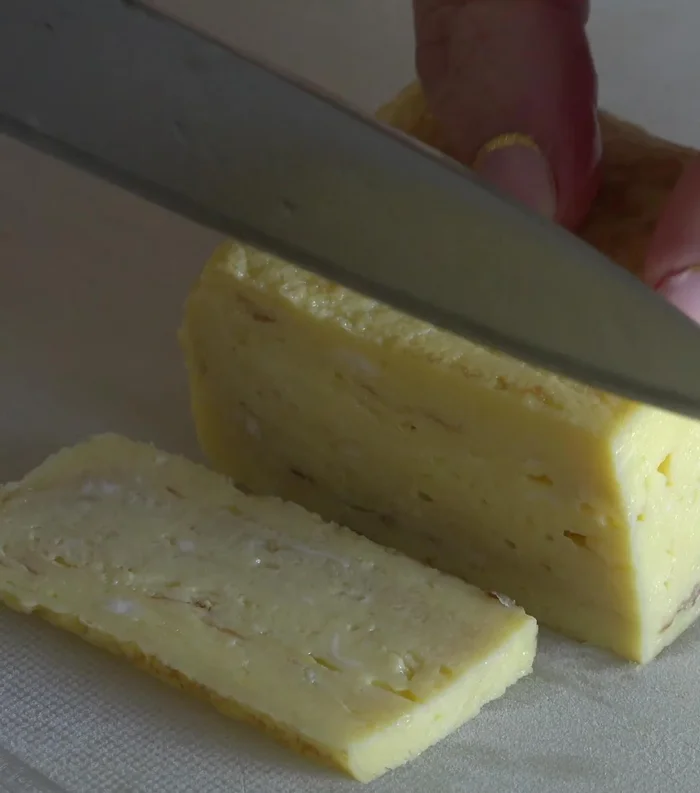
- Slice the rolled omelette.
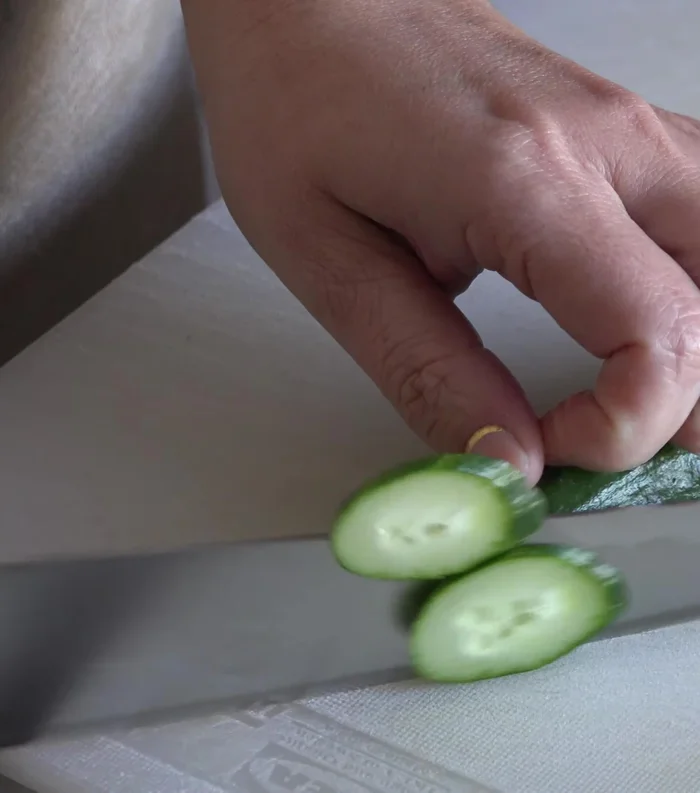
- Slice cucumber thinly.
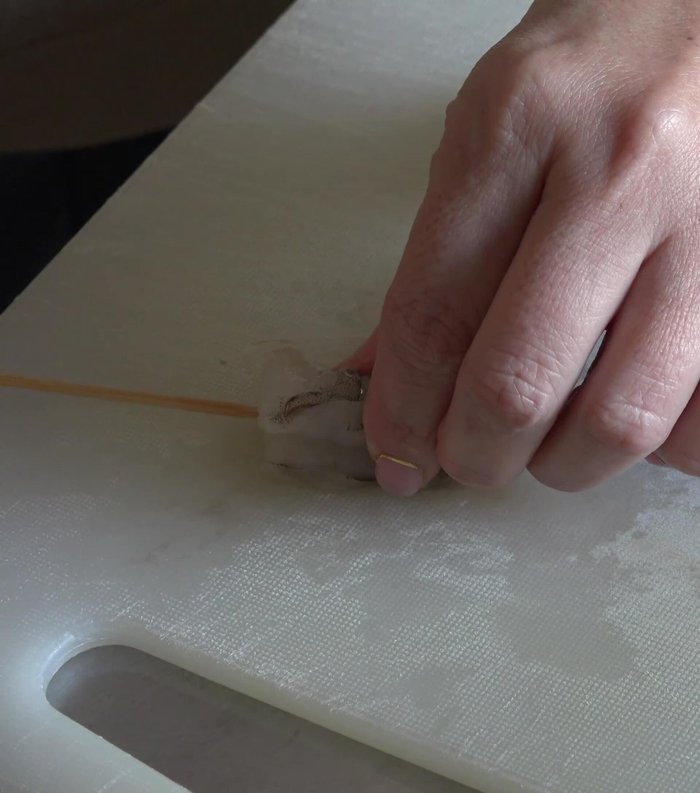
- Peel shrimp, leaving tails on. Insert skewers for straight cooking. Boil until cooked through, then cool and butterfly.
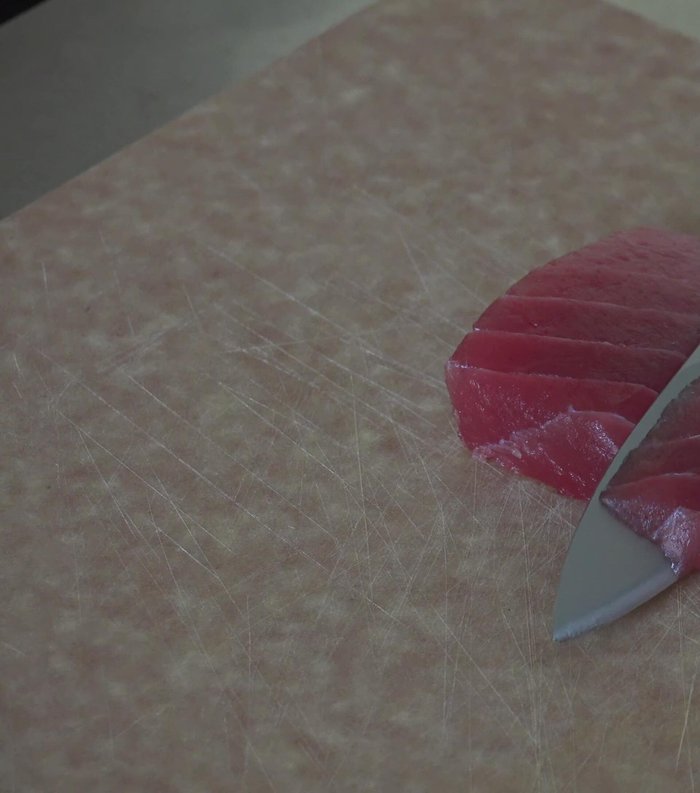
- Slice tuna, salmon, and yellowtail thinly using a sharp knife.
Step 2. Arrange the Chirashi Sushi
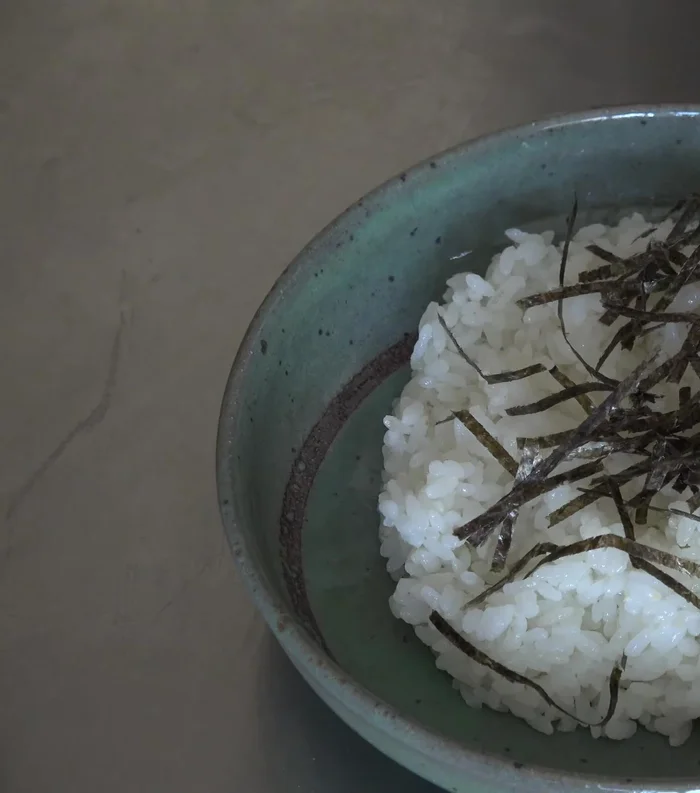
- Place sushi rice on a plate or bowl. Add shredded nori. Arrange all prepared ingredients on top, using shiso leaves and cucumber as dividers.
Step 3. Garnish and Serve
- Add Ikura, shrimp, pickled ginger, and wasabi.

Read more: Ochazuke Recipe: Easy Japanese Green Tea Rice Bowl
Tips
- For detailed sushi rice preparation, watch our sushi rice recipe video.
- For tamagoyaki preparation, watch our tamago sushi video.
- Shiso leaves add a refreshing flavor and visual appeal.
Nutrition
- Calories: Approximately 600-800
- Fat: 20-35g
- Carbs: 70-90g
- Protein: 30-40g
FAQs
1. Can I make chirashi sushi ahead of time?
Yes! You can prepare the sushi rice and toppings a few hours in advance. Assemble just before serving for the best texture and flavor.
2. What kind of fish can I use for chirashi sushi?
Many options work well! Salmon, tuna, shrimp, crab, and even cooked white fish are all popular choices. Use the freshest you can find.
With its stunning presentation and delightful flavors, homemade chirashi sushi is a rewarding culinary adventure for both novice and experienced cooks. This recipe offers a delicious and customizable way to enjoy the artistry and freshness of Japanese cuisine. Now go forth and create your own beautiful and delicious bowl of chirashi!