Karaage, Japan's beloved crispy fried chicken, is more than just a dish; it's a culinary experience. The perfect balance of juicy, tender meat and a shatteringly crisp, flavorful exterior makes it irresistible. Unlike other fried chicken recipes, karaage relies on a unique double-dipping marinade and a careful frying technique, resulting in a texture that's both light and satisfying. Forget greasy, heavy fried chicken – karaage is a revelation, a testament to Japanese culinary precision. The secret lies in the marinade, which not only seasons the chicken but also helps create that signature airy crunch.
This recipe will guide you through every step, from marinating the chicken to achieving the perfect golden-brown crust. Prepare to be amazed by the incredible results as you master the art of making authentic, restaurant-quality karaage at home. Follow along as we delve into the specifics of creating this Japanese delicacy, unlocking the secrets to perfectly juicy and crispy fried chicken.
Tools Needed
- Knife
- Cutting board
- Container
- Tray
- Refrigerator
- Frying pan
- Thermometer (optional)
- Wooden chopsticks (optional)
- Paper towels
Ingredients
- Chicken breast: 500g
- Water: 500ml
- Beet sugar: 20g
- Salt: 20g
- Soy sauce: 2 tbsp
- Sake: 2 tbsp
- Ginger: 1 piece, grated
- Garlic: 2 cloves, grated
- Potato starch: 50g
- All-purpose flour: 50g
- Avocado oil
Step-by-Step Instructions
Step 1. Prepare and Marinate the Chicken
- Remove skin, trim off blood spots, tendons, or bones. Cut into 1-inch pieces.
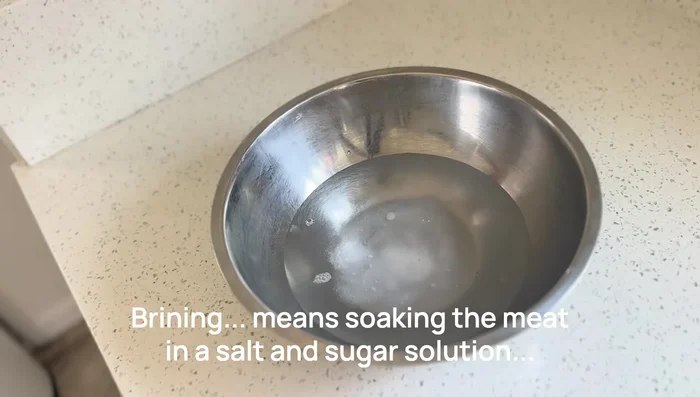
- Mix water, beet sugar, and salt. Submerge chicken in brine, cover, and refrigerate for at least 30 minutes.
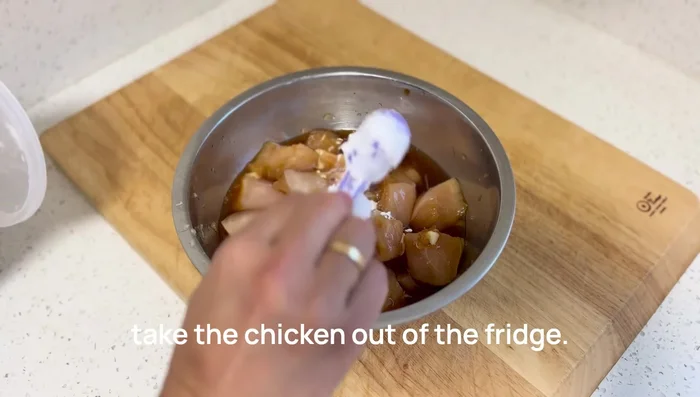
- After brining, drain the chicken and add soy sauce, sake, salt, grated ginger, grated garlic, and beet sugar. Mix well, massage the seasoning into the chicken, cover, and refrigerate for 15 minutes.


Step 2. Coat and Rest the Chicken
- Add potato starch to the seasoned chicken and mix well.
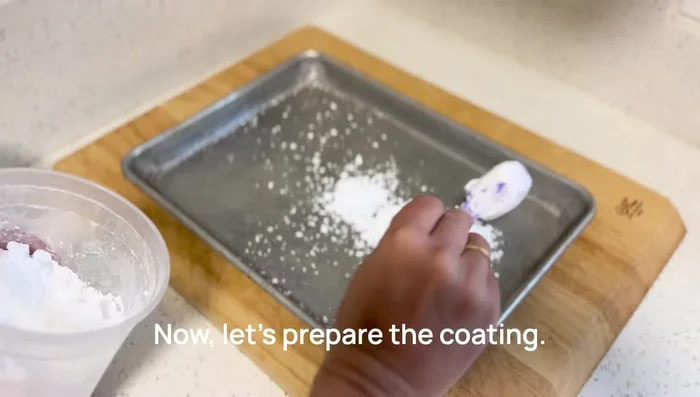
- Mix potato starch, all-purpose flour, and a pinch of salt in a tray.
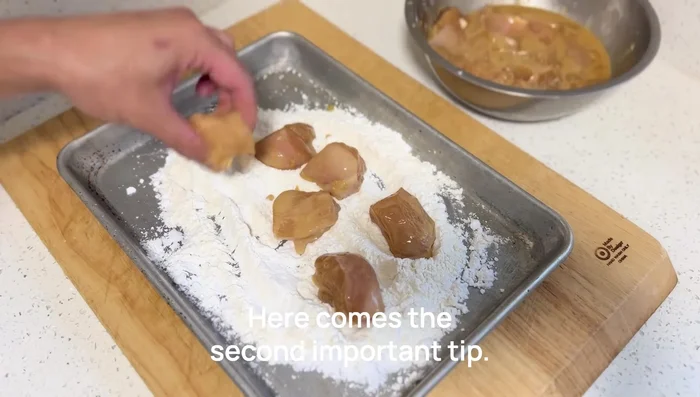
- Coat the chicken in the starch mixture, ensuring even coverage. Let rest for a few minutes on a tray or cutting board to allow the starch to absorb moisture.
Step 3. Fry the Chicken
- Heat avocado oil in a frying pan to 160°C (320°F) or until small bubbles form when a chopstick is dipped in.
- Add chicken to hot oil, stir gently after 30 seconds to 1 minute. Fry one side for 3-4 minutes, flip, and fry the other side for 3-4 minutes.


Step 4. Rest and Serve
- Place fried chicken on paper towels to drain. Let rest for 2-3 minutes before serving.

Read more: Chikuwa Isobeage Recipe: Crispy Fish Cake Tempura
Tips
- Keep chicken pieces consistent in size for even cooking.
- Brining makes chicken tender and juicy.
- Don't fry immediately after coating. Let it rest to prevent the coating from peeling off.
- Lightly misting with water before frying helps the coating stick better.
- Use avocado oil for healthier frying and heat resistance.
Nutrition
- N/A
FAQs
1. Can I use other types of meat for Karaage?
While chicken is traditional, you can experiment with turkey or even tofu for a vegetarian option. Adjust marinating time accordingly.
2. How do I achieve extra crispy Karaage?
Ensure your chicken is completely dry before coating and frying. Use a higher frying temperature (around 350°F/175°C) for a crispier exterior.
3. What can I do with leftover Karaage?
Leftover Karaage is delicious in salads, sandwiches, or as a topping for rice bowls. You can also reheat it in the oven or air fryer for a quick and easy meal.
With its perfect blend of crispy exterior and juicy interior, your homemade karaage will be a guaranteed crowd-pleaser. This recipe unlocks the secrets to achieving restaurant-quality results in your own kitchen, elevating your fried chicken game to a whole new level. Now go forth and enjoy the delicious fruits of your labor!