Ohagi, also known as botamochi, are delightful Japanese rice cakes that are a true culinary delight. These sweet treats boast a soft, chewy texture and a subtly sweet flavor, making them a perfect snack or dessert. Their simple elegance belies a versatility that allows for endless flavor combinations. Traditionally rolled in sweet bean paste (anko) and kinako (roasted soybean flour), ohagi's earthy sweetness is balanced beautifully by the contrasting textures. The humble ingredients – glutinous rice, sugar, and water – form the basis for a culinary experience that spans generations.
From classic to contemporary, this article will explore five delicious variations of ohagi, each offering a unique twist on this beloved Japanese confection. These recipes are incredibly easy to prepare, even with the convenience of a rice cooker, making them accessible for home cooks of all skill levels. To discover how to craft these irresistible rice cakes, let's dive into the step-by-step instructions below.
Tools Needed
Ingredients
Step-by-Step Instructions
Step 1. Prepare the Rice and Filling
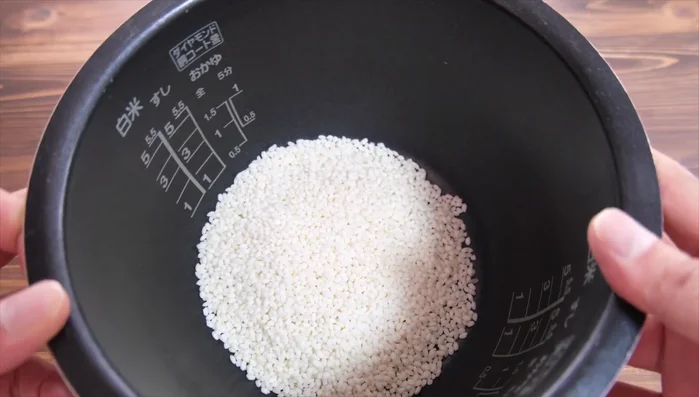
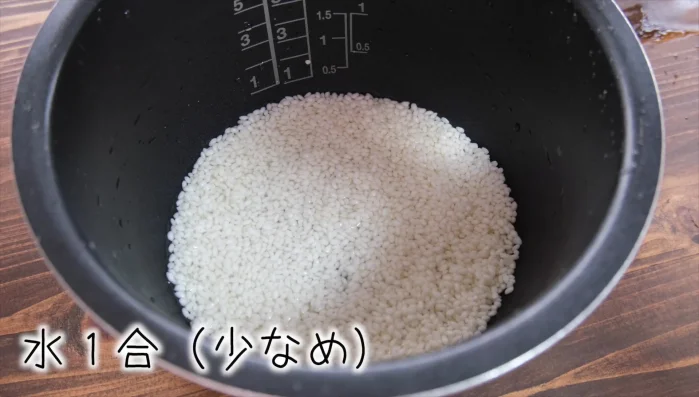
- Rinse glutinous rice until the water runs clear. Add water (slightly less than usual for glutinous rice).
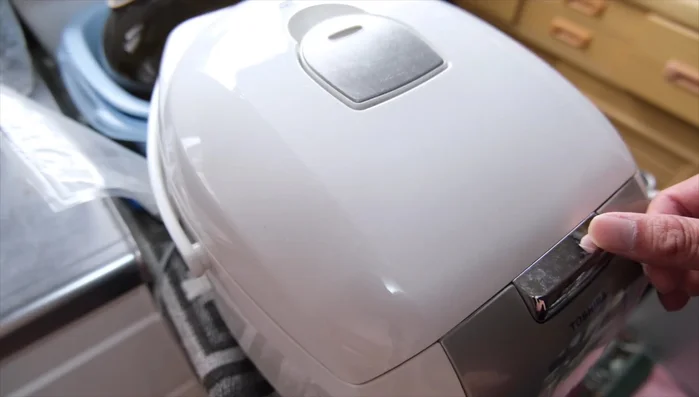
- Cook the glutinous rice in a rice cooker as usual.
- While the rice cooks, prepare the sweet red bean paste. Divide it into portions (approximately 25-30g).
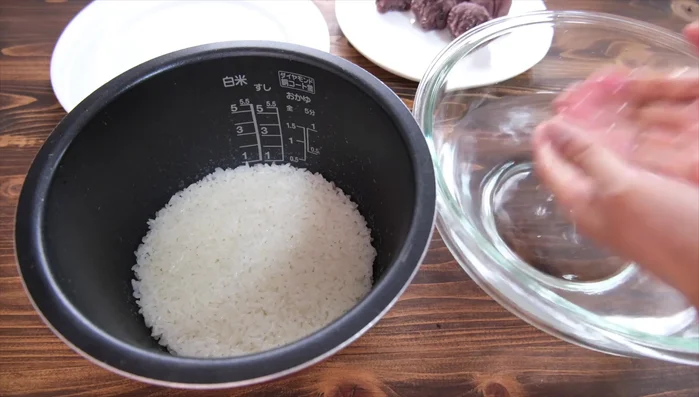
Step 2. Cook and Prepare the Glutinous Rice
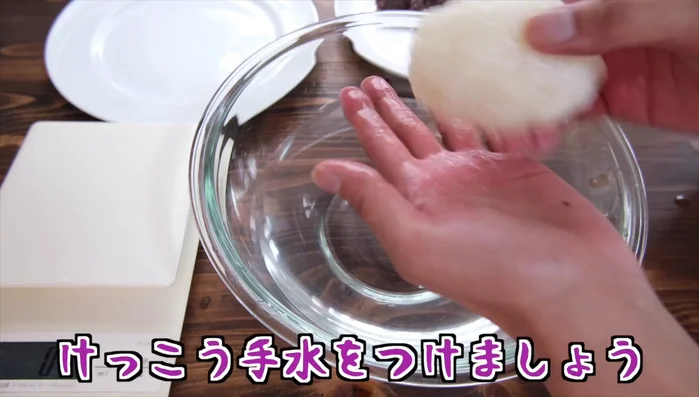
- Once the rice is cooked, let it cool slightly. Add a small amount of water to the rice to prevent sticking.
Step 3. Assemble the Ohagi
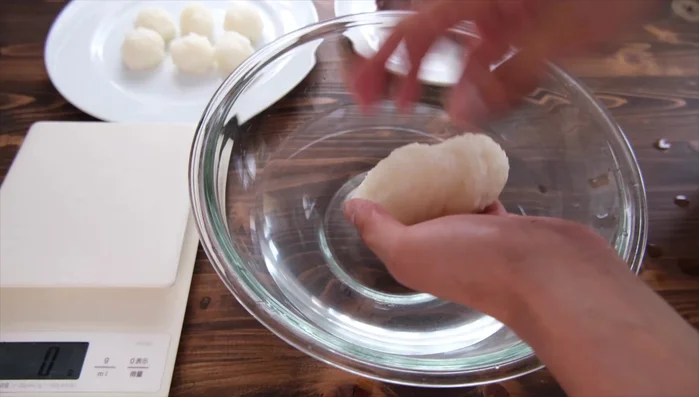
- Take a portion of the cooked glutinous rice (approximately 50g), gently flatten it in your hand, and place a portion of red bean paste in the center.
- Wrap the red bean paste with the glutinous rice, shaping it into a ball. Add a little water if needed to help the rice stick together.
- Repeat steps 5 and 6 until all the rice and red bean paste are used.
Step 4. Garnish and Serve
- Garnish with aonori, sesame seeds, or kinako as desired.

Read more: Ochazuke Recipe: Easy Japanese Green Tea Rice Bowl
Tips
- Use your thumb and index finger to gently shape and pinch the ohagi for a professional look.
- The key is to use just enough water to prevent sticking, but not so much that it makes the ohagi soggy.
- Experiment with different fillings and toppings to create your own unique ohagi variations.
Nutrition
- N/A
FAQs
1. Can I use regular rice instead of glutinous rice for Ohagi?
No, glutinous rice (mochigome) is essential for the chewy texture of Ohagi. Regular rice won't give you the same consistency.
2. How long can I store leftover Ohagi?
Store leftover Ohagi in an airtight container in the refrigerator for up to 2-3 days. They may become slightly firmer as they cool.
With these five delicious variations, creating homemade ohagi is now easier than ever before. Experiment with different fillings and coatings to discover your own favorite combinations, and enjoy the satisfying chewiness and subtle sweetness of this traditional Japanese treat. Happy cooking!