Onigiri, the beloved Japanese rice balls, are far more than just a simple snack; they're a culinary canvas of endless possibilities. From the classic salty-umami umeboshi (pickled plum) filling to the vibrant freshness of salmon and avocado, the world of onigiri offers a delightful adventure for both the palate and the eyes. These handheld delights are perfect for picnics, lunchboxes, or a quick and satisfying meal at any time of day, showcasing the versatility of rice and a range of complementary flavors. Their charming shape and customizable fillings make them appealing to all ages.
This article explores the exciting variety within onigiri, showcasing seven delicious recipes that highlight diverse taste profiles and textures. We'll delve into the art of shaping perfect onigiri and explore creative filling combinations to inspire your own culinary creations. Ready to embark on a delicious journey? Let's dive into our step-by-step guide to mastering the art of onigiri!
Tools Needed
- Rice cooker
- Pot
- Oven
- Plastic wrap
- Onigiri mold (optional)
Ingredients
Step-by-Step Instructions
Step 1. Prepare Ingredients
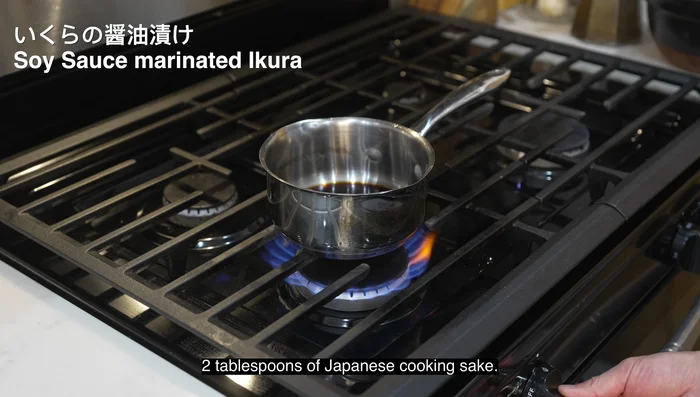
- Boil soy sauce and sake, cool, then marinate salmon roe for at least 3 hours.
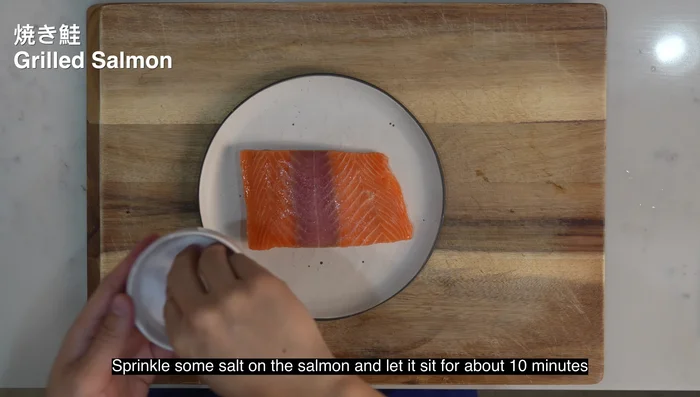
- Sprinkle salt on salmon, let sit 10 minutes, pat dry, and bake at 450°F for 15 minutes.
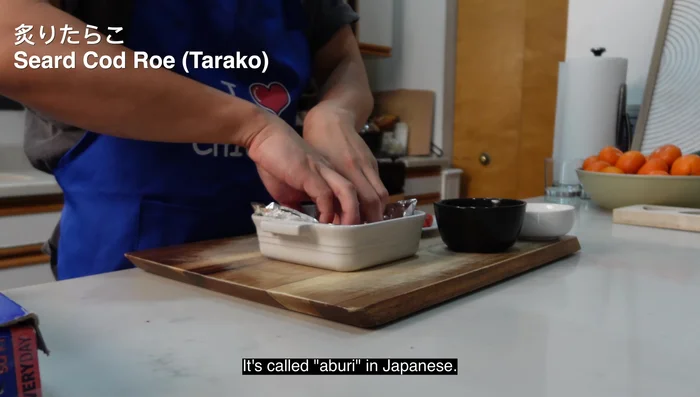
- Sear mentaiko for enhanced flavor.
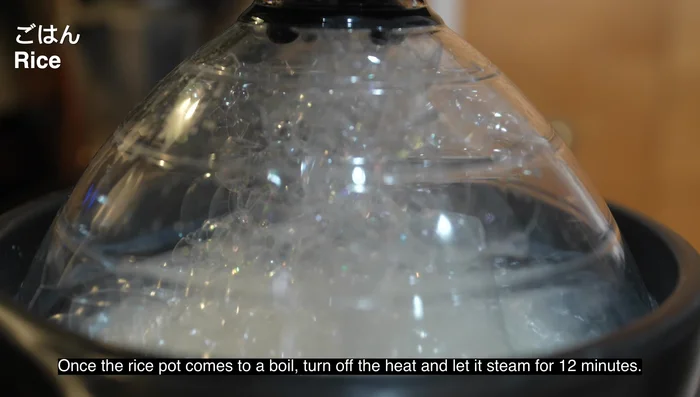
Step 2. Cook the Rice
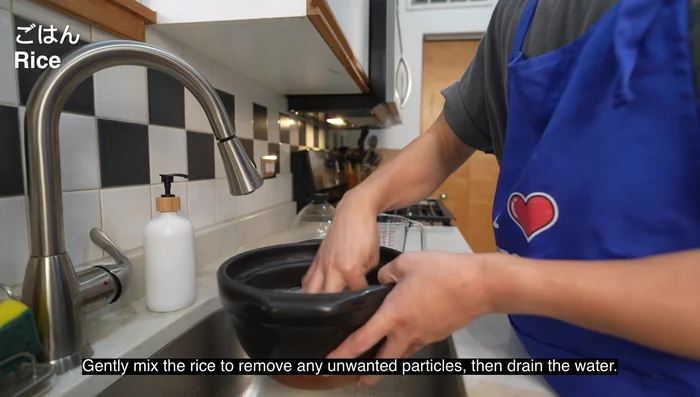
- Rinse rice 3 times with distilled water, then soak for 30-60 minutes (optional).
- Cook rice according to package directions, then let it steam for 12 minutes. Fluff with a fork.
Step 3. Assemble the Onigiri
- Using plastic wrap or wet hands, shape rice around your chosen fillings (ikura, salmon, crab, mentaiko, cheese, okaka, or umeboshi).
Step 4. Finishing Touches
- Wrap onigiri with nori seaweed.
Read more: Ochazuke Recipe: Easy Japanese Green Tea Rice Bowl
Tips
- Soaking the rice improves texture.
- Let the rice cool slightly before shaping to prevent burns.
- Use the rough side of the nori seaweed for wrapping.
- Say "itadakimasu" before eating and "gochisousama deshita" after to show gratitude.
Nutrition
- Calories: Varies depending on filling
- Fat: Varies depending on filling
- Carbs: Varies depending on filling
- Protein: Varies depending on filling
FAQs
1. What is the best type of rice to use for onigiri?
Short-grain Japanese rice is ideal for its stickiness, which helps the onigiri hold its shape.
2. How do I prevent my onigiri from drying out?
Wrap your onigiri in plastic wrap or place them in an airtight container to maintain moisture. You can also lightly sprinkle them with water before wrapping.
3. Can I make onigiri ahead of time?
Yes! Onigiri are best made a day or two in advance, allowing the flavors to meld. Store them properly to prevent drying out.
From classic to creative, we hope these seven onigiri recipes have inspired you to explore the delightful world of Japanese rice balls. With a little practice, you'll be crafting delicious and visually appealing onigiri in no time. Now go forth and enjoy the satisfying simplicity and endless possibilities of this beloved Japanese staple!