Rice flour manju are delightful, melt-in-your-mouth treats that offer a delightful twist on traditional Japanese sweets. These delicate pastries are surprisingly easy to make, requiring minimal ingredients and effort, making them perfect for both novice bakers and seasoned pros. Their subtly sweet flavor and soft, chewy texture make them irresistible, and the simple recipe allows for easy customization with different fillings or flavorings. Imagine the joy of enjoying a warm, freshly made manju, its delicate rice flour exterior yielding to a sweet surprise within. This recipe focuses on a particularly simple, three-ingredient version, perfect for a quick and satisfying baking project.
This incredibly simple recipe utilizes just rice flour, sugar, and water to create the perfect chewy manju base. Forget complicated techniques and long ingredient lists; this recipe prioritizes ease and deliciousness. Ready to embark on a culinary adventure that results in perfectly chewy, gluten-free manju? Let's dive into the step-by-step instructions!
Tools Needed
- Frying pan
- Plate
- Cooking paper or plastic wrap
- Measuring spoons
- Teaspoon
Ingredients
- Rice flour: 50g
- Baking powder: 2g
- Sugar: 20g
- Salt: a pinch
- Water: 25g
- Red bean paste: 100g (approx. 25g per manju)
Step-by-Step Instructions
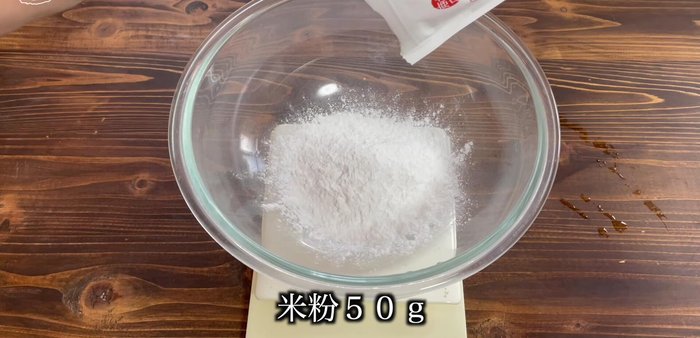
Step 1. Prepare the Dough
- Measure out 50g rice flour, 2g baking powder, 20g sugar, a pinch of salt.
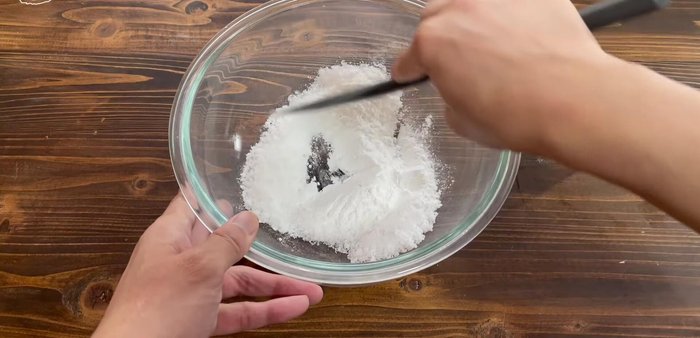
- Mix the dry ingredients roughly until uniform.
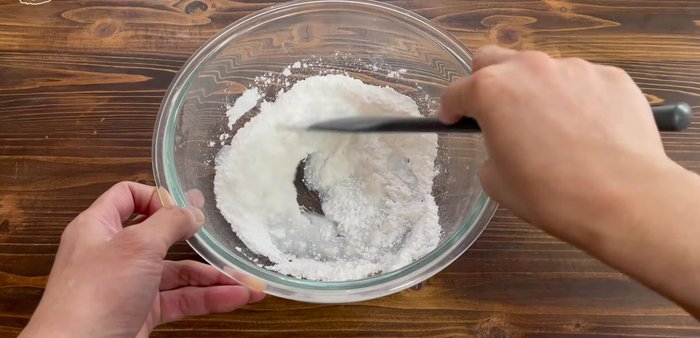
- Add 25g of water and mix until a dough forms. The dough should be one lump.
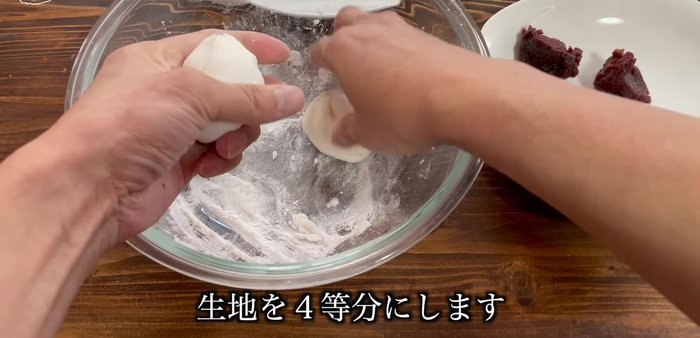
- Dust your hands with rice flour to prevent sticking.
- Divide the dough into 4 equal parts.
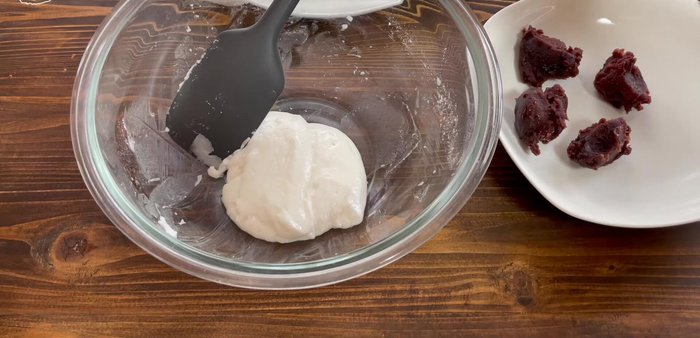
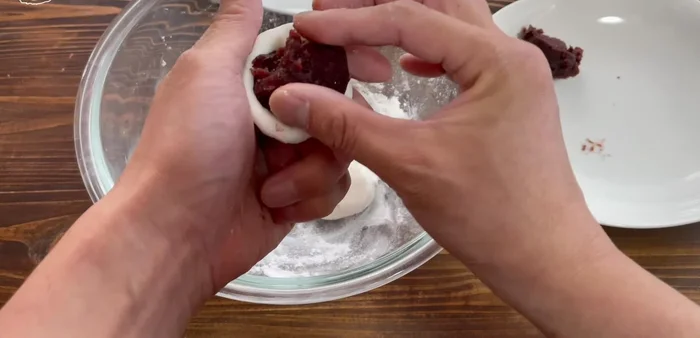
Step 2. Assemble the Manju
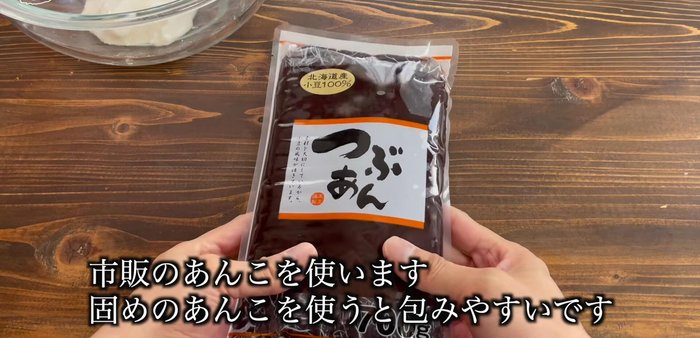
- Prepare the red bean paste. Hard bean paste is easier to work with.
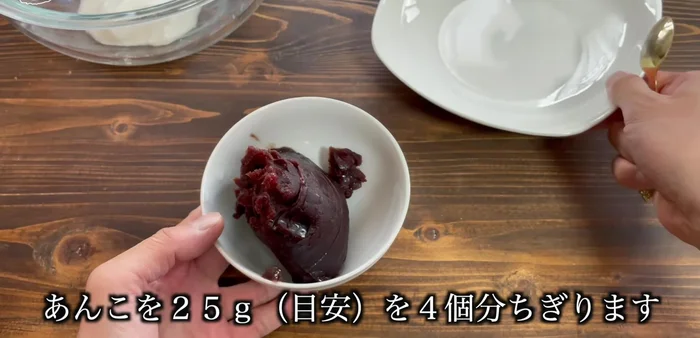
- Divide the bean paste into 25g portions using a teaspoon.
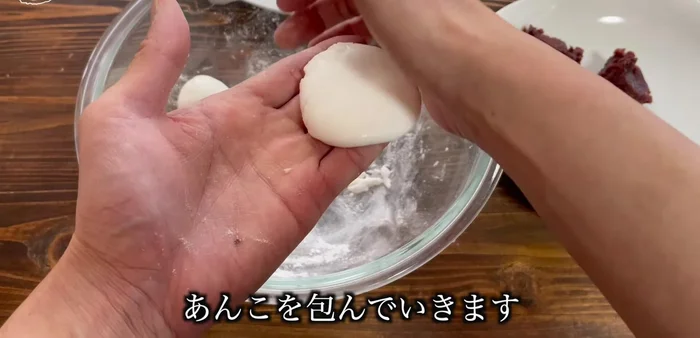
- Flatten a portion of dough, place a spoonful of red bean paste in the center, and wrap it like a dumpling.
- Repeat for all four portions.
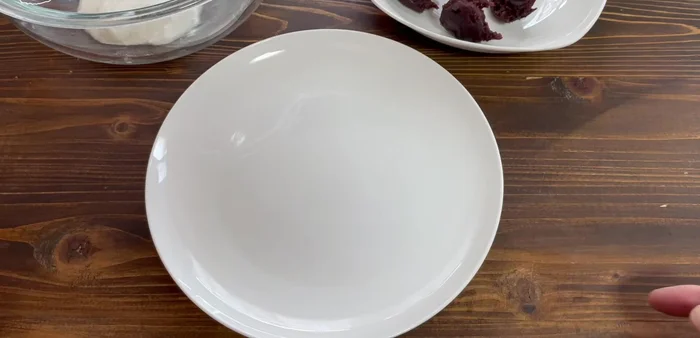
Step 3. Steam the Manju
- Prepare a plate lined with cooking paper or plastic wrap.
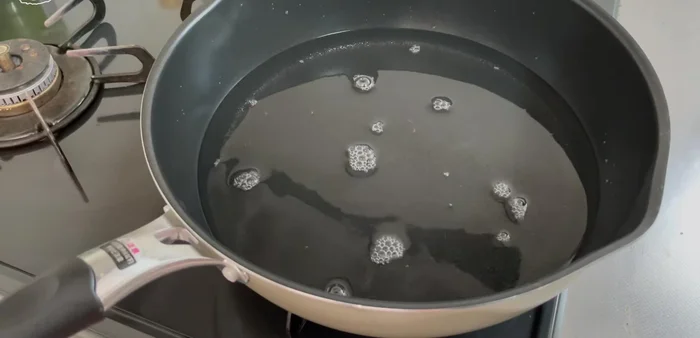
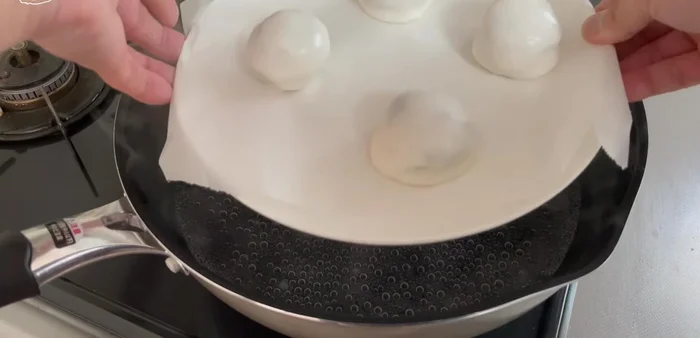
- Add water to a frying pan and bring it to a boil.
- Place a plate in the frying pan for height adjustment, place the manju on top, cover, and steam over medium heat for 10 minutes.
Read more: Ochazuke Recipe: Easy Japanese Green Tea Rice Bowl
Tips
- A little salt enhances the flavor, but it's optional.
- Any type of rice flour is fine.
- If the dough is too sticky, add more flour; if it's too dry, add a little water.
- Let the manju cool completely before serving to prevent sticking.
Nutrition
- N/A
FAQs
1. Can I use a different type of rice flour?
While sweet rice flour (mochiko) is recommended for its chewiness, you can experiment with glutinous rice flour, but the texture might be slightly different. Regular rice flour won't give the same chewy texture.
2. How can I store leftover manju?
Store leftover manju in an airtight container at room temperature for up to 2 days, or in the refrigerator for up to a week. You can also freeze them for longer storage.
With just three simple ingredients and minimal effort, you can now enjoy the delightful chewiness and subtle sweetness of homemade rice flour manju. This recipe is perfect for satisfying a sweet craving quickly and easily, offering a gluten-free treat everyone can enjoy. So go ahead, give this recipe a try and savor the delicious results!