Forget everything you thought you knew about fried chicken. This recipe delivers crispy, juicy perfection with a surprisingly simple technique—the secret's in the salt! We're ditching complicated brines and marinades in favor of a straightforward approach that maximizes flavor and texture. The result? A succulent, salty, and undeniably addictive fried chicken that's guaranteed to impress your family and friends. This isn't your grandma's fried chicken; it's a modern upgrade on a classic comfort food.
This recipe focuses on achieving that perfect balance of crispy exterior and tender, juicy interior through a precise salting method and a careful frying process. Ready to transform your weeknight dinner or weekend brunch? Let's dive into the step-by-step instructions to create the crispiest, saltiest, most delicious fried chicken you've ever tasted.
Tools Needed
Ingredients
- Chicken: 350g
- Potato Starch
- Cake Flour
- Grated Ginger
- Grated Garlic
- Salt
- Sugar
- Sake
- Sesame Oil
- Pepper
- Frying Oil
Step-by-Step Instructions
Step 1. Prepare the Chicken
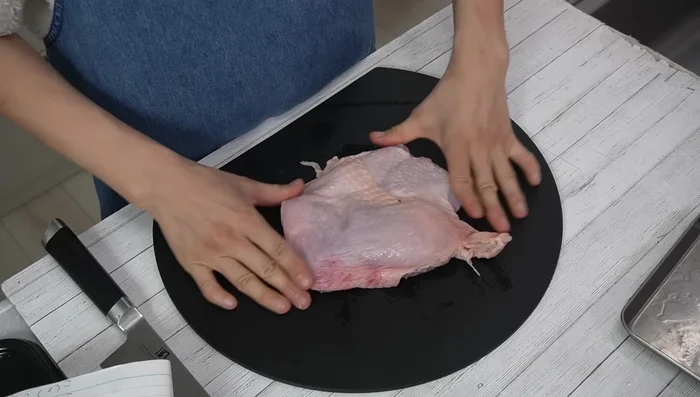
- Remove excess skin from the chicken.
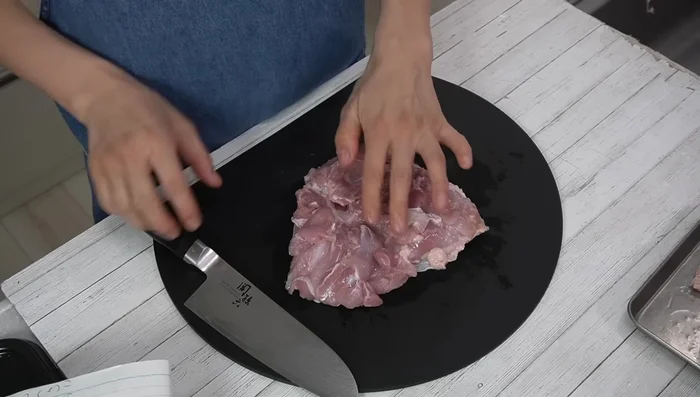
- Cut the chicken into bite-sized pieces. Cut along the natural dividing lines for easier eating.
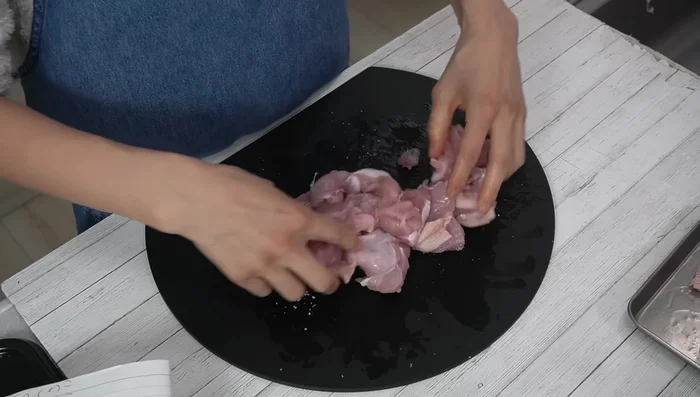
- Rub sugar thoroughly into the chicken until no longer crunchy. This helps retain moisture and adds richness.
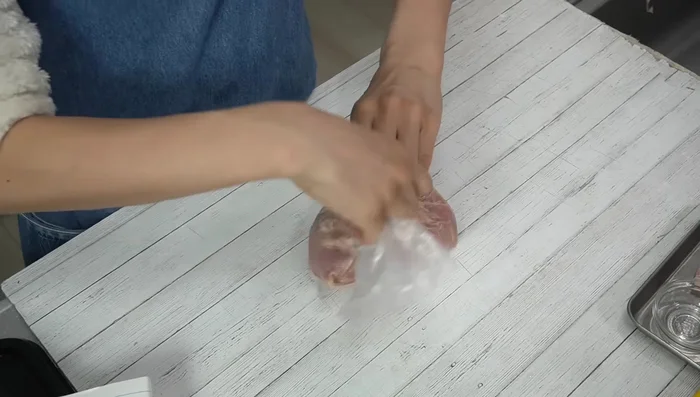
- Season the chicken with salt, sake, grated garlic, grated ginger, pepper, and sesame oil. Mix well.
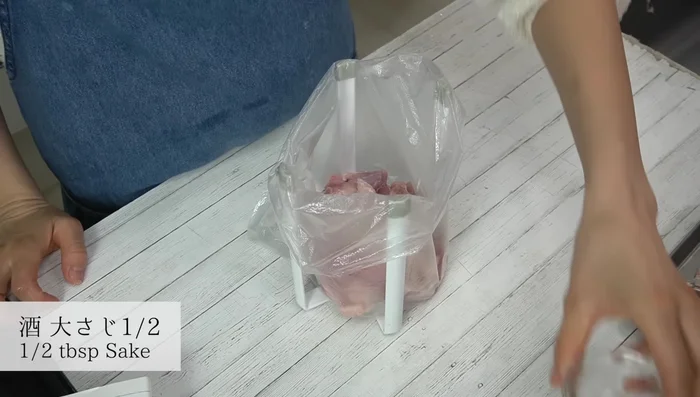
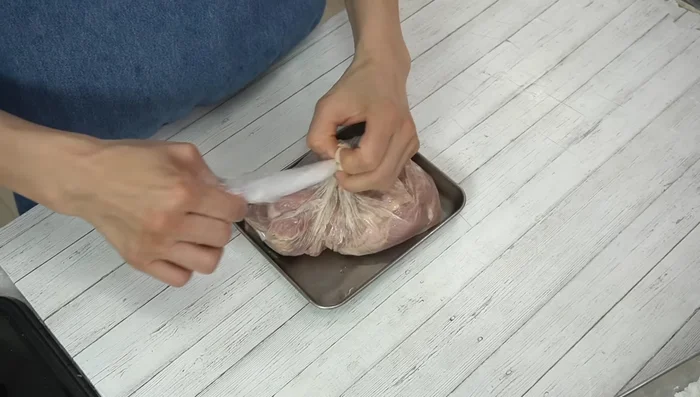
- Marinate the seasoned chicken in an airtight container and refrigerate for 30 minutes.
Step 2. Coat and Fry
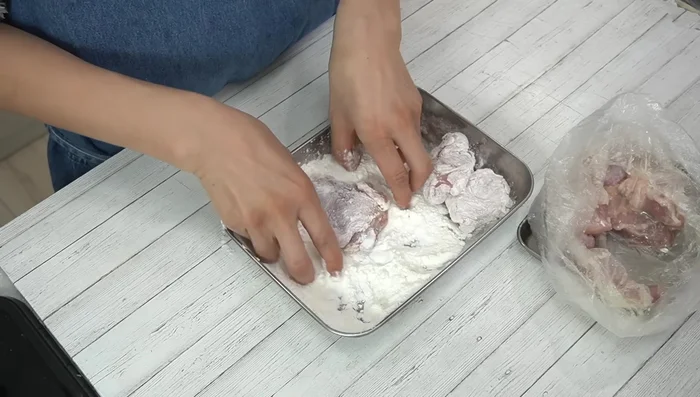
- Mix potato starch and cake flour together (potato starch alone works too).
- Remove the marinated chicken from the refrigerator.
- Coat the chicken pieces in the batter, ensuring even coverage.
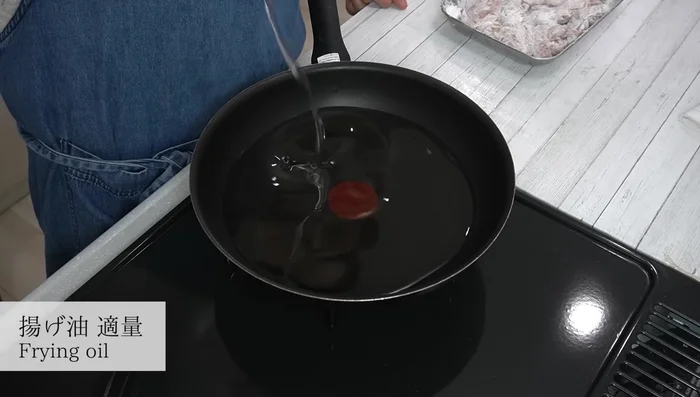
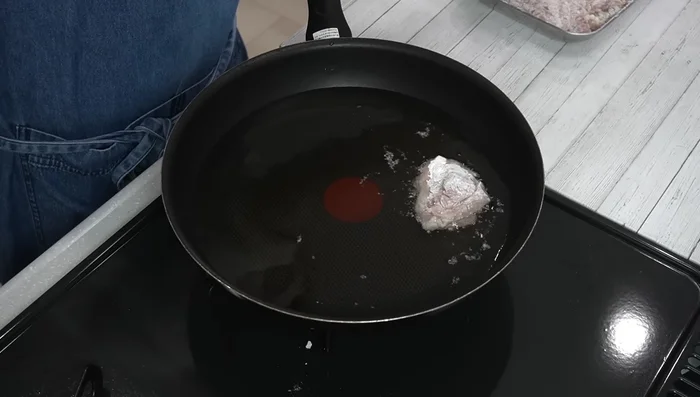
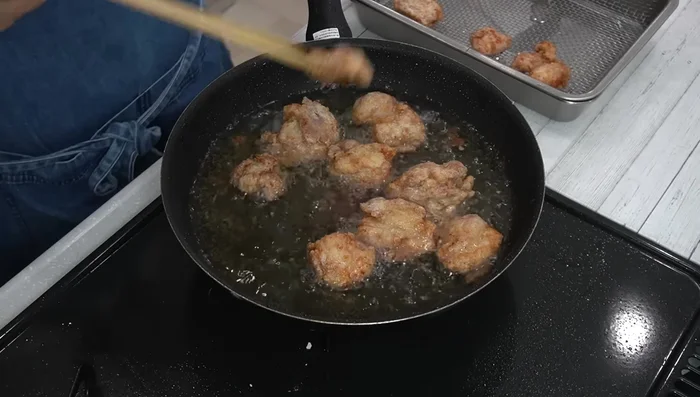
- Heat about 1cm of oil in a frying pan over medium heat (around 160°C).

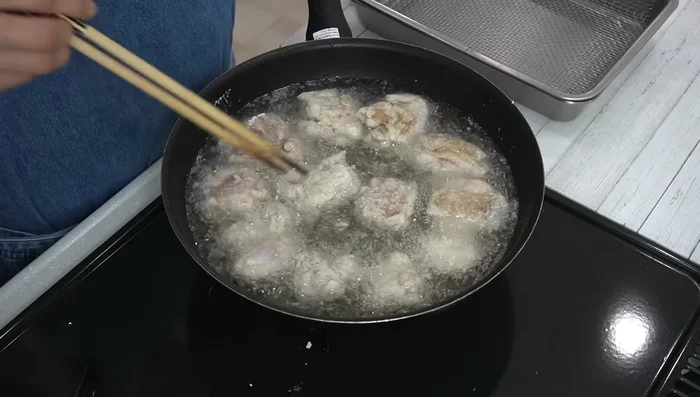
- Fry the chicken skin-side down, spreading the pieces to prevent curling. Fry until the batter starts to harden (about 4-5 minutes).
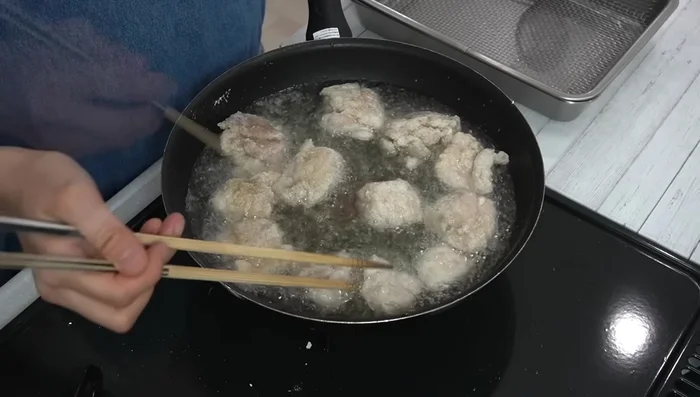
- Flip the chicken and continue frying without moving until the batter is firm. Remove any excess batter that falls into the oil.
Step 3. Crisp and Finish
- After a few minutes, flip again. Expose the batter to air for crispier texture.
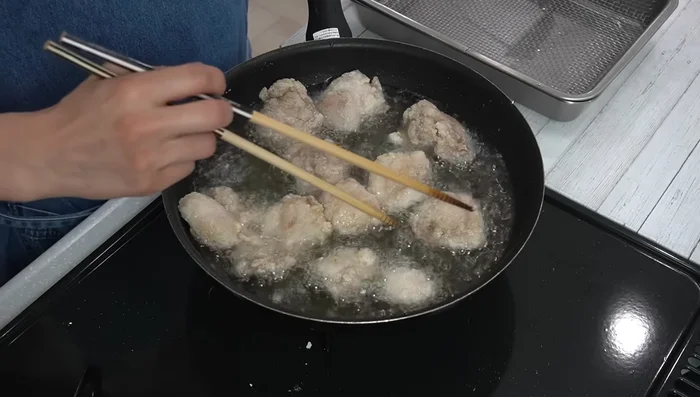
- Increase the heat slightly and finish cooking at a high temperature (around 180°C) until golden brown and crispy, flipping occasionally.
Step 4. Serve
- Remove the chicken from the pan, drain excess oil, and serve.
Read more: Chikuwa Isobeage Recipe: Crispy Fish Cake Tempura
Tips
- Using alcohol without salt is recommended.
- Adding a little salt to the batter enhances fragrance and taste.
- It’s better to turn the chicken less often while frying to promote even cooking and crispier results.
- Remove any excess batter that comes off the chicken into the oil to prevent burning.
- Adjust cooking time based on the size of the chicken and the amount of oil used.
Nutrition
- Calories: varies
- Fat: variesg
- Carbs: variesg
- Protein: variesg
FAQs
1. Can I use bone-in or boneless chicken for this recipe?
Both work great! Bone-in chicken will be juicier, while boneless will cook faster. Adjust cooking time accordingly.
2. How do I ensure my fried chicken stays crispy?
Make sure your chicken is completely dry before breading, use a high enough oil temperature (350°F/175°C), and don't overcrowd the pan. Let the cooked chicken drain on a wire rack.
There you have it – crispy, salty, and undeniably delicious fried chicken, made effortlessly with this simple recipe. Enjoy the satisfying crunch and juicy interior with your favorite sides for a truly unforgettable meal. Now go forth and conquer the world of fried chicken, one crispy bite at a time!