Indulge in the delightful chewiness of homemade soy milk mochi, a surprisingly simple treat that's both vegan and incredibly satisfying. Forget the store-bought versions – this recipe unveils the secrets to achieving perfectly soft and subtly sweet mochi, made with the creamy richness of soy milk. Whether you prefer the traditional pan-fried method or the quick and easy microwave approach, this recipe offers options to suit your skill level and time constraints. The unique texture and delicate flavor profile make this a perfect dessert for any occasion, from a casual weeknight treat to a sophisticated dessert for guests.
This recipe explores two straightforward methods for crafting your own soy milk mochi, ensuring a delicious result every time. Ready to transform simple ingredients into this irresistible Japanese delicacy? Let's dive into the step-by-step instructions and create some amazing mochi together!
Tools Needed
- Frying pan
- Microwave
- Heat-resistant bowl
- Rubber spatula
- Tupperware container
- Plastic wrap
- Cutting board
Ingredients
- Unsweetened soy milk
- Potato starch
- Sugar (cane sugar recommended)
- Kinako (roasted soybean flour)
Step-by-Step Instructions
Step 1. Prepare the Soy Milk Mochi Batter
- Mix potato starch and sugar.
- Gradually add soy milk, mixing well until smooth.
- Mix potato starch, sugar, and half the soy milk in a heat-resistant bowl.
- Add remaining soy milk and mix well.

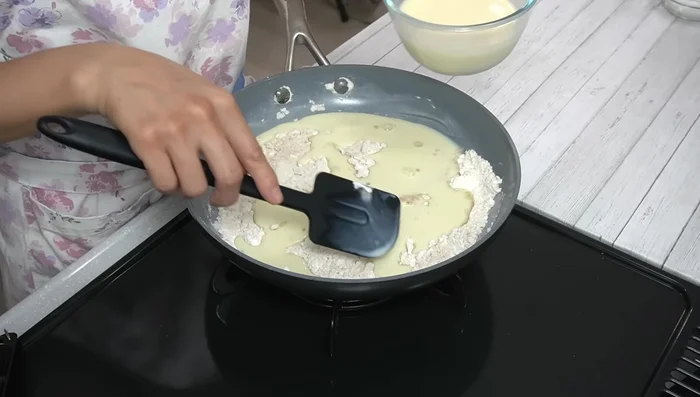

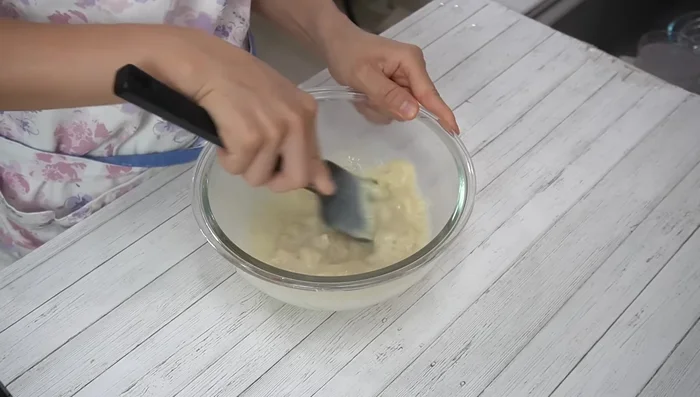
Step 2. Cook the Soy Milk Mochi
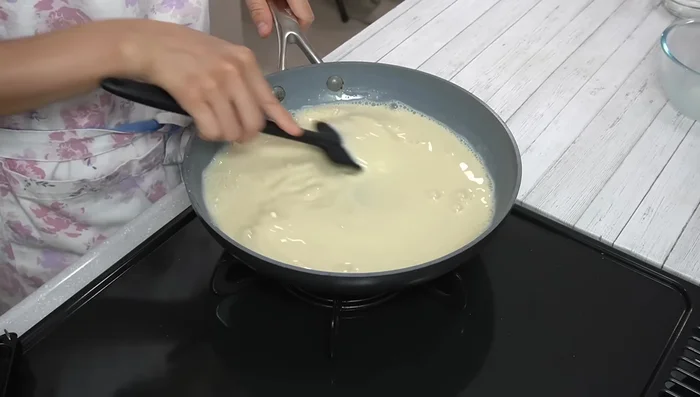
- Cook on medium heat, stirring constantly until the mixture thickens and comes together.
- Reduce heat to low and stir for 2 minutes until smooth.
- Microwave covered for 1 minute 30 seconds at 600W. Stir, then microwave again for 1 minute.

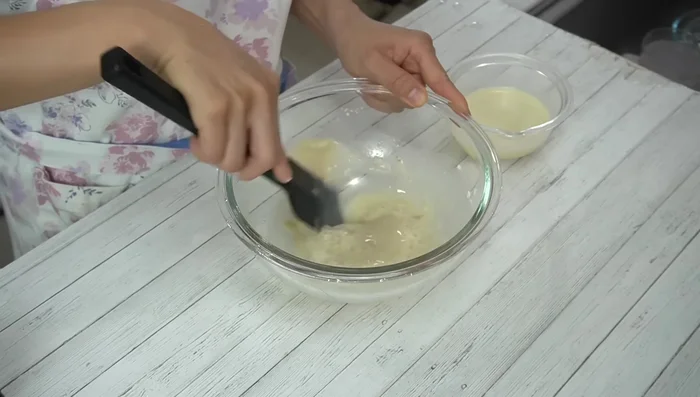
Step 3. Cool and Shape the Mochi
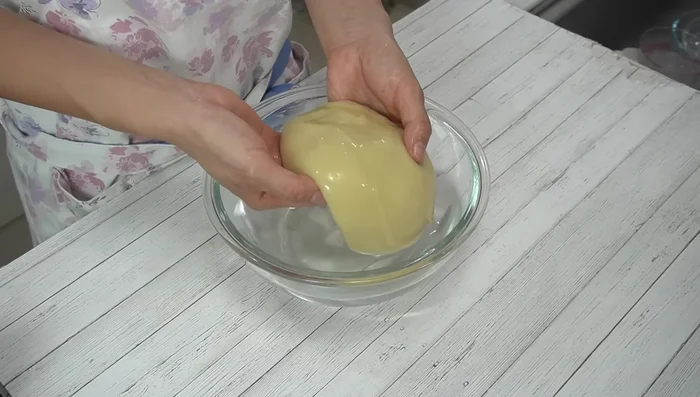
- Transfer the mochi to a bowl of water to cool slightly.
- Tear the mochi into bite-sized pieces.
- Place the mochi pieces on a tray lined with plastic wrap.
- Stir well and either tear into pieces or let it harden in a water-soaked Tupperware container.

Step 4. Serve the Soy Milk Mochi
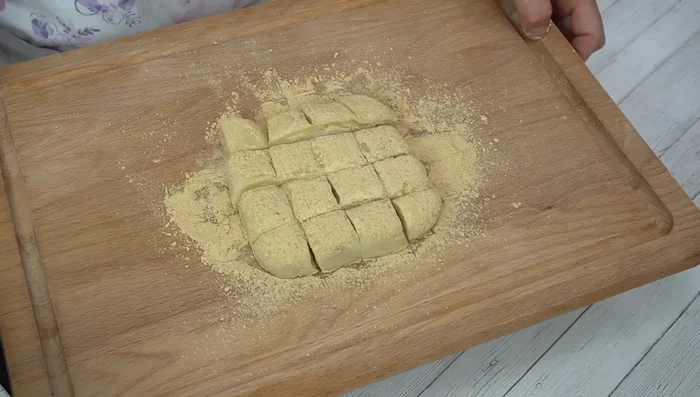
- Sprinkle kinako over the mochi.
- Cut into desired sizes and serve.

Read more: Ochazuke Recipe: Easy Japanese Green Tea Rice Bowl
Tips
- Use unsweetened soy milk for best results. Adjust sugar if using flavored soy milk.
- For the frying pan method, ensure thorough mixing before heating to prevent clumping.
- Microwave method may result in a slightly stickier texture. Mix thoroughly to avoid lumps.
- The mochi might be hot when tearing; let it cool slightly before handling.
Nutrition
- Calories: varies
- Fat: variesg
- Carbs: variesg
- Protein: variesg
FAQs
1. Can I use other types of milk instead of soy milk?
While soy milk provides the best texture and flavor for mochi, you can experiment with other plant-based milks like almond milk or oat milk. However, the results may vary slightly in texture and taste.
2. What if my mochi is too sticky or too hard?
Too sticky? You may need to add a little more cornstarch or tapioca starch. Too hard? Your mochi might have been overcooked; try reducing cooking time next time.
3. Can I make the mochi ahead of time?
Yes! Store leftover mochi in an airtight container in the refrigerator for up to 3 days. You can reheat it gently in the microwave or pan before serving.
With these two simple methods, creating delicious and chewy soy milk mochi is now within everyone's reach. Enjoy the delightful taste and satisfying texture of your homemade mochi, perfect for a sweet treat or a unique addition to your next gathering. Happy mochi making!