Tuna mayo onigiri, or rice balls, are a beloved Japanese snack and lunch staple, known for their simple yet satisfying flavor and incredible versatility. These handheld delights are incredibly quick to make, perfect for busy weeknights or packed lunches, offering a delicious and portable meal option. The creamy, savory tuna salad filling perfectly complements the soft, slightly chewy rice, creating a harmonious blend of textures and tastes. Whether you're a seasoned cook or a complete beginner, this recipe is easily adaptable to your preferences, allowing you to customize the filling and presentation.
From classic to gourmet variations, the possibilities are endless. Imagine the delightful crunch of sesame seeds, the subtle spice of pickled ginger, or the satisfying burst of seaweed. This recipe unlocks the secrets to crafting perfectly formed and flawlessly delicious tuna mayo onigiri. Ready to learn how to make these iconic rice balls yourself? Let's dive into the step-by-step instructions!
Tools Needed
- Colander
- Bowl
- Rice ball mold (optional)
- Plastic wrap (optional)
Ingredients
- Canned tuna in oil: 80g
- Japanese mayonnaise: 1 tbsp
- Soy sauce: 1 tsp
- Black pepper: a pinch
- Cooked Japanese rice: 700g (approx. 2 cups uncooked)
- Salt: a pinch
- Nori seaweed: strips
- Wasabi (optional): a small blob
- Chili powder (optional): a sprinkle
- Shichimi chili sauce (optional): a pinch
- Curry powder (optional): a touch
- Dashi granules (optional): a tiny pinch
Step-by-Step Instructions
Step 1. Prepare the Tuna Mayo Filling
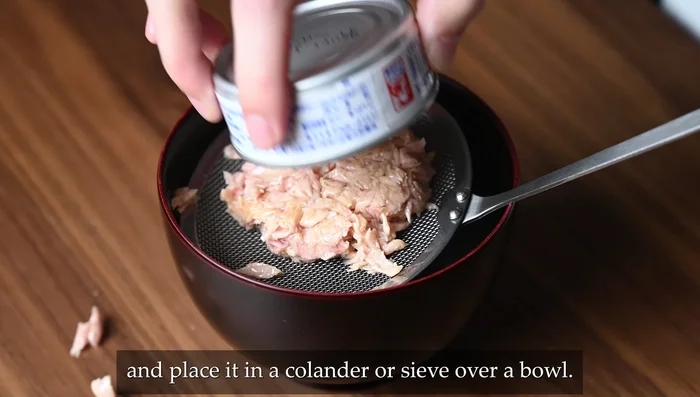
- Drain canned tuna in a colander over a bowl, squeezing out excess liquid thoroughly.
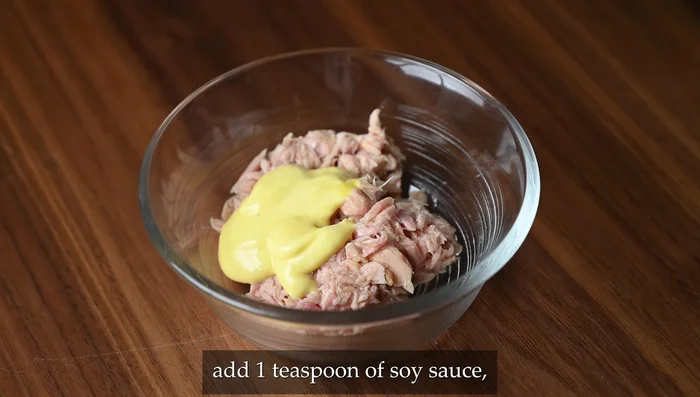
- Transfer tuna to a bowl. Mix in mayonnaise, soy sauce, and pepper.
Step 2. Shape the Onigiri
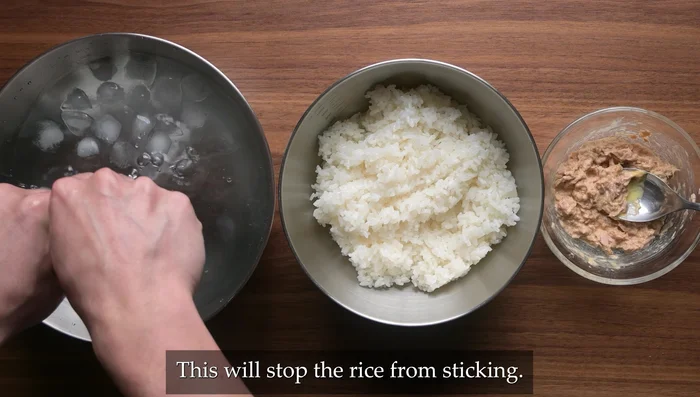
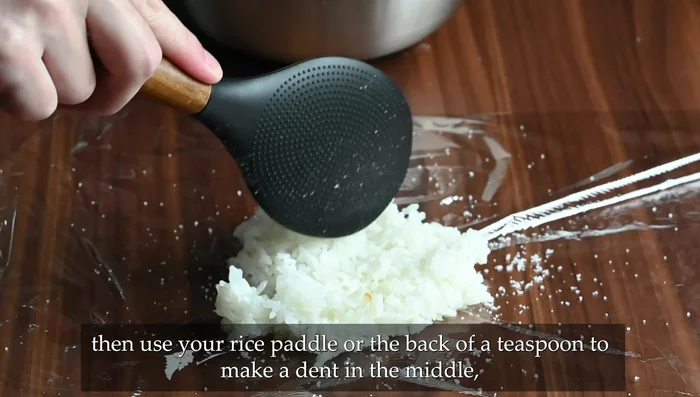
- Dip hands in cold water and rub with salt. Grab 100-120g rice, press it into your palm, and make a dent in the center.
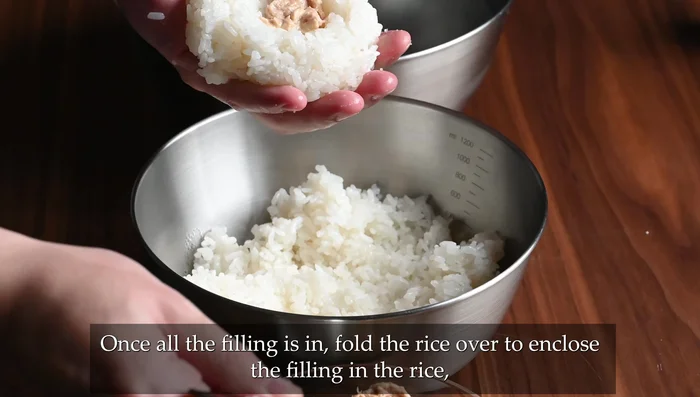
- Add 2 tsp tuna mayo to the rice dent. Fold the rice over the filling, pressing and shaping it into a triangle.
Step 3. Wrap with Nori (Optional: Use a Mold)
- Wrap each onigiri with nori seaweed.
- Sprinkle salt on the wrap, place rice in the center, make a dent, add filling, and pull opposite edges to close, shaping as usual. Add nori before serving if not freezing.
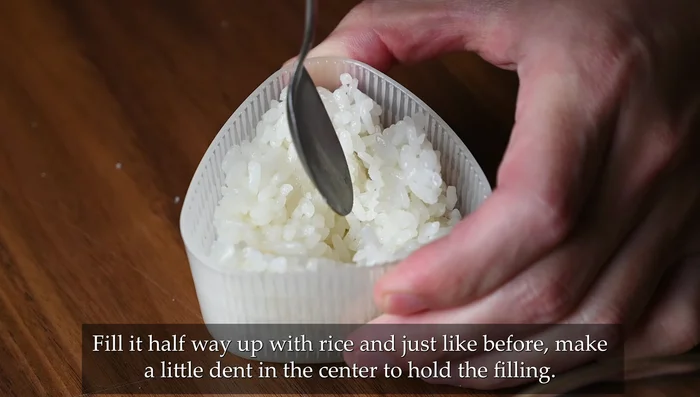
- Fill halfway with rice, make a dent, add optional chili powder/wasabi/other seasonings, add remaining rice, compress, and remove from mold. Wrap with nori.
Read more: Ochazuke Recipe: Easy Japanese Green Tea Rice Bowl
Tips
- Squeezing out excess tuna liquid is crucial to prevent soggy onigiri.
- Salting your hands helps prevent sticking and adds flavor.
- Don't add too much filling, or it will be hard to shape.
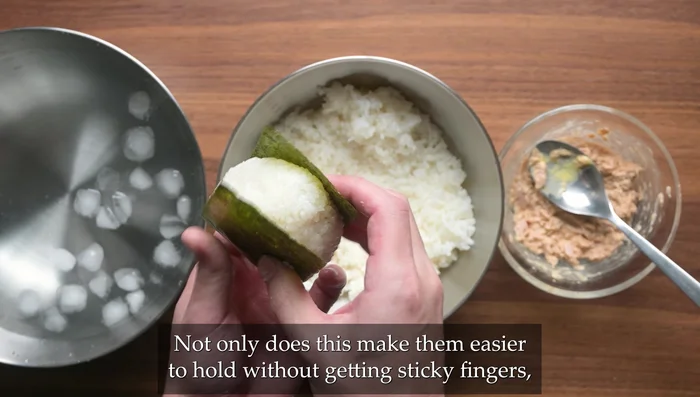
- Add nori seaweed for easier handling, crunch, and flavor.
- If freezing, omit nori until serving to maintain crispness.
Nutrition
- N/A
FAQs
1. Can I use pre-cooked rice for tuna mayo onigiri?
Yes! Pre-cooked rice works perfectly, just make sure it's cooled down before mixing with the tuna mayo filling to prevent the rice from becoming mushy.
2. What kind of seaweed should I use?
Nori seaweed sheets are traditionally used. Look for roasted nori for a more intense flavor. You can cut them into squares or triangles to wrap your onigiri.
3. How long can I store leftover tuna mayo onigiri?
Store leftover onigiri in an airtight container in the refrigerator for up to 2 days. They're best enjoyed fresh, but still tasty the next day.
Making tuna mayo onigiri is a fun and rewarding experience, perfect for a quick lunch or a tasty snack. With minimal ingredients and simple steps, you can enjoy the authentic taste of Japan in minutes. So grab your ingredients and start crafting these delicious rice balls – you won't be disappointed!