Umeboshi, the vibrant, intensely sour pickled plums of Japan, are more than just a condiment; they're a culinary and cultural treasure. These small, wrinkled plums pack a powerful punch of flavor, a complex blend of salty, sour, and subtly sweet notes that awaken the palate. More than just taste, umeboshi boast a rich history, deeply intertwined with Japanese traditions and believed to offer various health benefits, from aiding digestion to boosting immunity. Their distinctive flavor profile makes them a beloved ingredient in numerous dishes, adding a unique tang to rice, noodles, and even onigiri.
Beyond their deliciousness and cultural significance, umeboshi are surprisingly easy to make at home. This allows you to control the ingredients and create a truly personalized experience. Ready to embark on a journey of sour deliciousness? Let's dive into our step-by-step guide to making your own batch of homemade umeboshi.
Tools Needed
- Plastic wrap
- Weight
- Container
- Skewer
- Salad spinner
- Bowl
- Bamboo mat
- Sieve
- Small bag
- Sushi mat
- Cardboard
Ingredients
- Ripe Japanese plums (ume)
- Salt
- Sochu (or other shochu): a dash
- Red shiso leaves
- Rock sugar
Step-by-Step Instructions
Step 1. Prepare the Plums
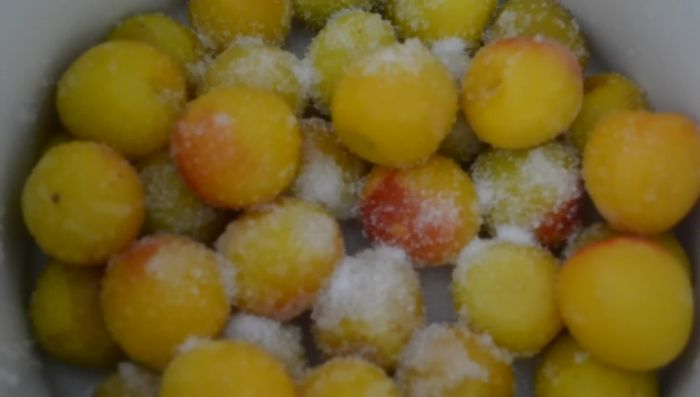
- Wash the plums and pat them dry. Sprinkle salt from the recipe and cover with plastic wrap, placing a weight on top. Set aside until the plums turn yellow (approx. a day or two).
- The next day, gently wash the greenish plums, changing the water several times. Remove and discard any plums with dark spots or that are overripe. Drain the plums and pat them dry. Remove the stems using a skewer.

Step 2. Salt and Ferment the Plums
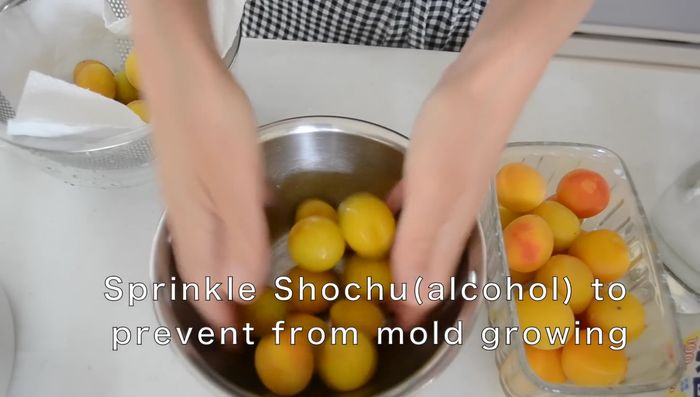
- Sterilize your container. In a medium-sized bowl, place some plums, sprinkle with a dash of sochu to prevent mold. Add salt. Transfer to the container and repeat in batches. Add salt to the remaining plums from the previous day and add them to the container.
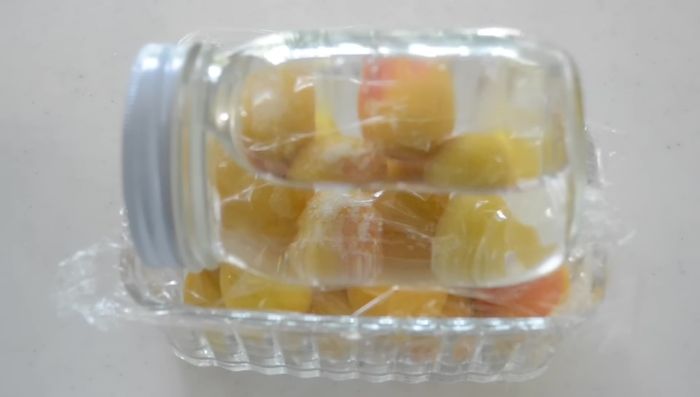
- Sprinkle the remaining salt, place the sterilized dish directly onto the plums, and put a weight on top to ensure even pickling. Cover and leave in a cool, dark place until moisture comes out (about a week).
- After a couple of days, some salt will remain; gently stir to dissolve. Press the dish and leave for a couple more days. The plums should be submerged in liquid (shiraumezu).

Step 3. Incorporate Shiso Leaves
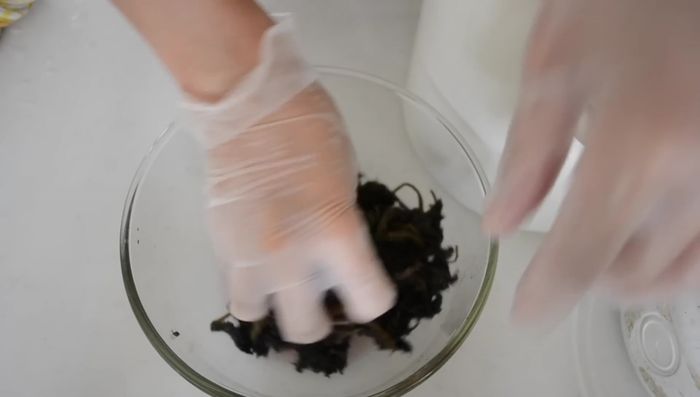
- Spin them in a salad spinner to remove excess moisture. In a large bowl, take half the leaves, add a tablespoon of salt, and rub to soften, removing the bitter component. Add the rest of the leaves, salt, and rub again. Squeeze and discard liquid.
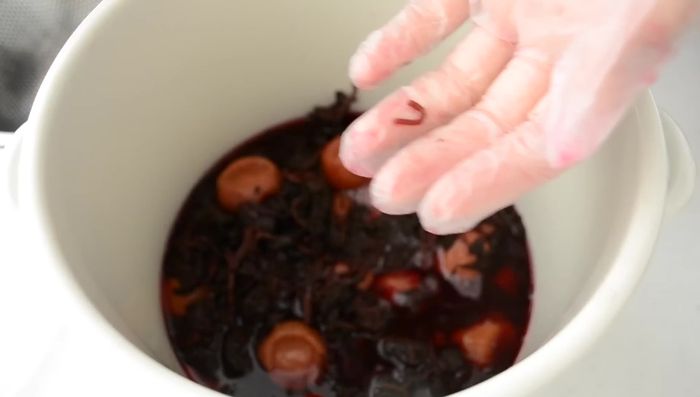
- Combine the prepared red shiso leaves with the liquid from the plums, mixing gently. This will turn purplish-pink. Press the dish and wait.

Step 4. Final Steps: Pressing, Sun-Drying, and Storage
- After a week, check progress. Change the weight to 1 kilogram and leave for about a month (until the rainy season ends, around July 20th).
- Sun-dry the umeboshi for three days. Drain the plums, line them on a bamboo mat, and place in a sunny spot. Flip them over once or twice daily, bringing them inside at night. Repeat for three days.
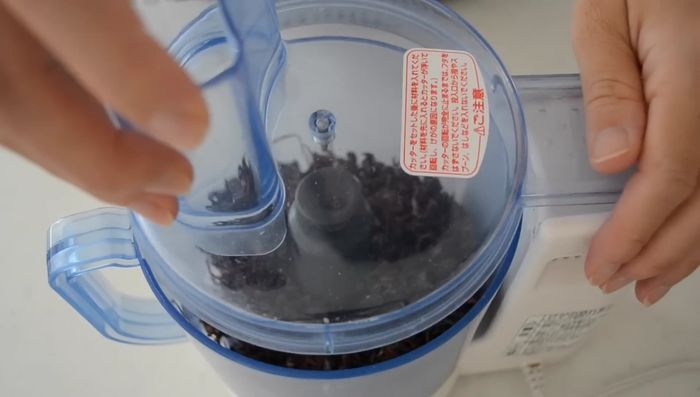
- The red shiso leaves can be powdered for use as a furikake. Sun-drying preserves the plums, dries out excess moisture, and firms the surface while keeping the inside moist.

Read more: Kinpira Gobo Recipe: A Sweet & Savory Japanese Side Dish
Tips
- You can make umeboshi without red shiso leaves, but it adds aroma and color.
- It's recommended to sun-dry the umeboshi for a traditional flavor and texture. The sun-drying process firms up the exterior while retaining moisture within.
- A new style involves adding rock sugar, which gives a less sour and more moist and juicy result. The sugar slowly dissolves, so the plums don't shrink.
- Umeboshi can be enjoyed in various ways—on rice, in rice balls (onigiri), added to teriyaki sauce, or used to make umecha (plum tea).
Nutrition
- Calories: 20-30
- Fat: 0.5-1g
- Carbs: 5-7g
- Protein: 0.5-1g
FAQs
1. What kind of plums should I use for making umeboshi?
Use only unripe, green ume plums specifically intended for pickling. Ripe plums won't work.
2. How long does it take to make umeboshi?
The entire process, including the initial salting and pickling, takes several weeks. Patience is key!
3. Can I use table salt instead of the recommended salt for umeboshi?
It's best to use non-iodized salt, as iodine can affect the color and flavor of the umeboshi. Sea salt is a good alternative.
Making your own umeboshi is a rewarding culinary adventure, connecting you to a centuries-old Japanese tradition. Enjoy the satisfying tang and unique depth of flavor your homemade pickled plums will bring to your dishes. Now, go forth and savor the fruits – or rather, plums – of your labor!