Craving the perfectly seared meats and vegetables achieved with a traditional Japanese hibachi grill, but intimidated by the high price tag? This project demonstrates how to build your own ultimate DIY hibachi grill for under $25, replicating the key features of professional models. Forget expensive imports; we'll show you how to achieve precise temperature control and distinct cooking zones using readily available firebricks and a little ingenuity. This isn't just a grill; it's a culinary tool designed for exceptional results.Our guide provides a step-by-step approach to building a long, narrow grilling surface that maximizes heat efficiency. Through experimentation, we've optimized vent placement for superior temperature control, creating designated zones for raw food prep, warming, high-heat searing, and resting. The result is a functional and adaptable design capable of producing perfectly cooked skewers, with crispy exteriors and juicy interiors, mirroring the performance of professional hibachi grills at a fraction of the cost. Get ready to elevate your grilling game!
Pros And Cons
- Holds heat well at high temperatures
- Good for precision grilling of skewers
- Can be expensive (around $600)
- Cheap (about $25 for bricks)
- Can be built quickly
- Provides high heat and variable temperature zones
- Customizable design
Read more: Top 10 Japanese Charcoal Grills: A Buyer's Guide
The Inspiration: Authentic Hibachi Grills
Traditional hibachi grills from Japan are renowned for their ability to maintain incredibly high temperatures using binchotan charcoal. Their design incorporates clever vents for precise temperature control, often creating distinct hot and cold zones. This allows for meticulous grilling, especially suitable for skewers. The high heat and precise control are key features.
These grills are prized for their ability to create perfectly seared exteriors while maintaining juicy interiors. However, their cost can be prohibitive. The goal of this project is to replicate the key performance aspects of a professional hibachi grill on a budget.
Building the Ultimate DIY Hibachi
This DIY hibachi uses readily available materials, primarily firebricks, costing around $25. The construction focuses on creating a long, narrow grilling surface, maximizing heat efficiency. Strategic placement of vents is crucial for temperature control and creating zones.
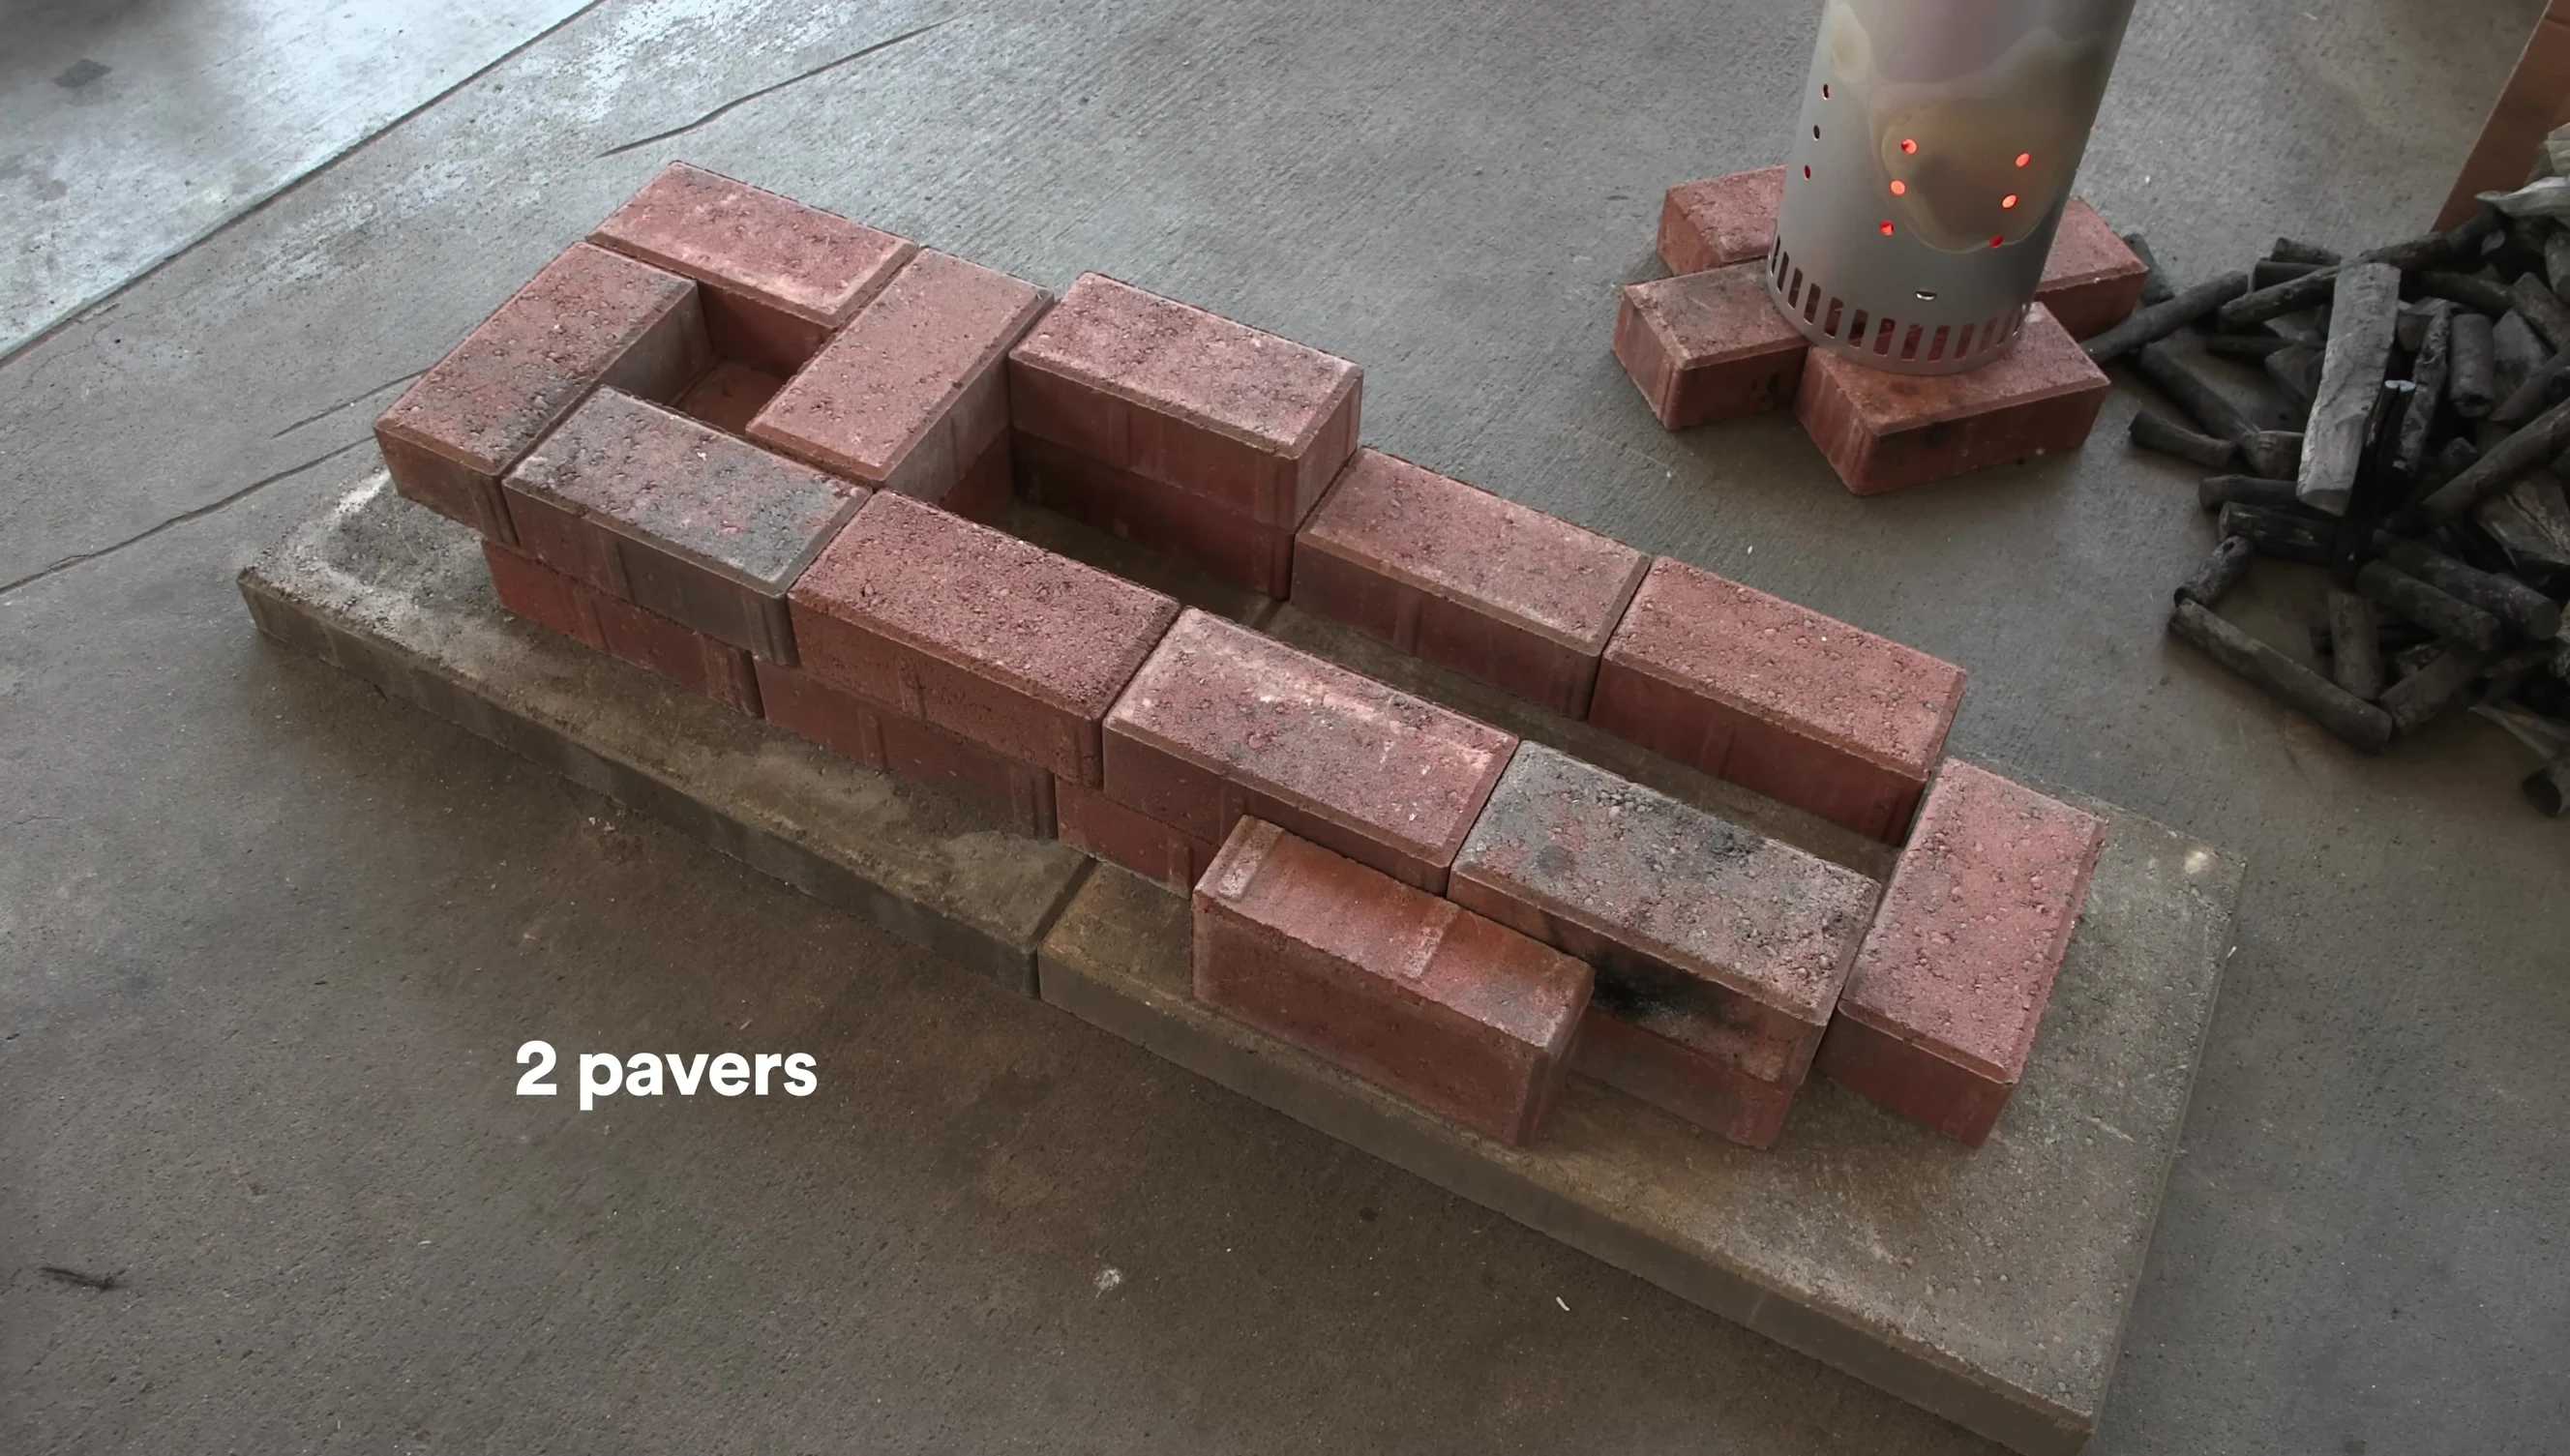
We experimented with vent placement. Initially, vents were placed along one side, creating a potential hot-cold zone differentiation. However, further iterations moved towards more concentrated vents for better heat control. The design emphasizes a balance of simplicity and function.
Zoning for Precision Grilling
The final design incorporates distinct zones: a raw food prep area, a warming zone, a super-hot grilling zone, and a resting zone. This layout optimizes workflow and allows for precise control of cooking temperatures. The goal is to mirror the zoning of a professional-grade hibachi.

The addition of a designated resting zone is critical for maintaining food temperature and allowing for better moisture retention. Positioning the hottest zone in the center of the grill provides more even heat distribution across the cooking surface.
Cooking Results and Final Thoughts
The DIY hibachi grill performed exceptionally well, reaching temperatures comparable to professional models. The high heat and precisely controlled zones delivered excellent results, producing perfectly cooked skewers with crispy exteriors and juicy interiors. The smaller the food item, the better the results.

This DIY Hibachi grill excels at producing beautifully grilled food at a fraction of the cost of traditional models. The design's adaptability allows for customization to suit personal needs and preferences. The ability to create distinct temperature zones is a key advantage, leading to more precise cooking.