This step-by-step guide details the construction of a functional Raku kiln using a repurposed barrel. This DIY project offers a cost-effective alternative to commercially available kilns, perfect for hobbyists and artists on a budget. Learn how to transform a simple barrel into a high-temperature firing chamber capable of producing stunning Raku pottery. The process involves careful cutting and modification of the barrel, meticulous insulation with ceramic fiber, and strategic placement of ventilation holes for controlled airflow.From welding metal flanges to securing the insulation with ceramic buttons, this guide provides clear instructions and safety precautions for each stage of the build. You'll learn how to monitor the kiln's temperature with pyrometer cones and effectively utilize a gas source for heating. The guide also covers post-firing techniques, such as sugar application and horsehair decoration, along with lessons learned from the initial firing, allowing for improvements in subsequent uses. Get ready to embark on a rewarding crafting journey with this comprehensive guide to building your own Raku kiln.
Read more: 9 Exquisite Japanese Ceramic Coffee Cups
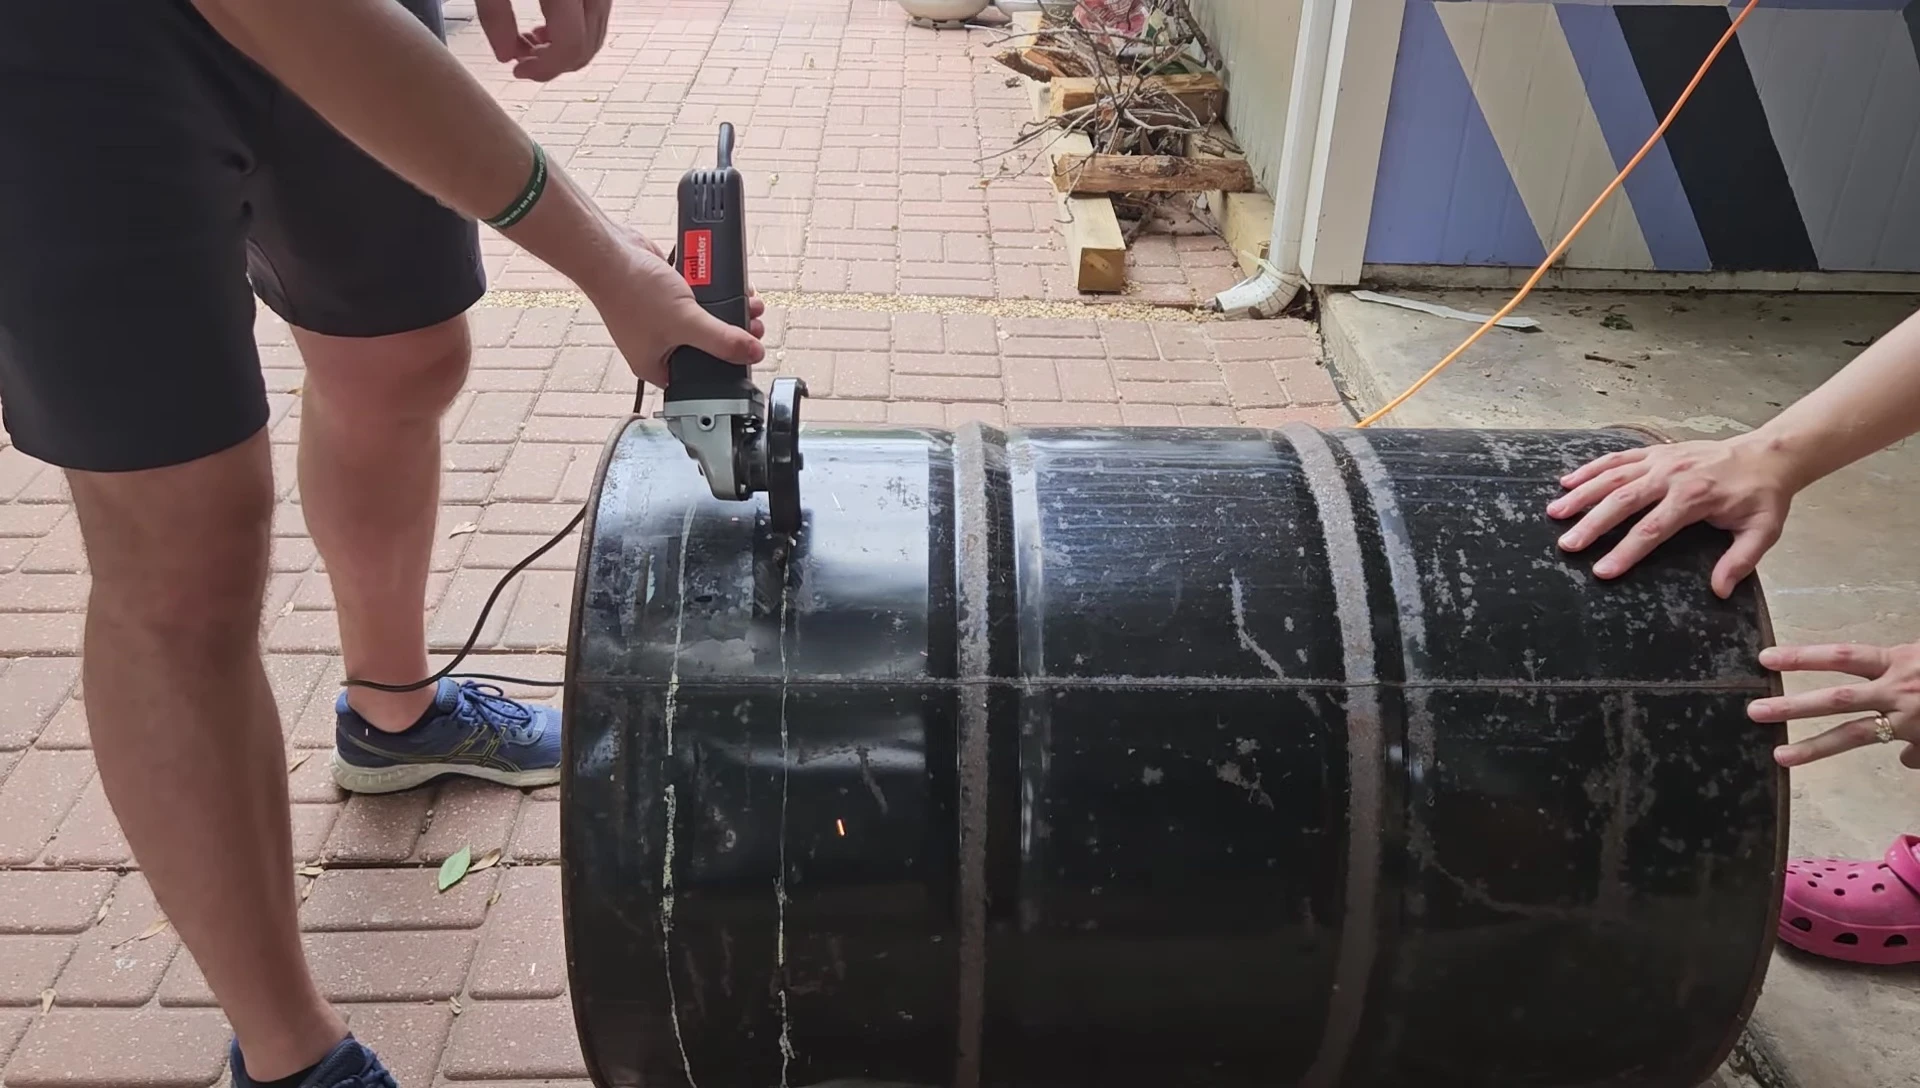
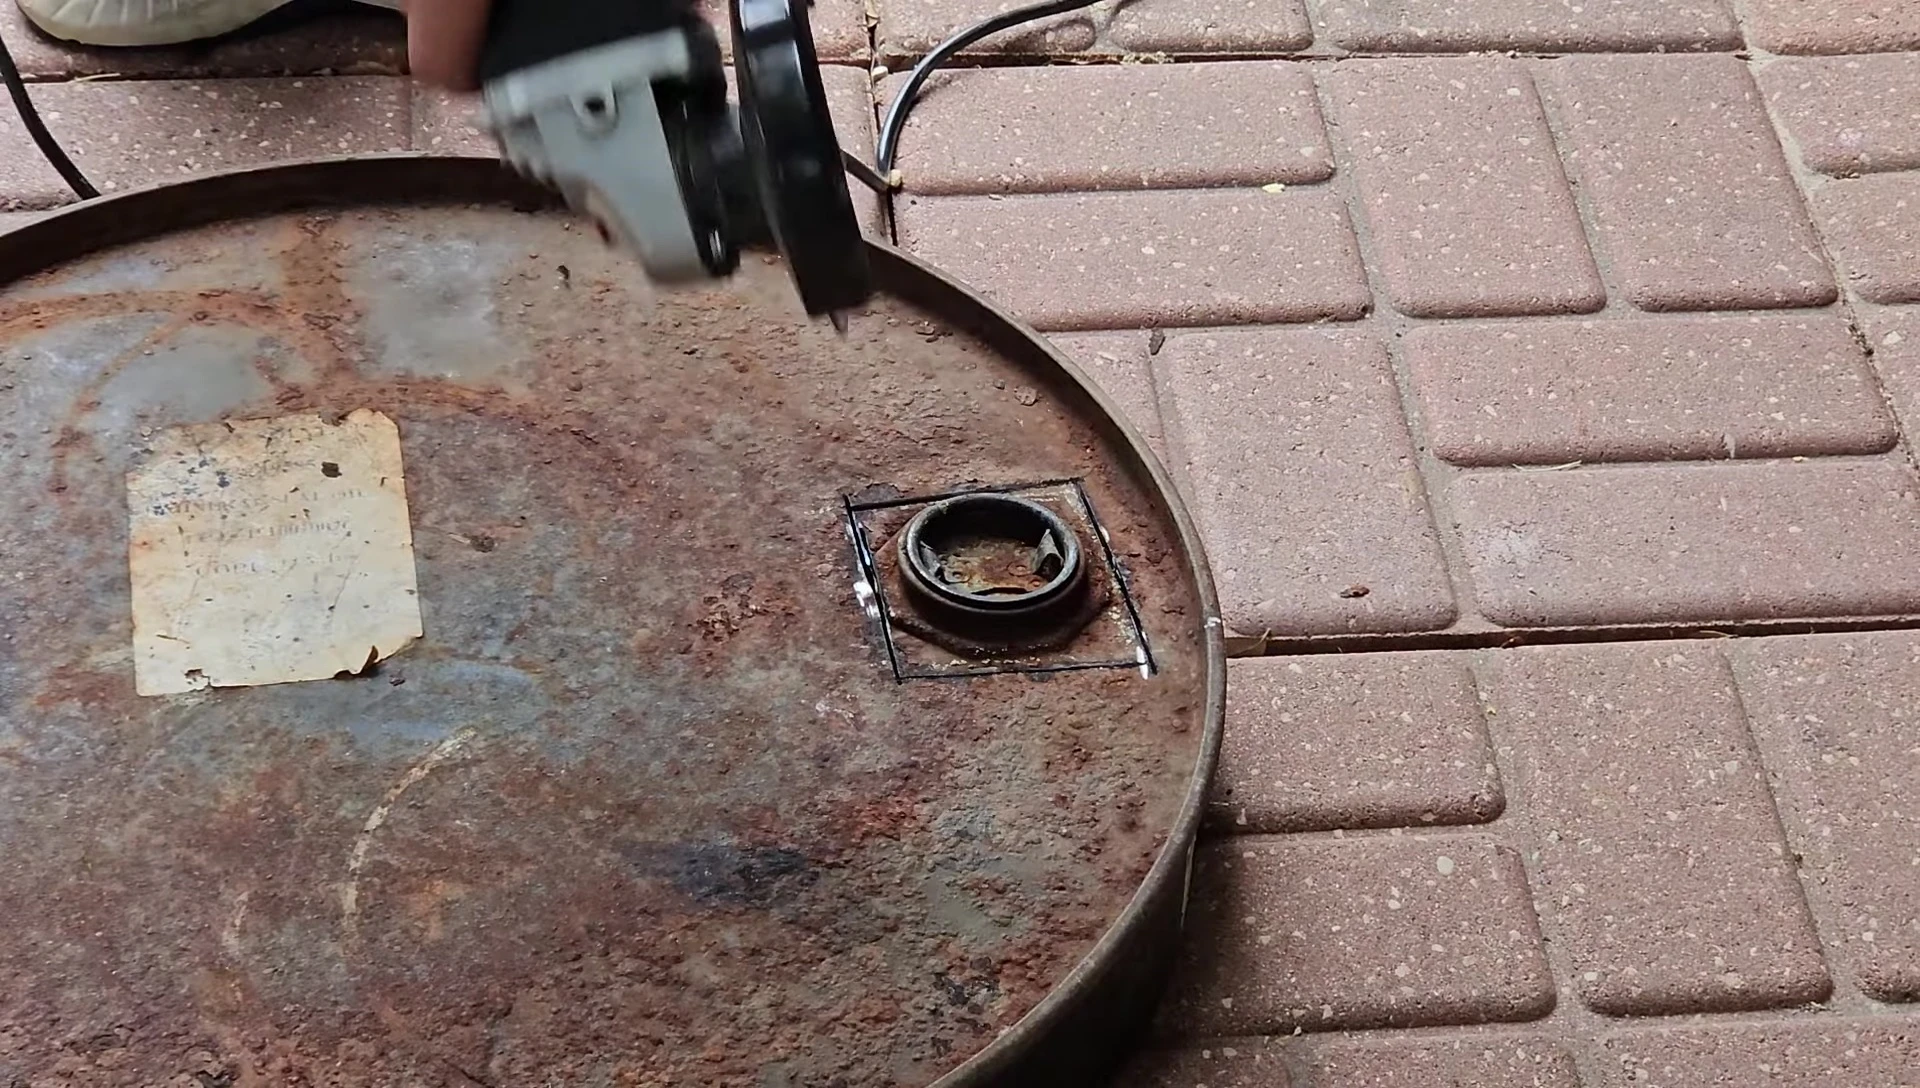
Barrel Preparation and Modification
The foundation of this Raku kiln is a repurposed barrel. First, a lid is carefully cut from the top. The size of the barrel dictates the overall kiln size, so careful measurements are essential. A four-inch ring is also cut from the center, retaining these scraps for later welding.
Additional holes, four inches in diameter, are cut near the base and lid for ventilation. This allows for efficient airflow, crucial for controlled firing. Pairs of smaller holes are then drilled along the barrel's sides to secure the insulation layers.
Insulation and Safety Precautions
Ceramic fiber insulation is used to line the kiln's interior. This high-temperature insulation is crucial for maintaining heat and protecting the barrel. Always wear appropriate safety gear: gloves, eye protection, and long sleeves, to prevent skin irritation from the fibers.

The insulation is cut and layered meticulously. Two layers are used for the base and top, and longer layers are used for the sides. This double layer improves insulation effectiveness and temperature control during firing.
Welding and Finishing Touches
Metal flanges, cut from the earlier scrap metal ring, are welded onto the barrel's top edge to center the lid during firing. This ensures safe and easy lid placement while the kiln is hot.
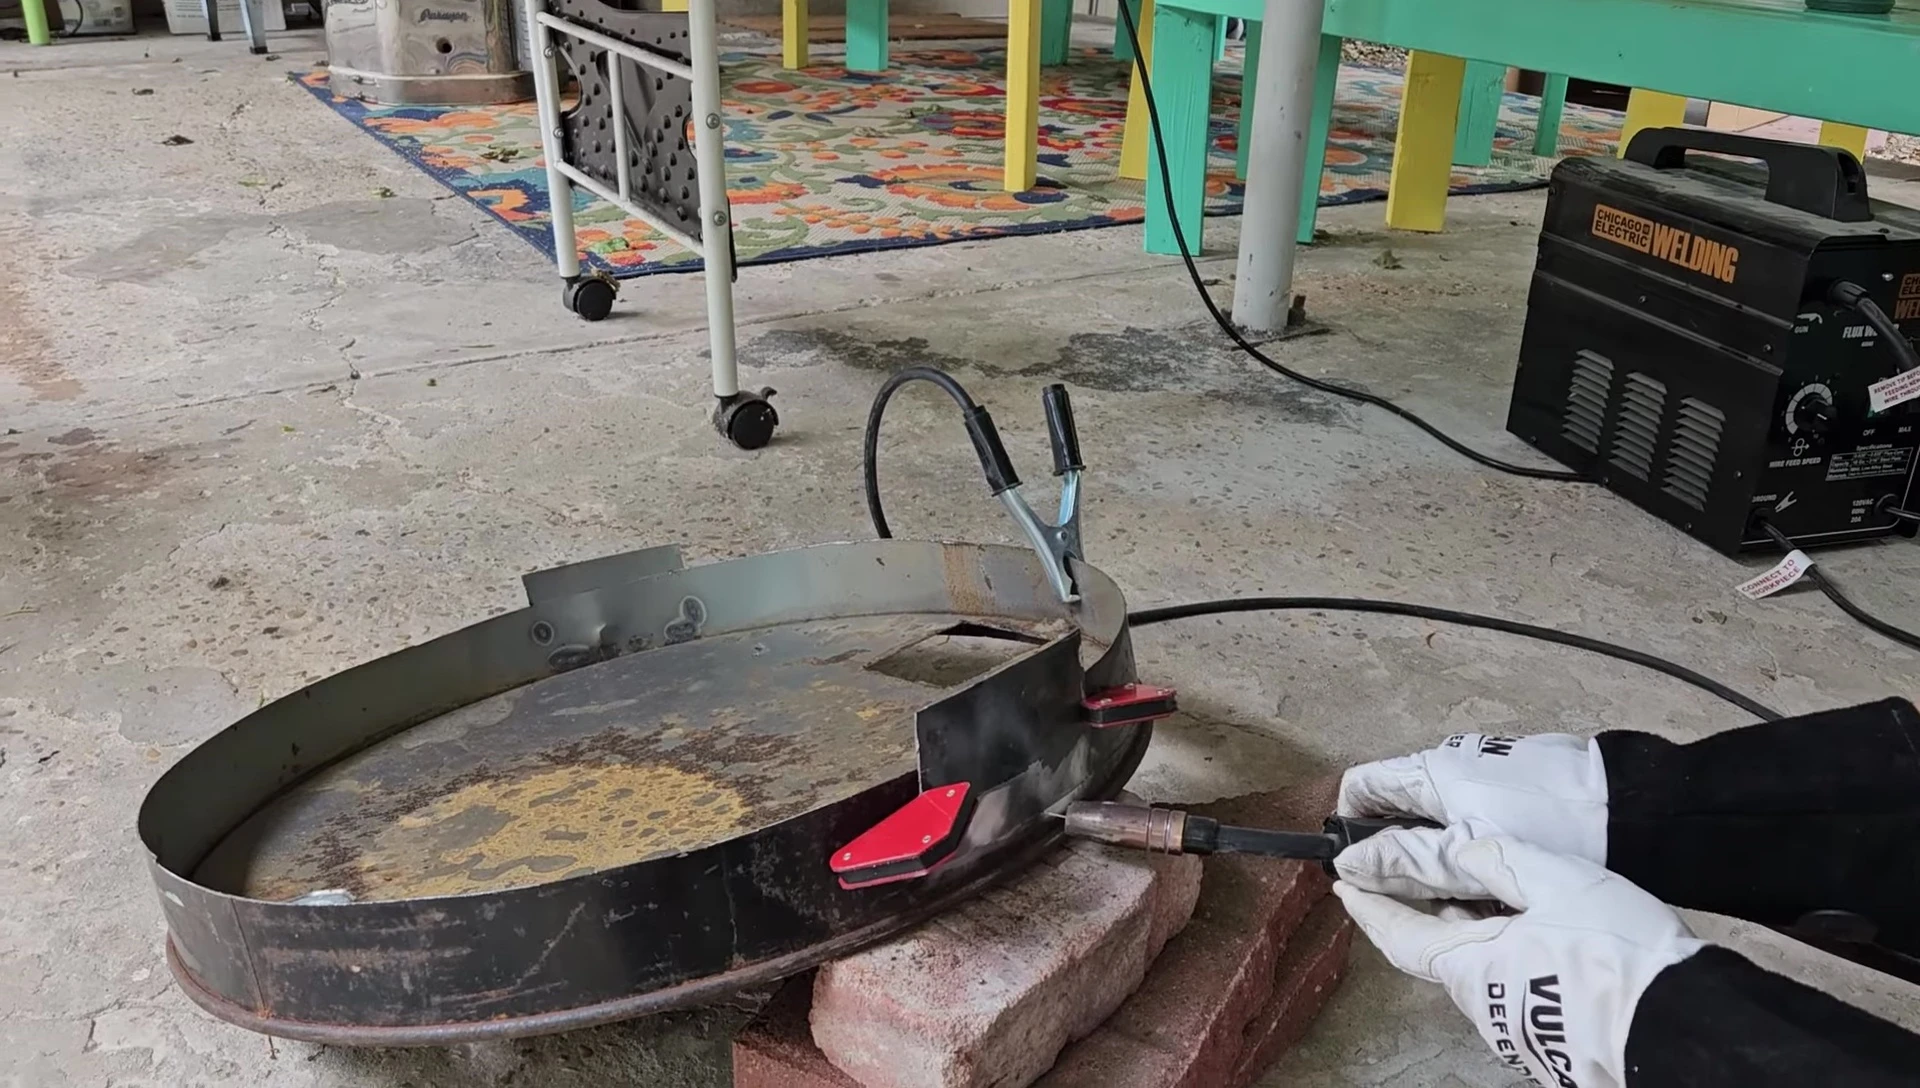
A small windshield is added at the base to prevent the flame from being blown around, ensuring consistent heating. Any rust on the barrel is treated with an anti-rust compound to prevent damage from the heat.

Insulation Attachment and Kiln Assembly
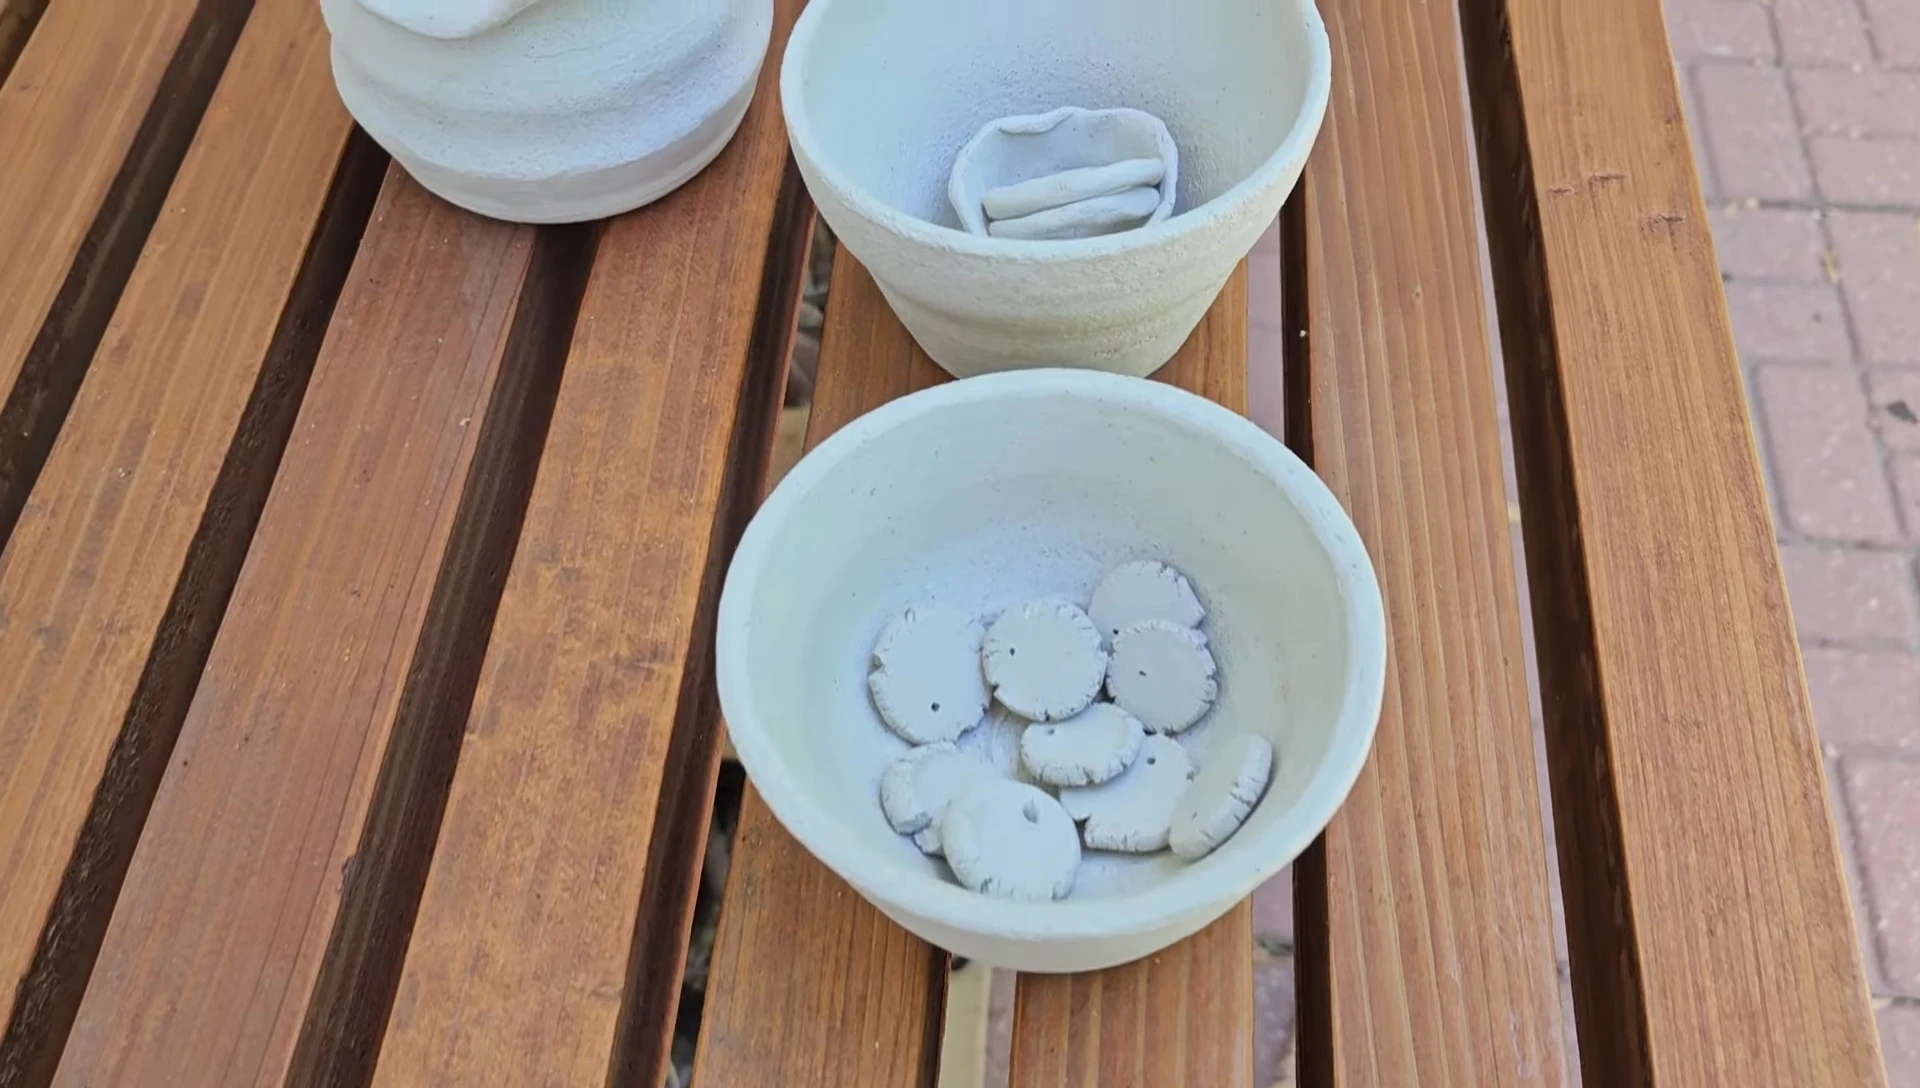
Small ceramic buttons are created (using a microwave kiln) to prevent the wire from pulling through the delicate insulation. These buttons act as anchors for the wire, ensuring secure attachment.

The insulation is carefully attached to the kiln using the pre-drilled holes and the ceramic buttons. The lid is also insulated with two layers and secured. Ensuring a tight seal is important for temperature control.
Firing the Kiln and Decorating the Pottery
Raku clay pieces are placed inside the kiln. Pyrometer cones are used to monitor the kiln's temperature, indicating when it reaches the desired firing point. A gas source is used for heating, and safety precautions are taken to prevent accidents.
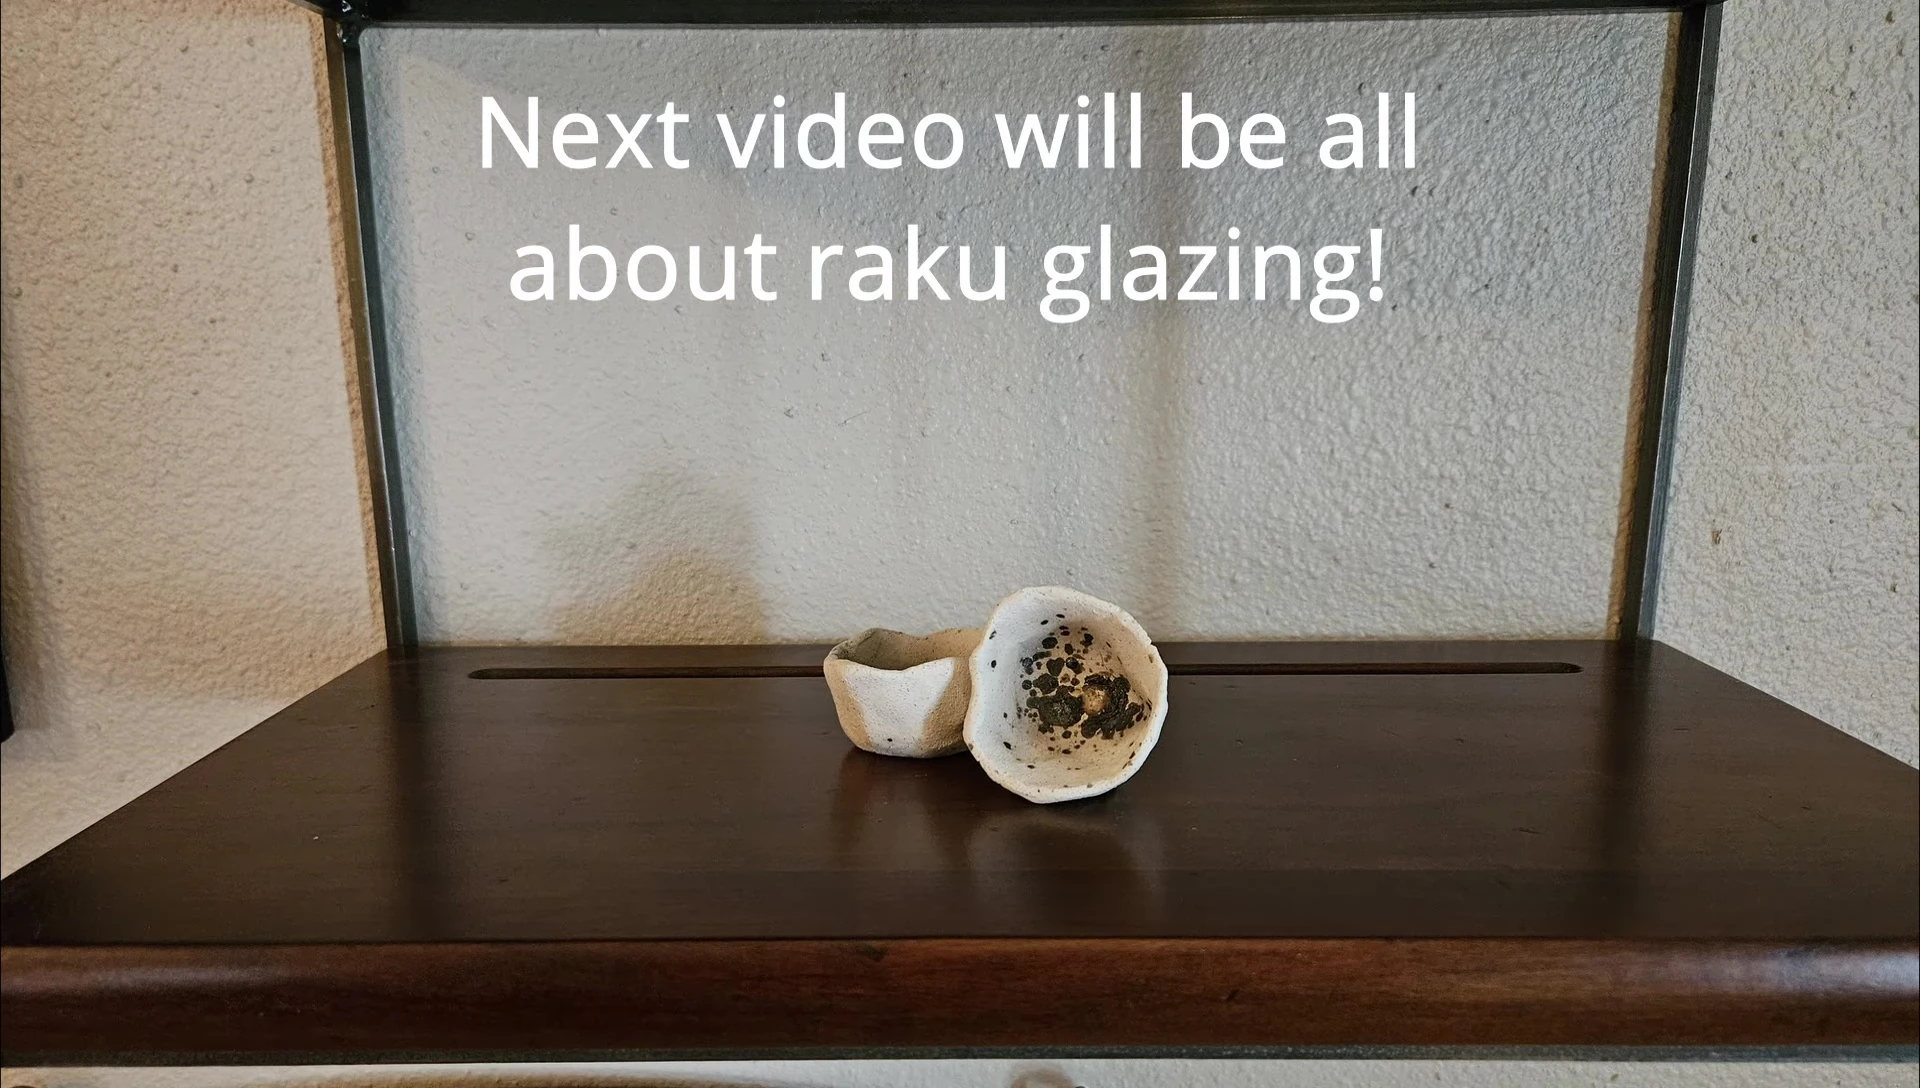
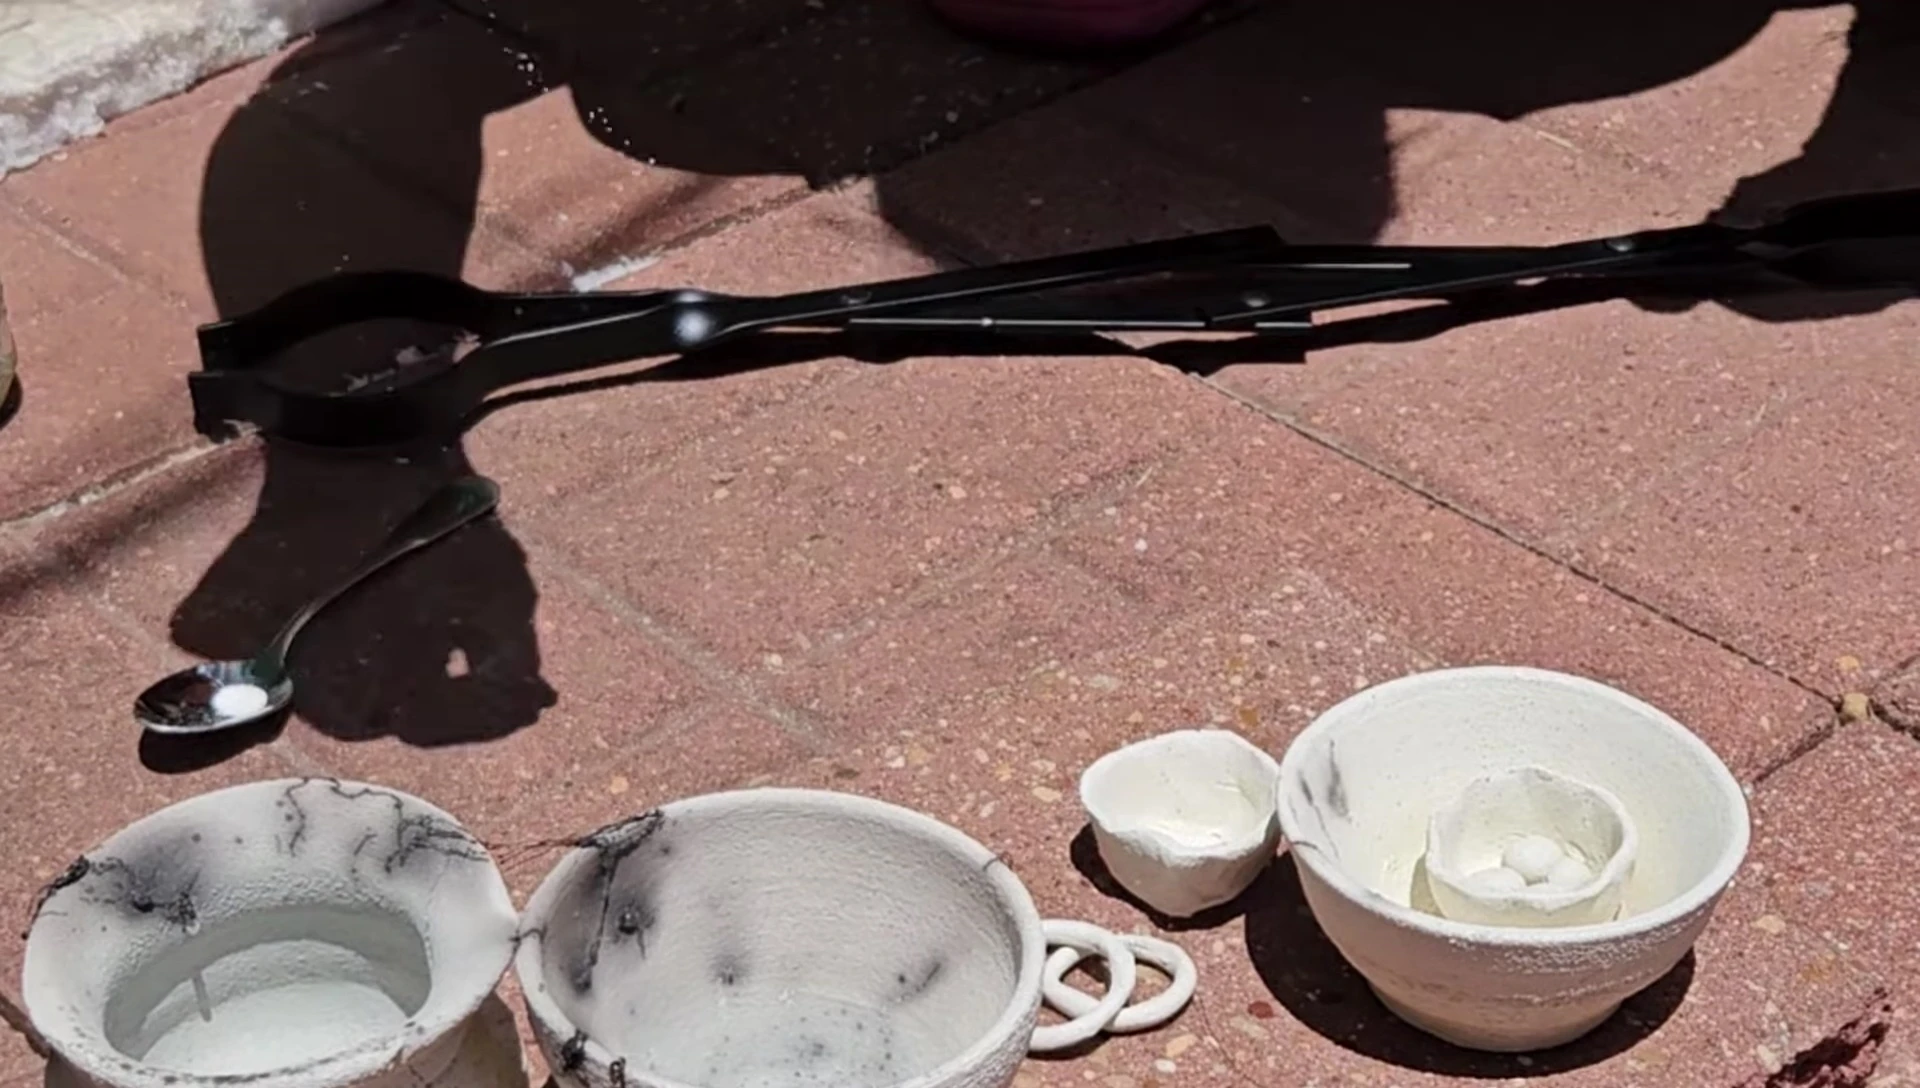
Once fired, the pottery is carefully removed using heat-resistant tongs. Sugar is sprinkled onto the pottery for a textural effect, and horsehair is applied for decorative markings. The timing of applying the horsehair is crucial to achieve the desired aesthetic.
Results and Conclusion
The first firing took about an hour. While the process was successful, some minor adjustments could improve efficiency in future firings. The use of self-supporting pyrometer cones simplified temperature monitoring.

The final results were pleasing, despite some minor breakage of certain pieces. This was attributed to the thickness of the clay and can be improved with experience. Overall, the DIY Raku kiln proved functional and effective.