Making perfect sushi at home has always seemed like a daunting task, requiring years of practice and specialized skills. But what if we told you there's a revolutionary tool that simplifies the process, making restaurant-quality sushi achievable for everyone? Introducing the Sushi Bazooka, a game-changing kitchen gadget that transforms the art of sushi making into an effortless and enjoyable experience. Forget the hours of practice and frustrating attempts – the Sushi Bazooka guarantees perfectly formed, professional-looking sushi rolls, every single time.Whether you're a seasoned sushi enthusiast or a complete beginner, the Sushi Bazooka empowers you to create delicious and visually stunning sushi at home. Its innovative design guides you through each step, from preparing the rice to perfectly slicing the final product. This comprehensive review will take you through the simple, step-by-step process, showcasing the ease and efficiency of this remarkable tool and inspiring you to embark on your own sushi-making adventure. Get ready to impress your friends and family with your newfound sushi-making prowess!
Pros And Cons
- Makes sushi roll creation simple
- Creates a perfect little channel for fillings
- Ensures a nice fit and good-looking sushi roll
Read more: 10 Best Bamboo Sushi Rolling Mats
Preparing the Sushi Rice
The first step is preparing the sushi rice. Ensure the rice is cooked and cooled. A touch of rice vinegar adds flavor and helps bind the rice together for easy shaping.
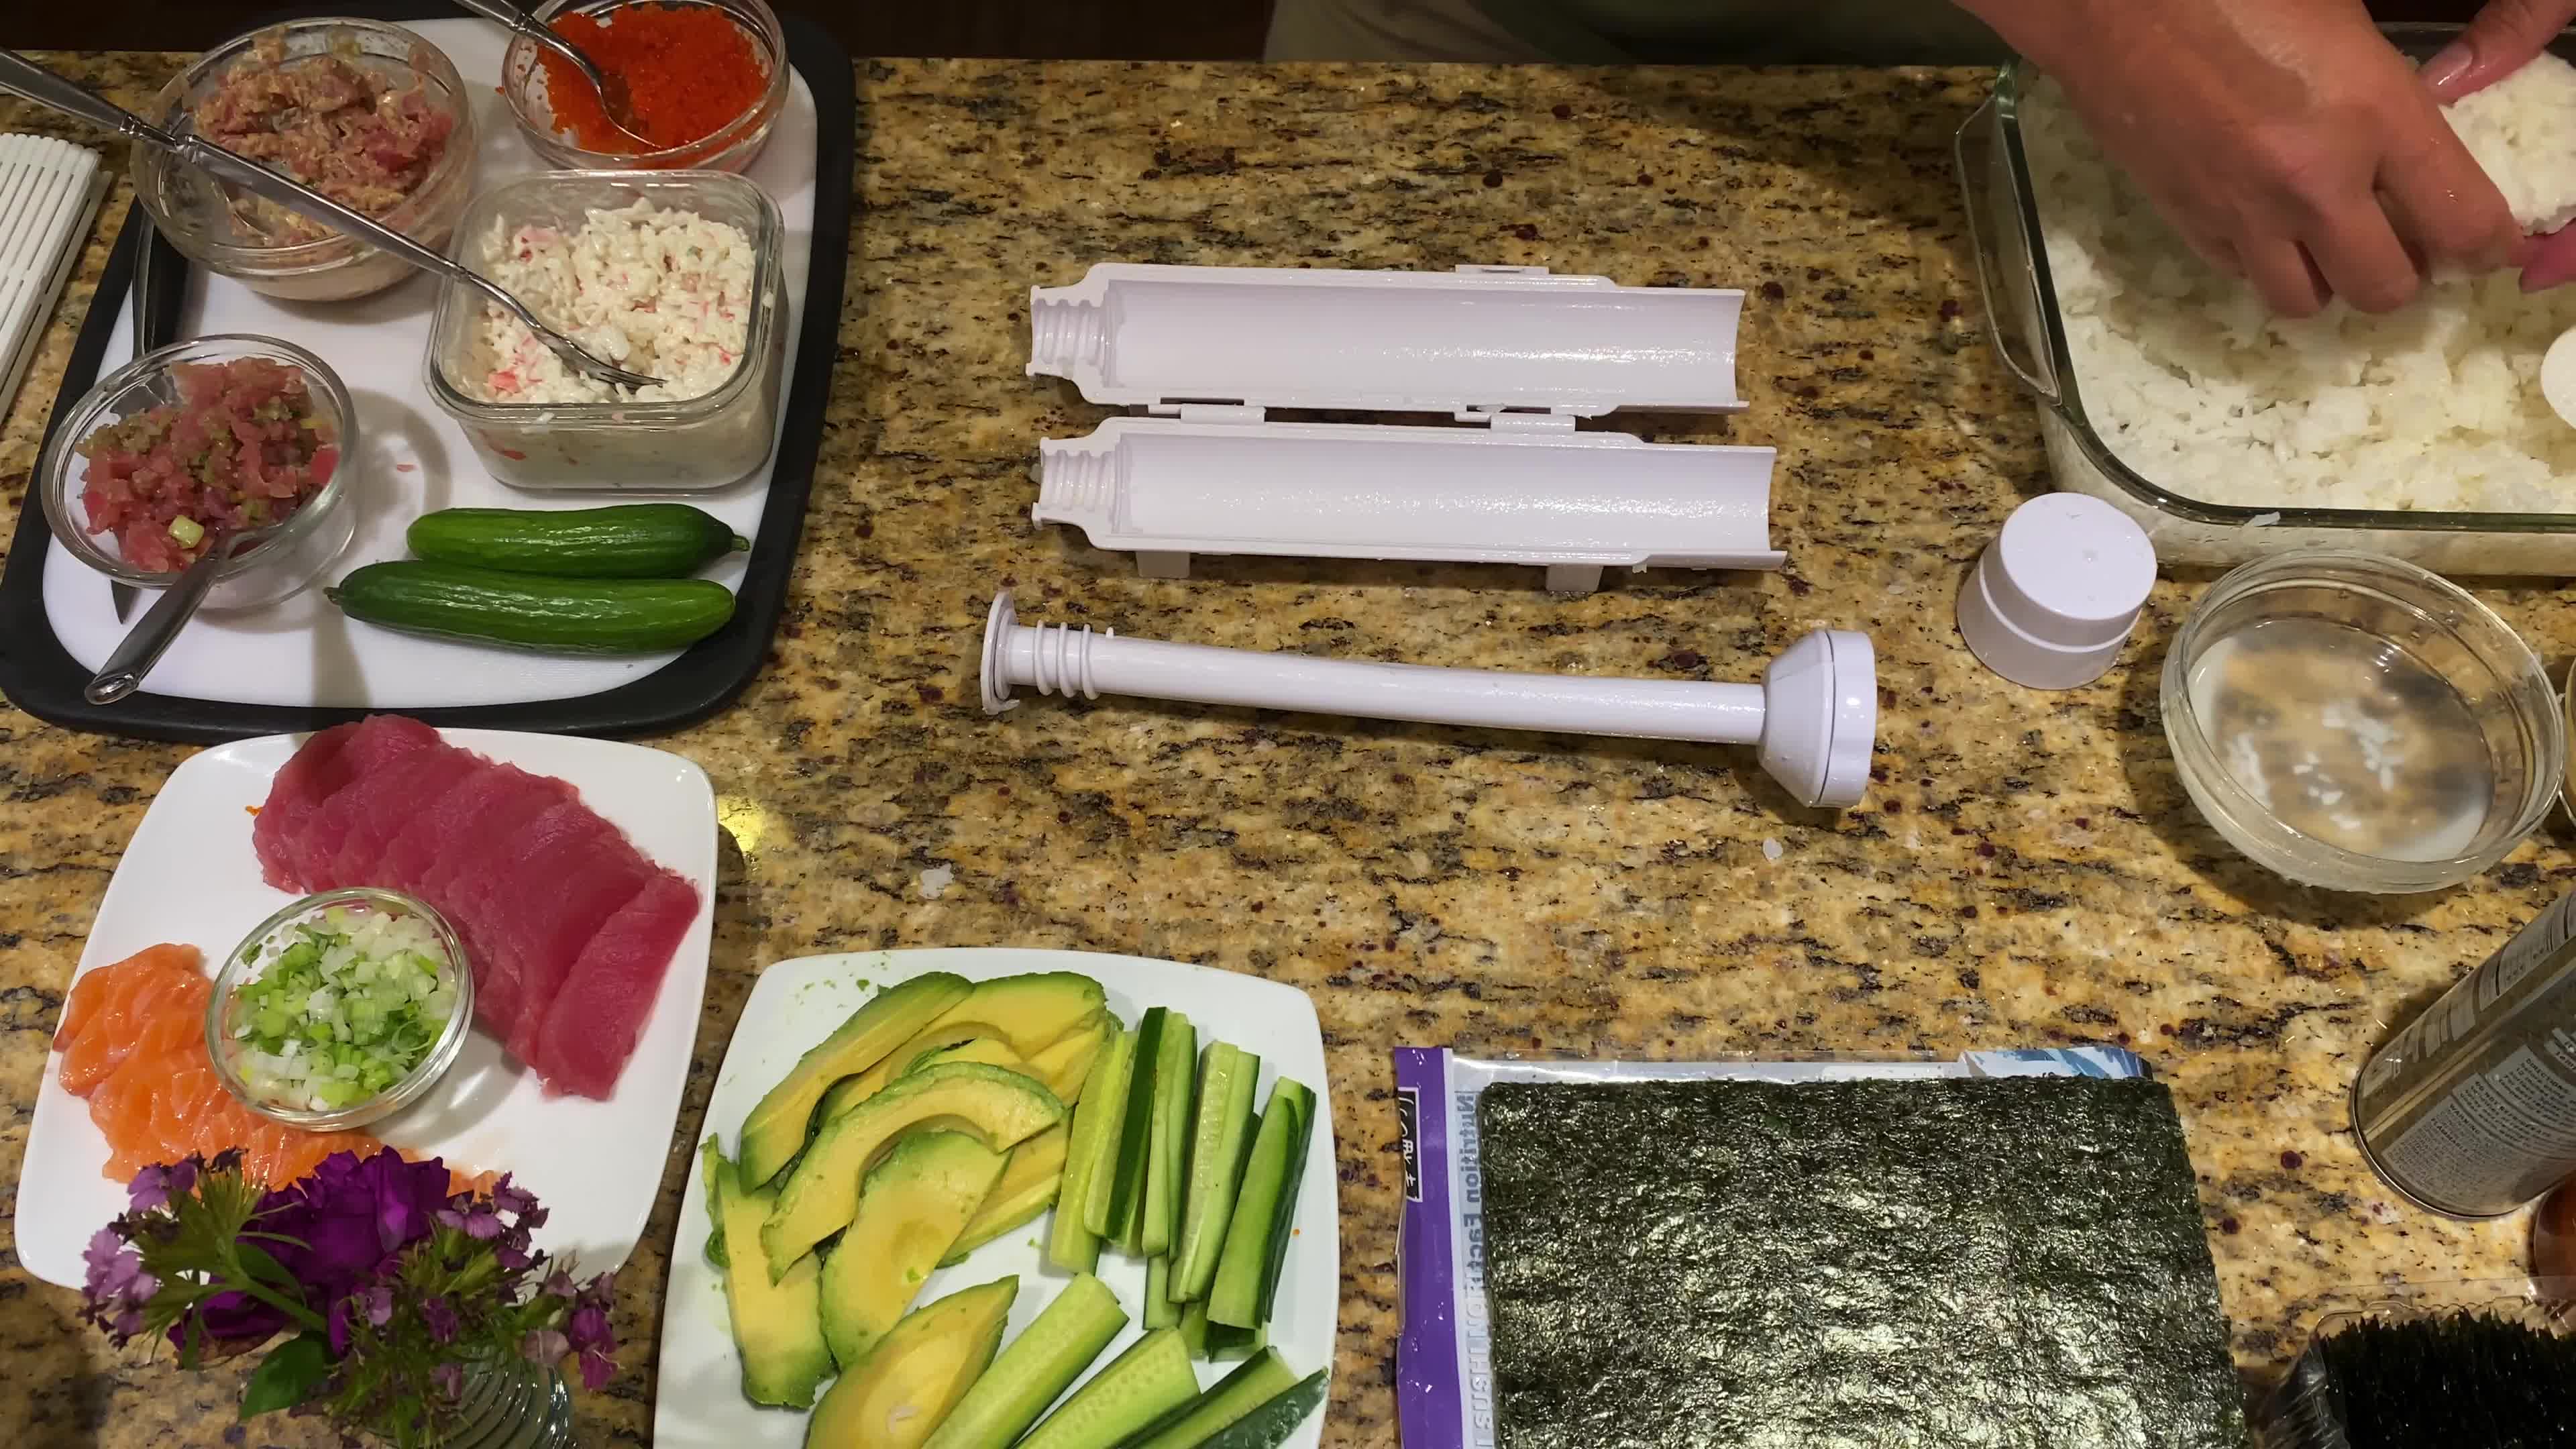
Lightly spray the Sushi Bazooka with coconut oil cooking spray (or regular cooking spray). This will prevent the rice from sticking to the mold.
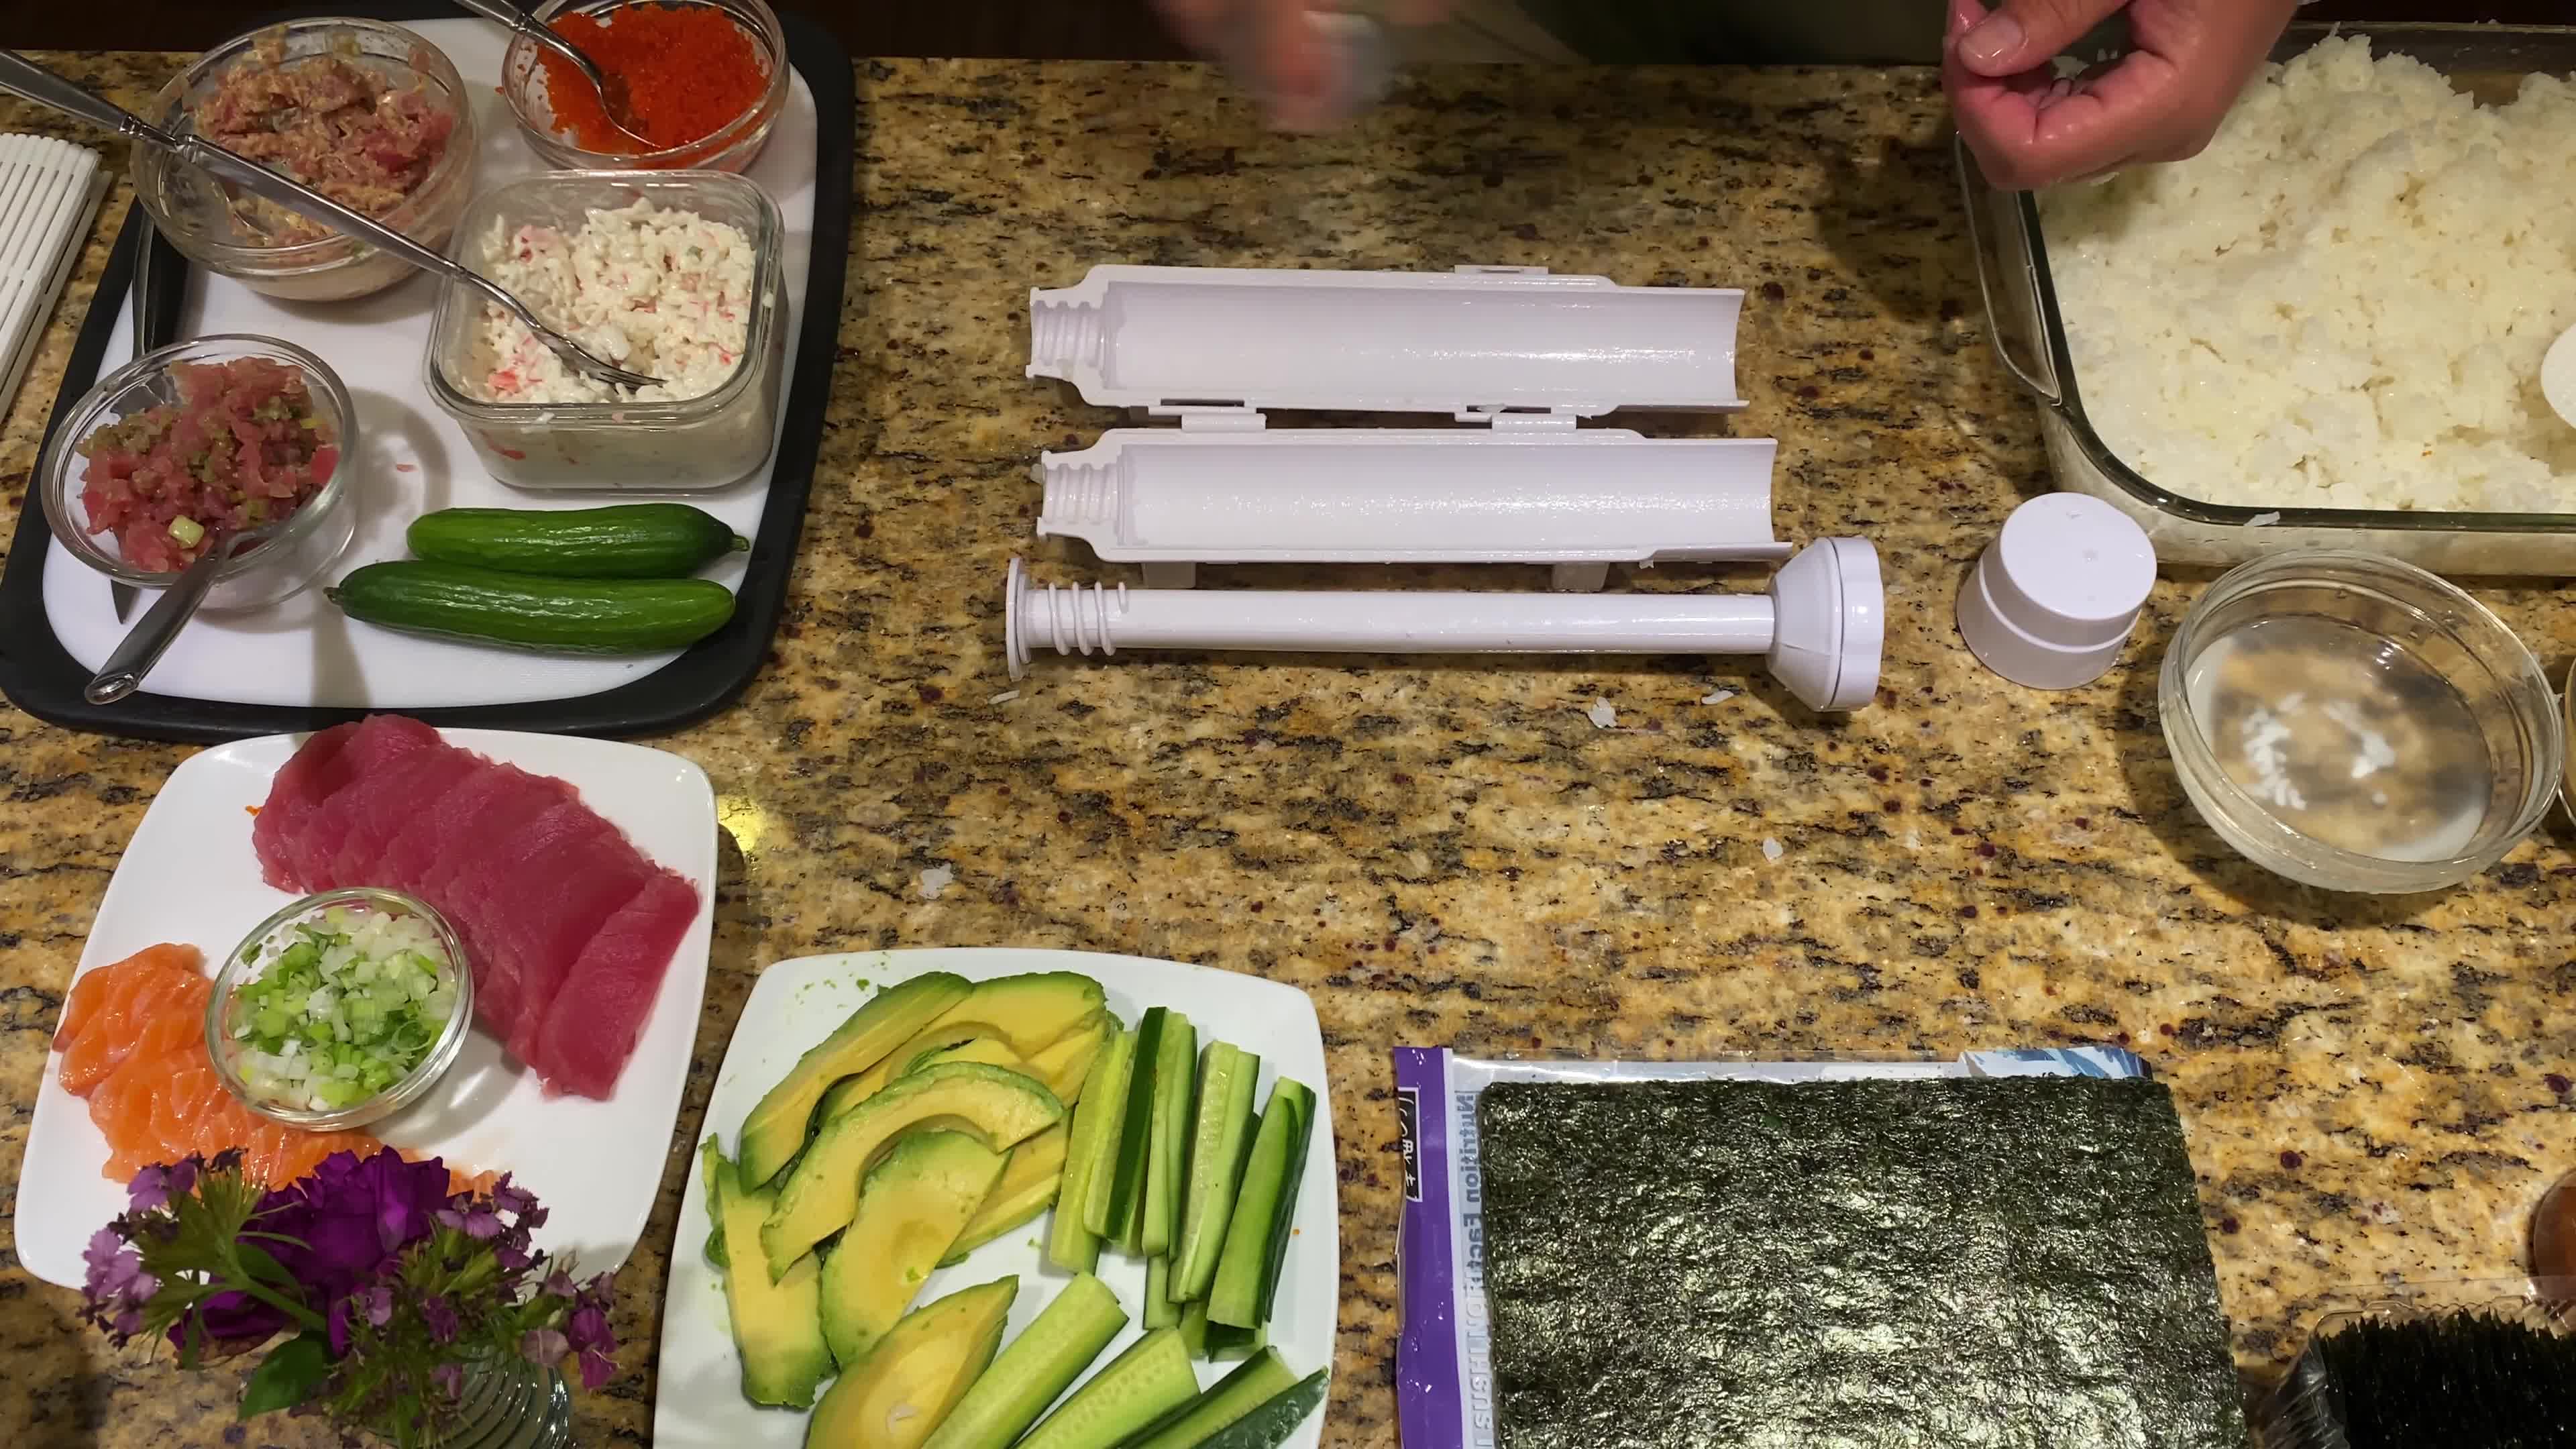
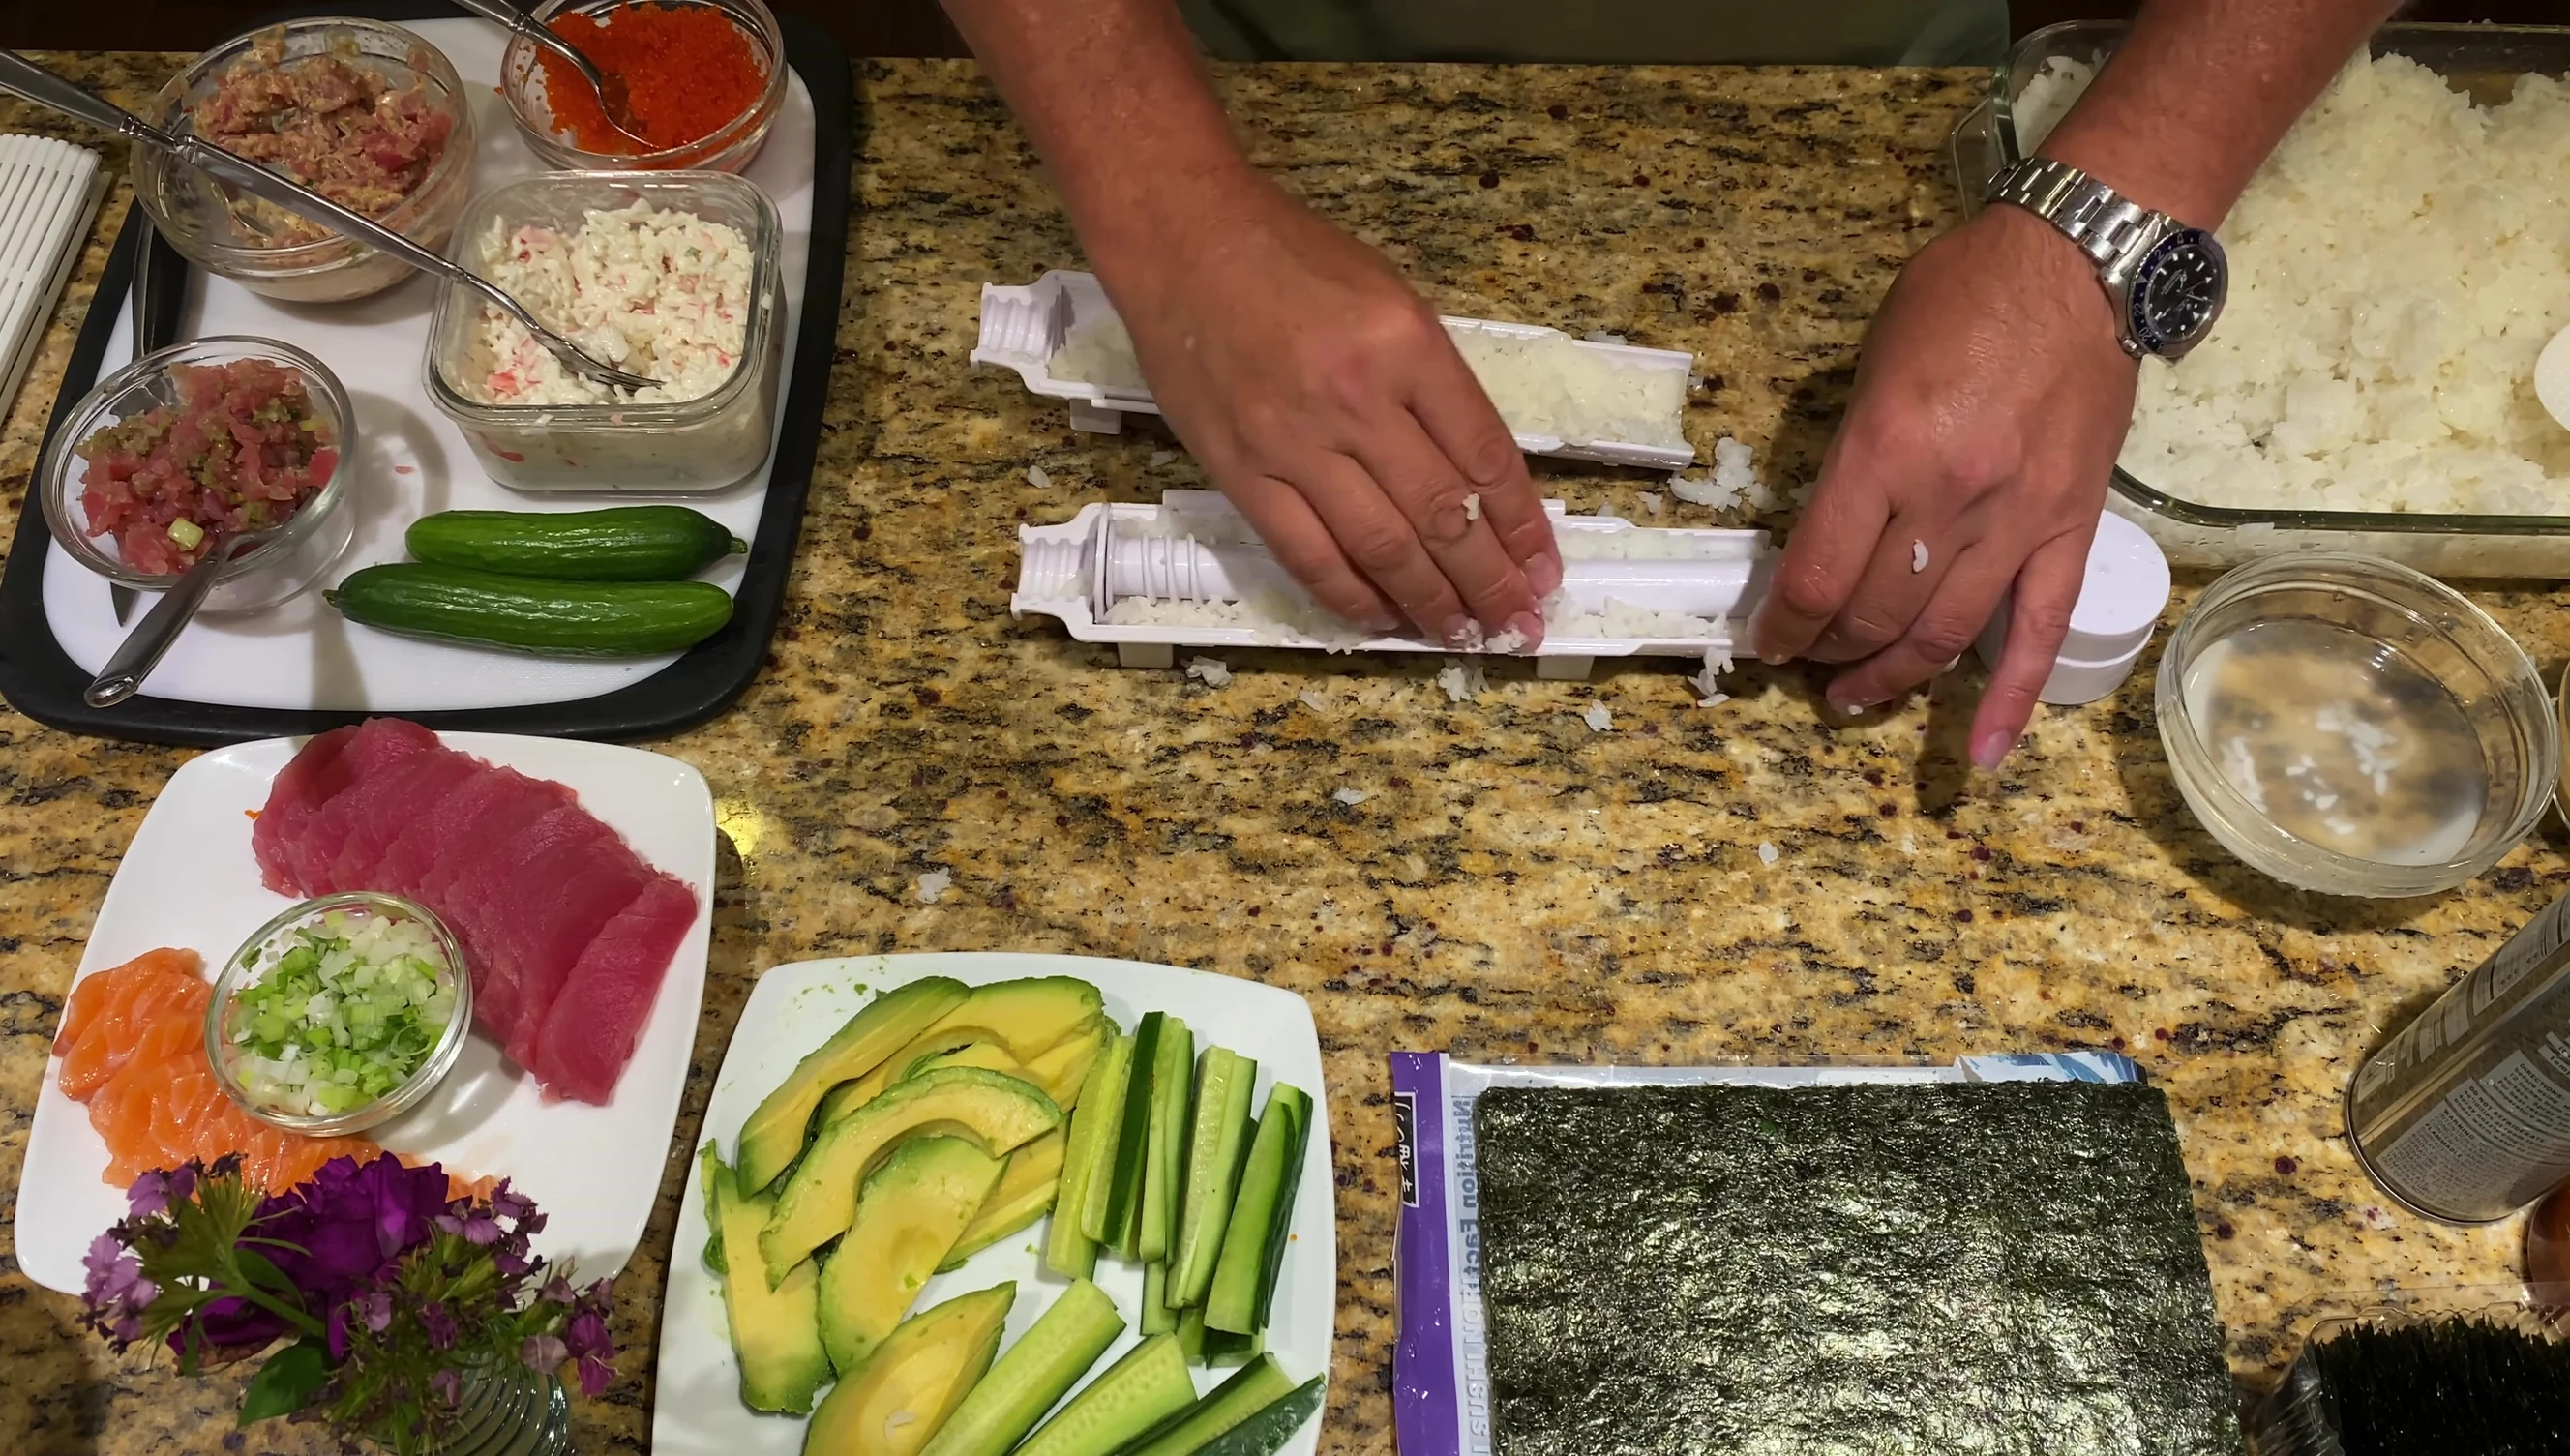
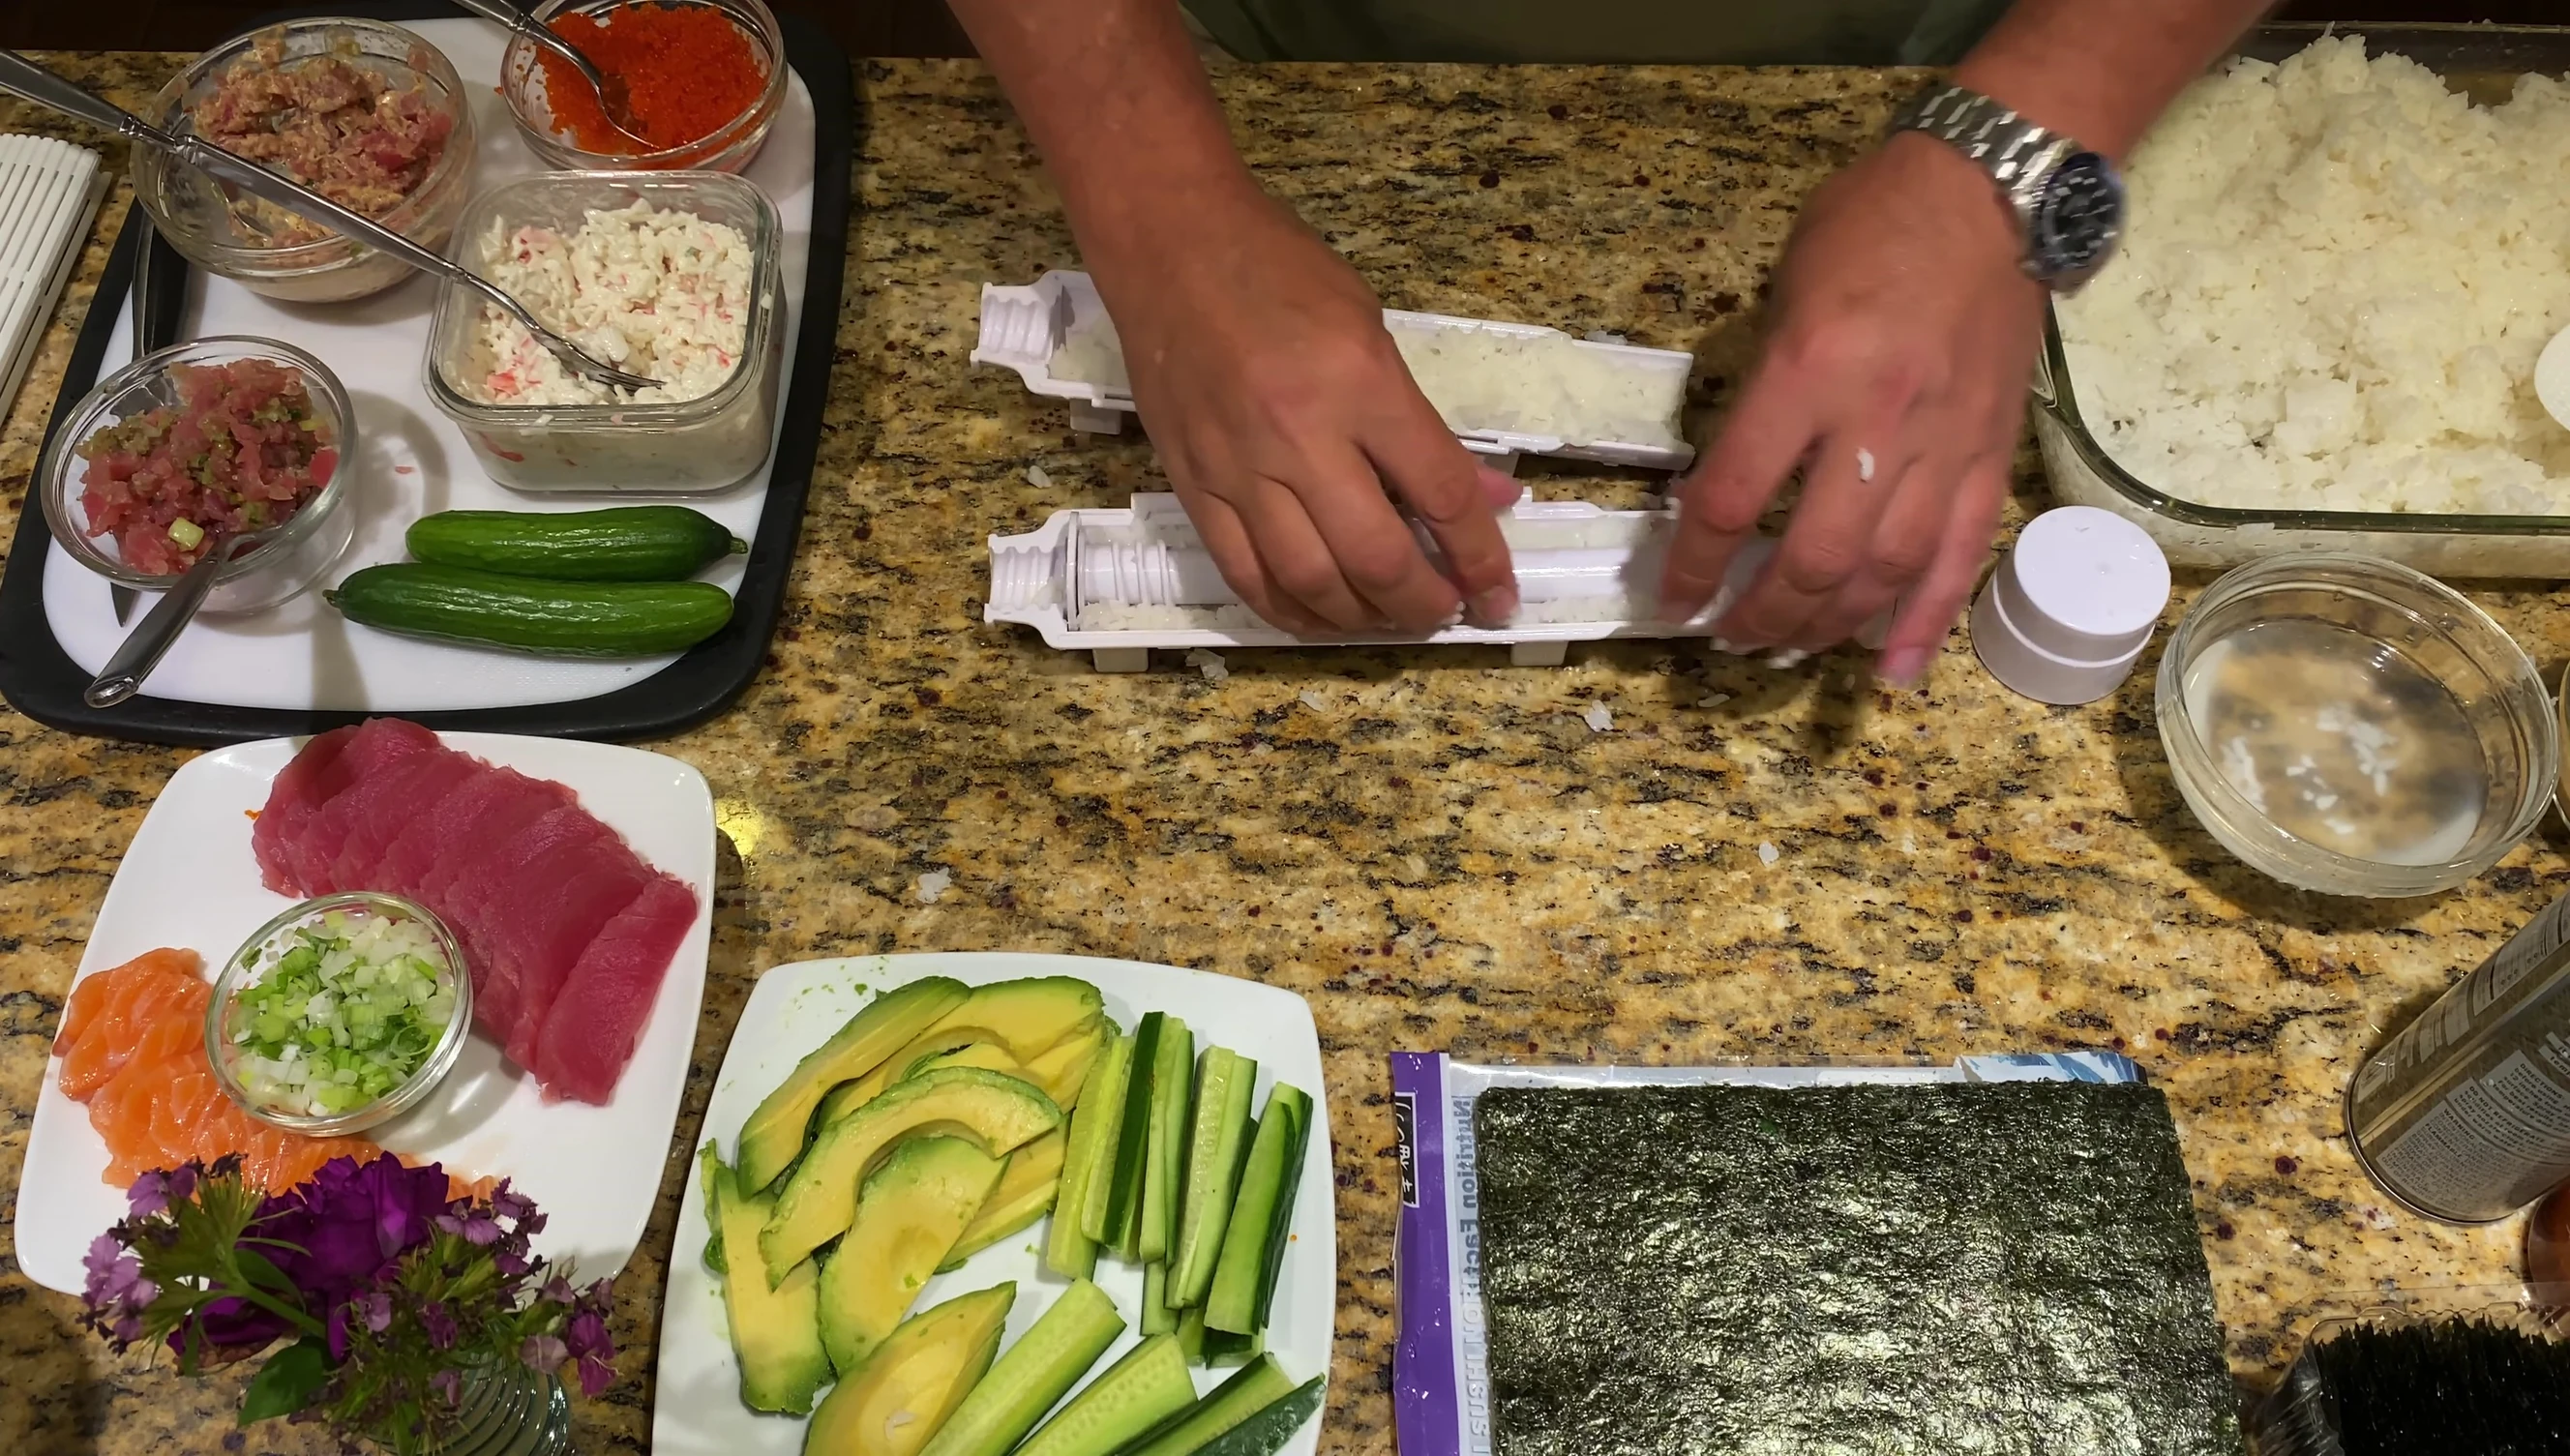
Wet your hands to make handling the sticky rice easier. Gently pack the prepared sushi rice into the bazooka, ensuring it reaches the edges for a neat and even fill.
Filling the Sushi Bazooka
Once the rice is packed, use the plunger to create channels. These channels will guide the filling process, ensuring even distribution of ingredients.
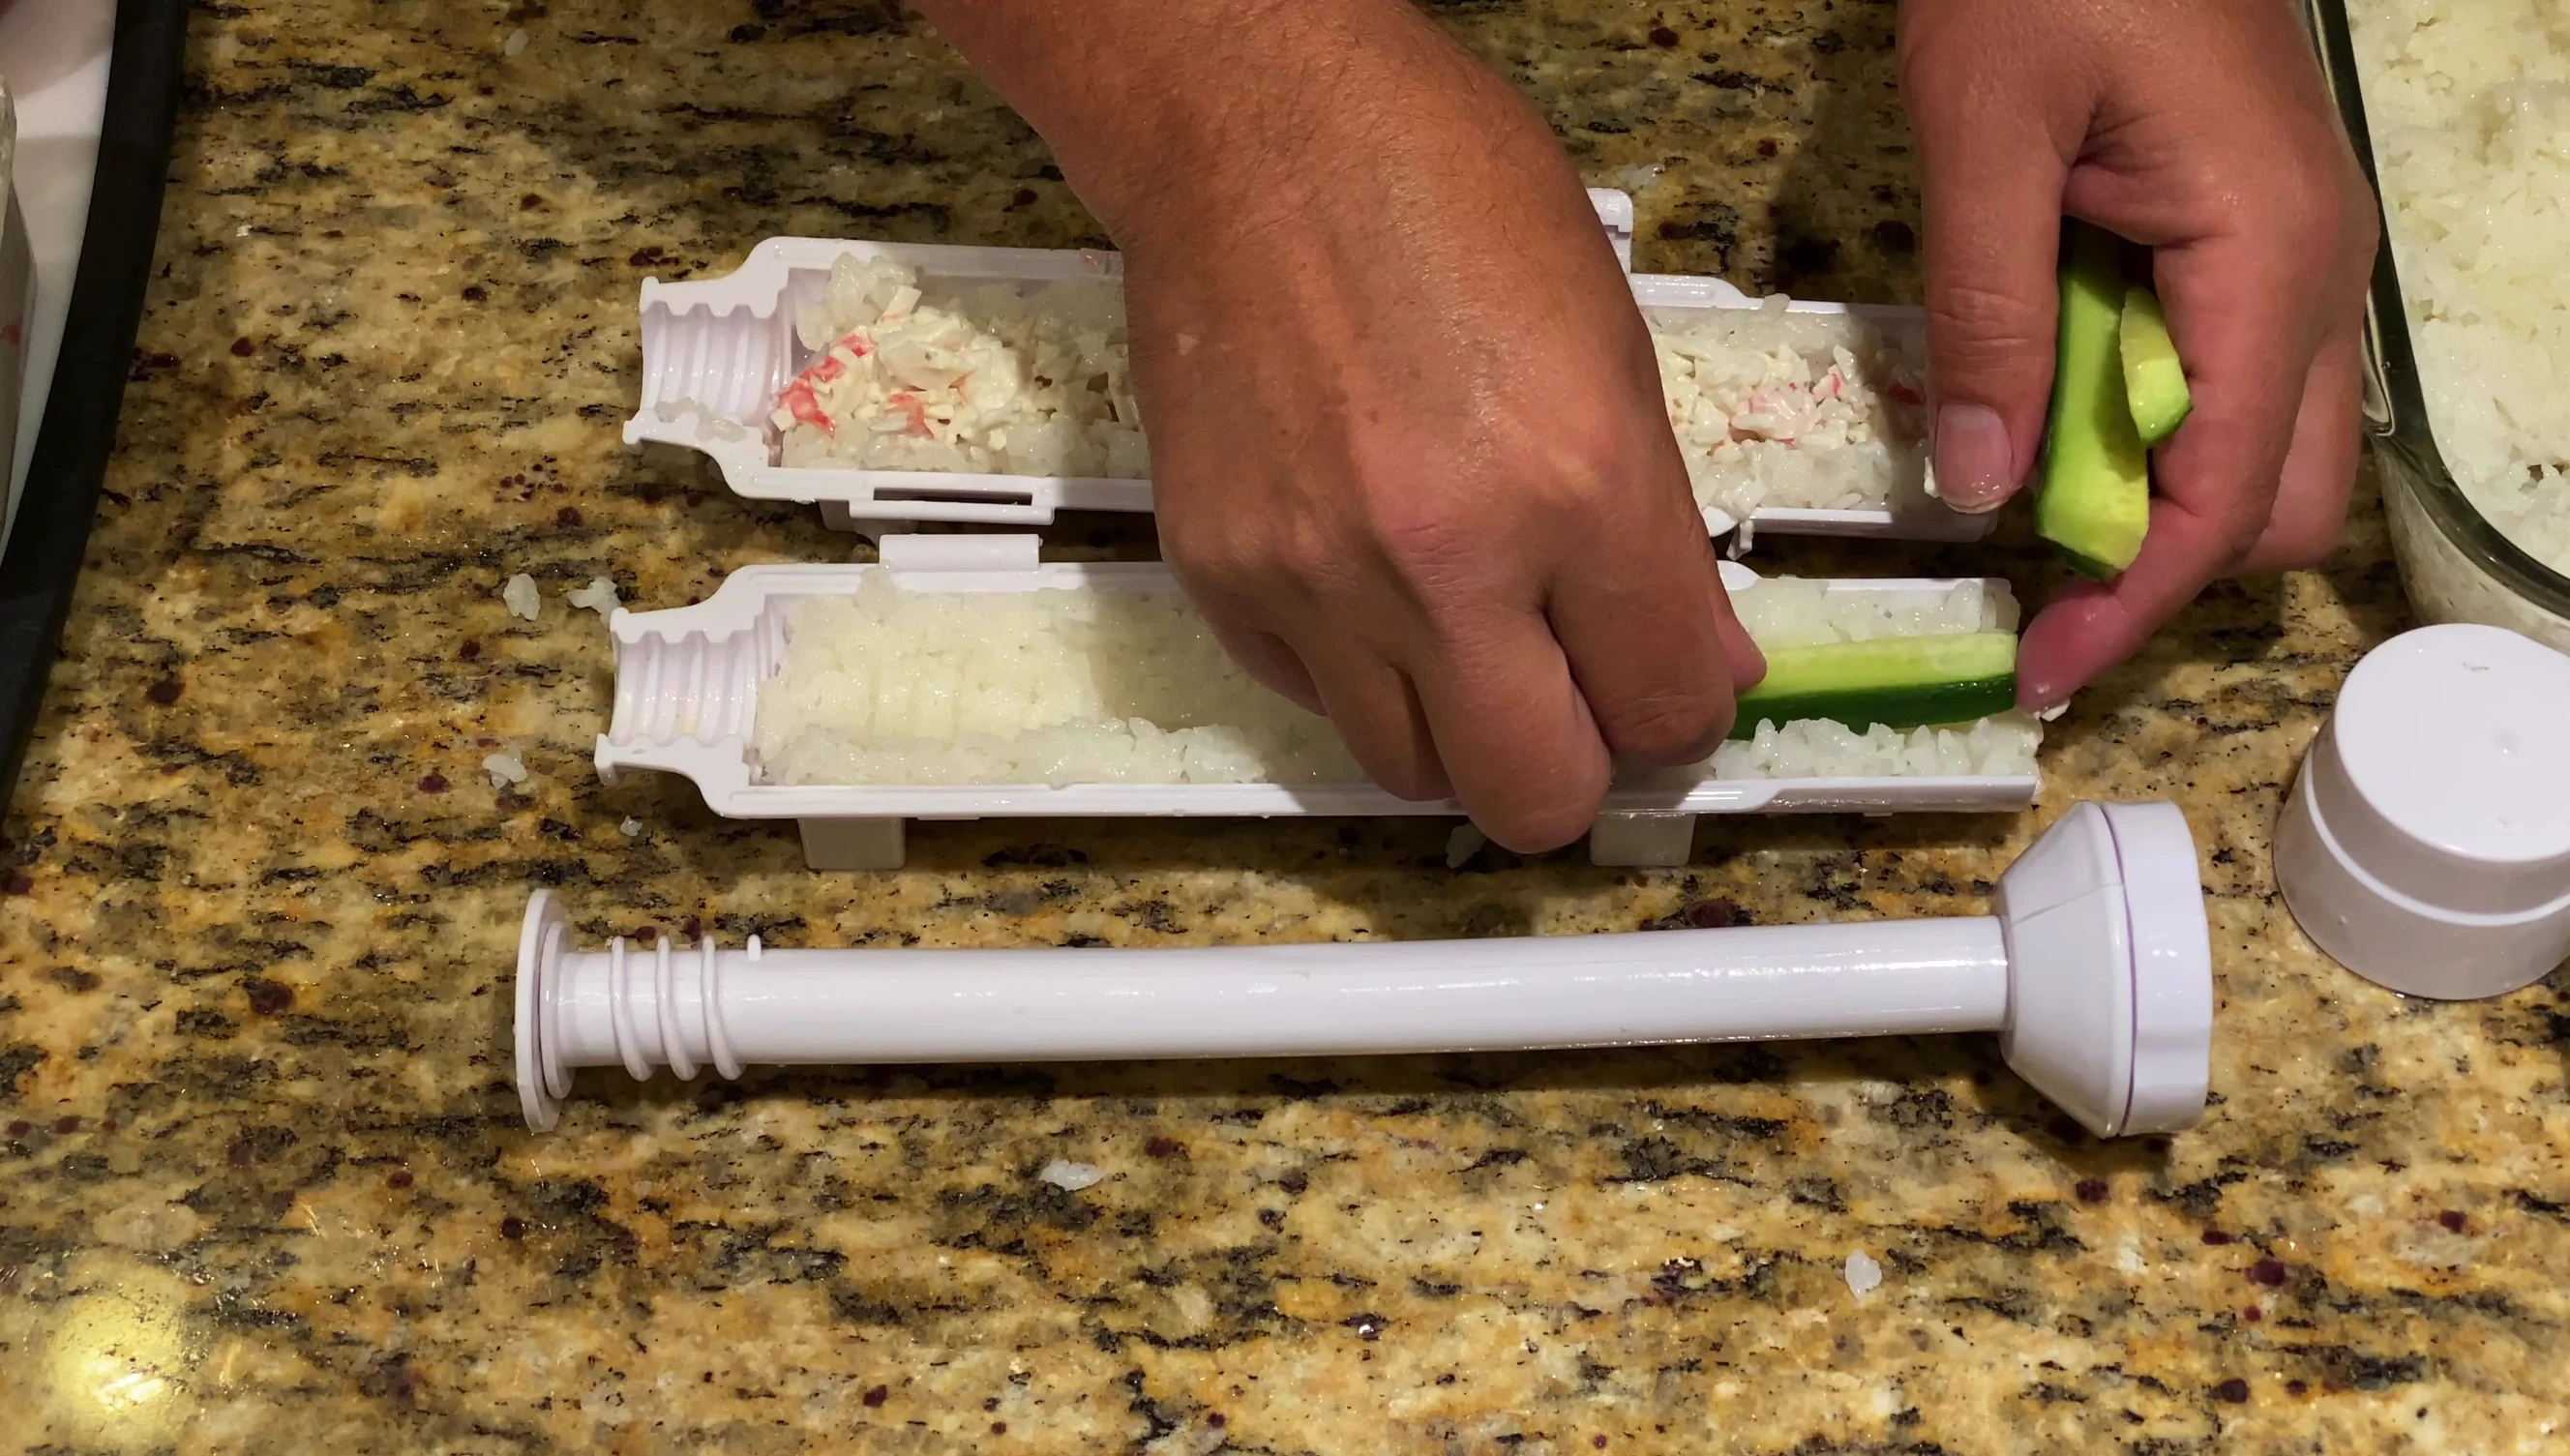
For a California roll, fill one channel with imitation crab salad, being careful not to overfill and let it reach the edge. Fill other channels with thinly sliced cucumber (remove large seeds for better texture) and avocado.
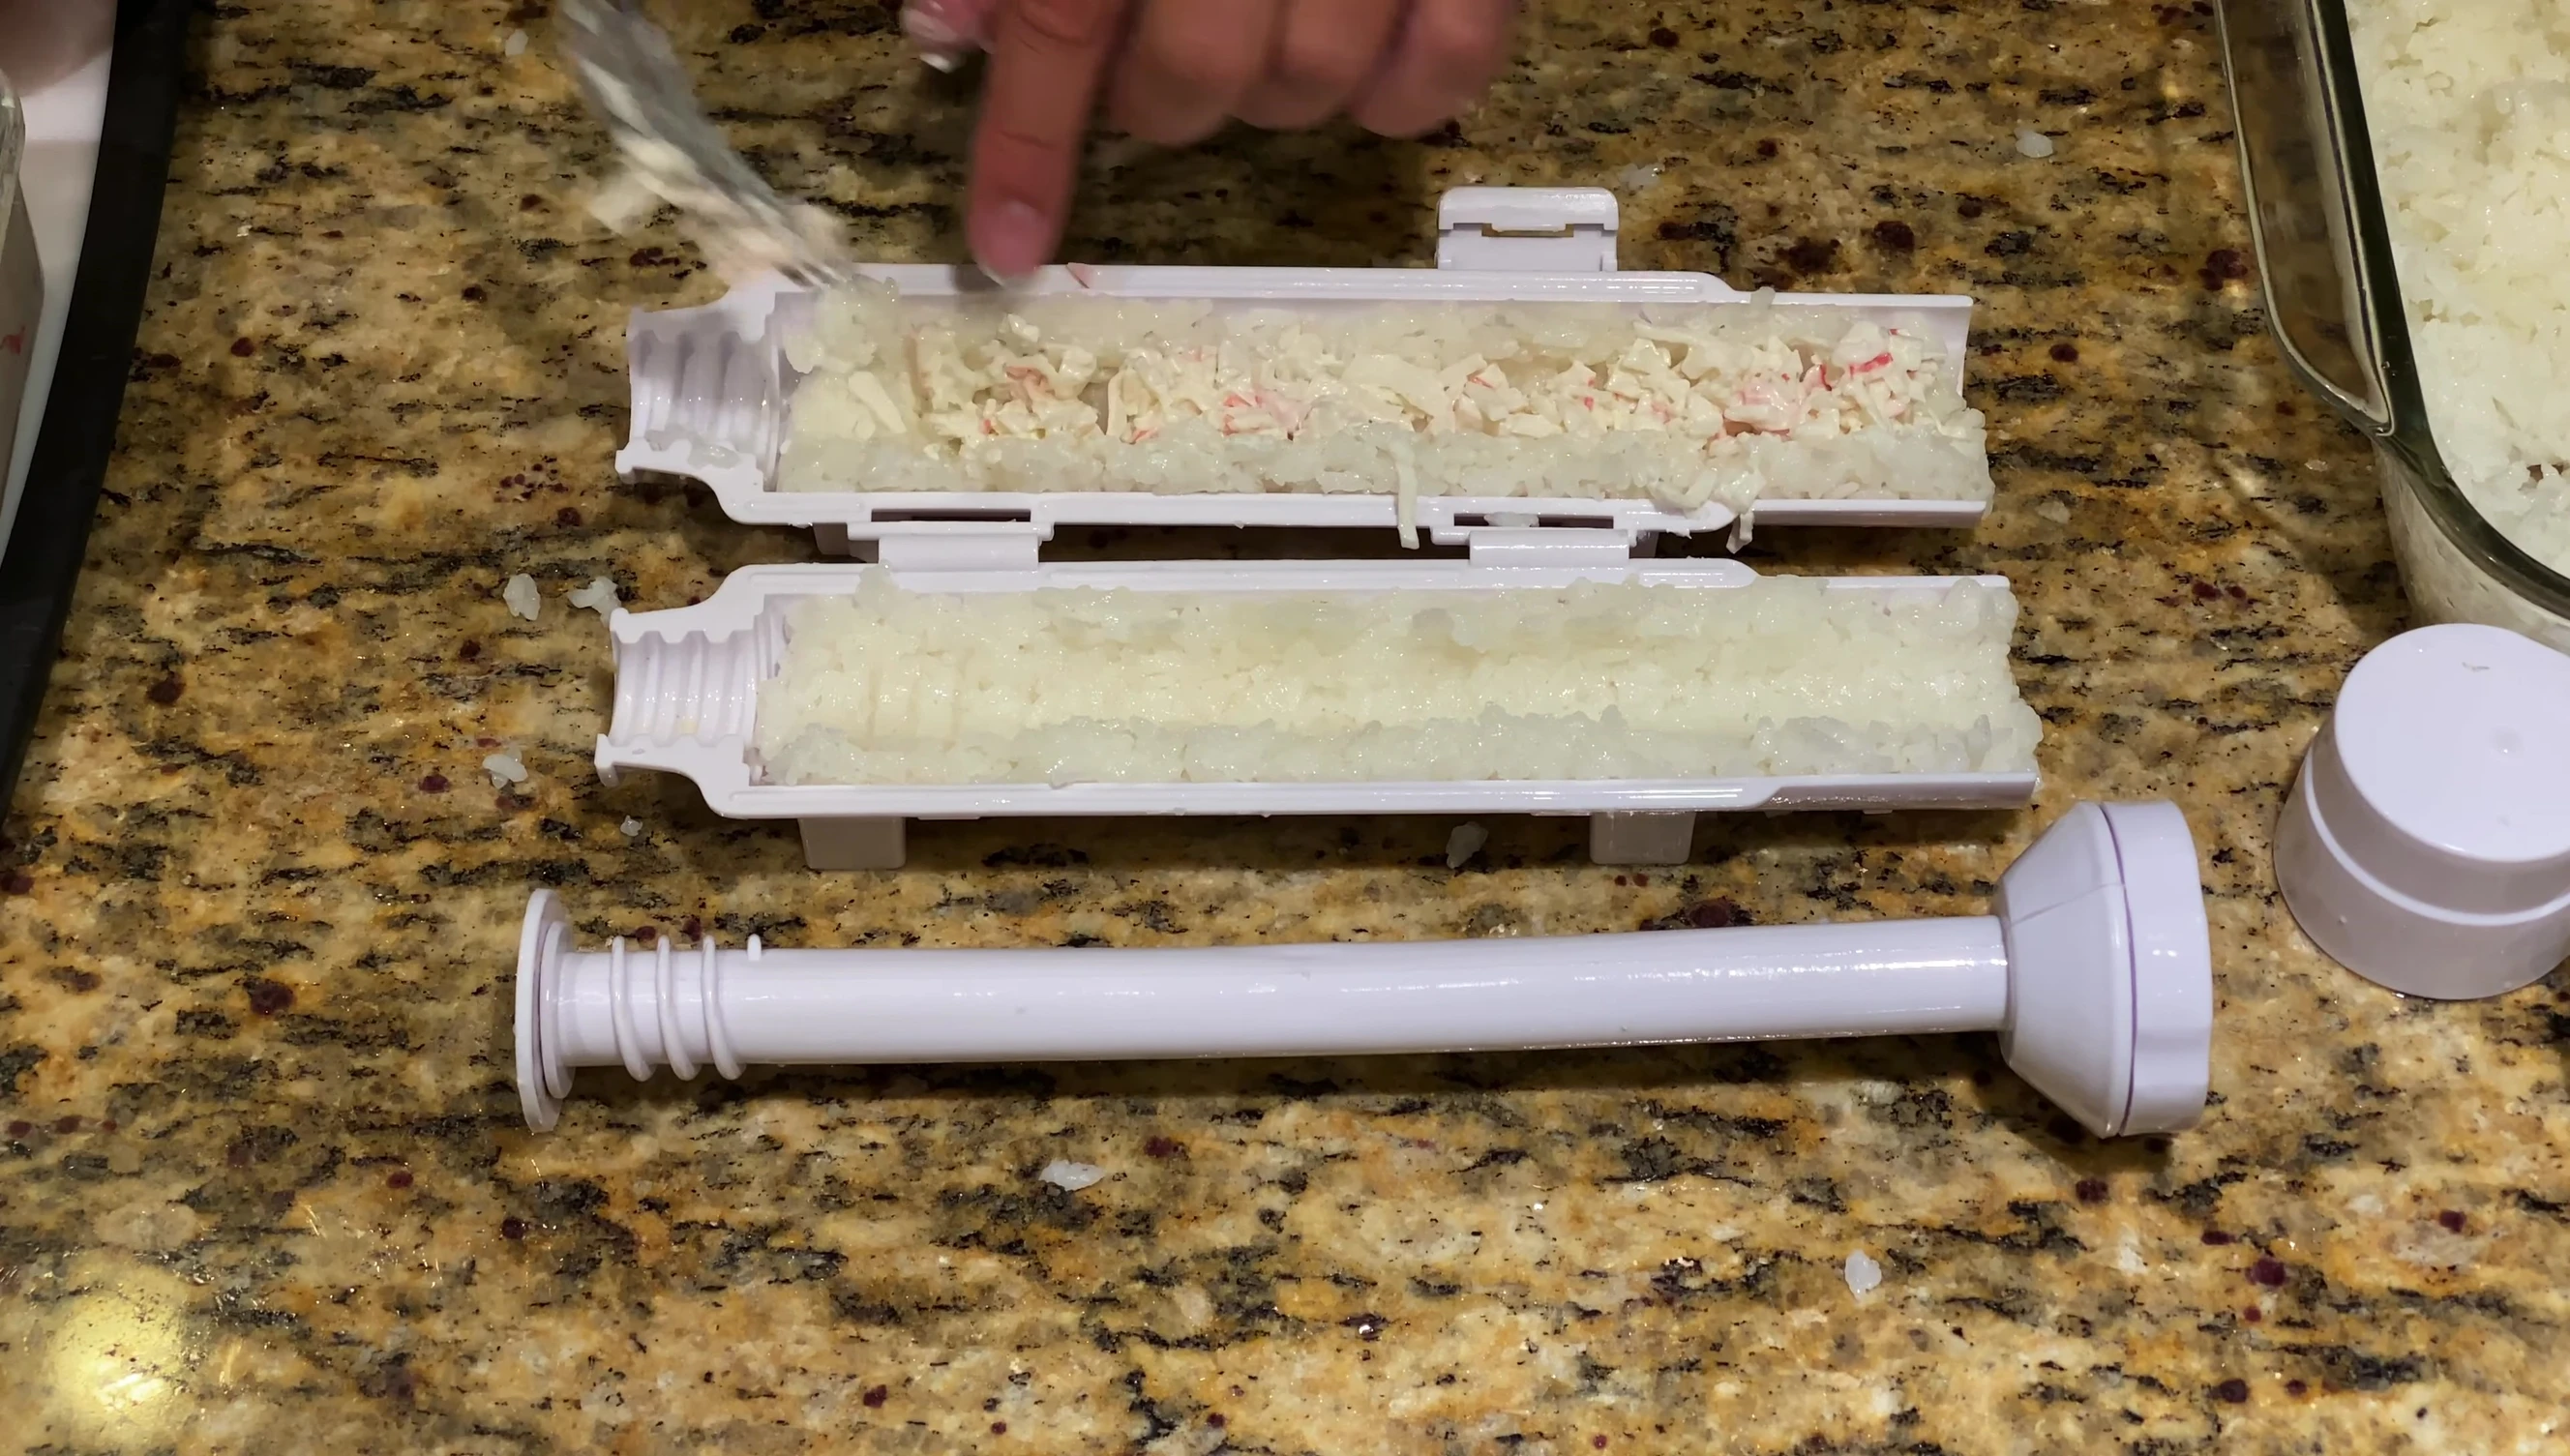
The ingredients will be compacted later, so don't worry about small air pockets.
Assembling and Compressing the Roll
Connect the two tabs to create a hinge, carefully fold it together, and snap the clasps shut. This secures the filling and prevents it from falling apart during compression.
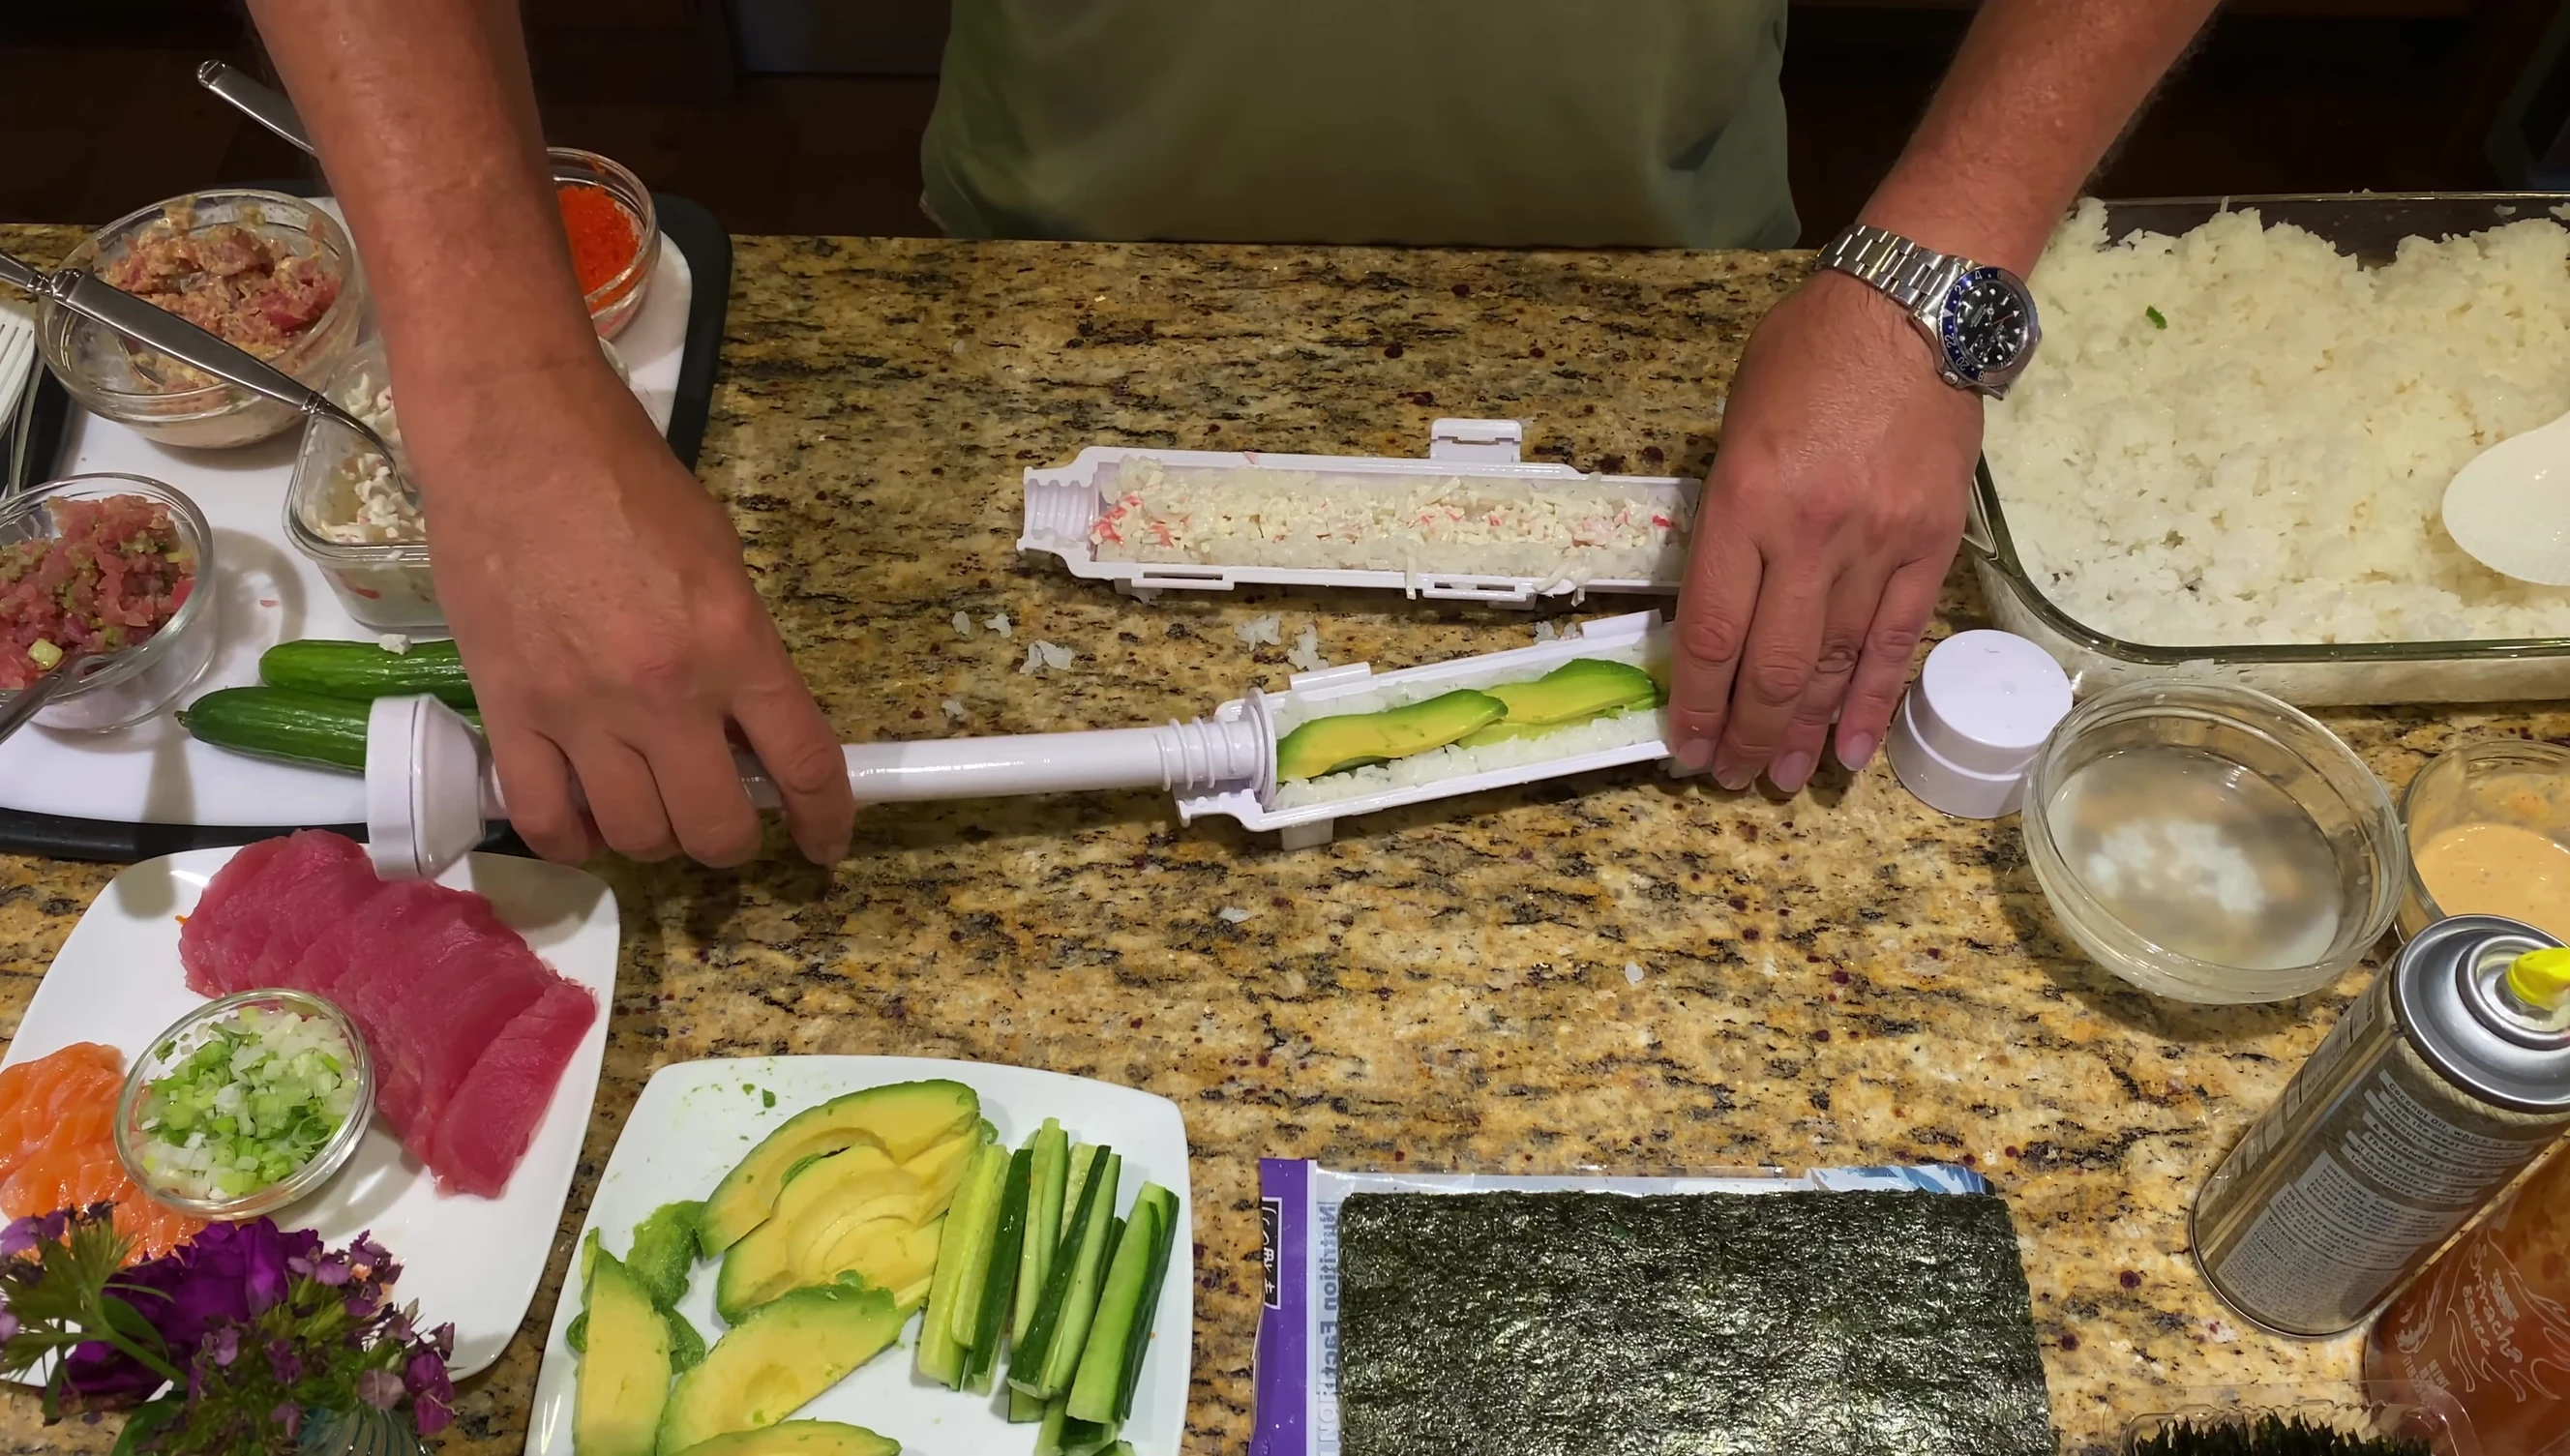
Place the end cap on and screw the handle in. This creates the pressure needed to compact the ingredients into a tight, cylindrical roll.

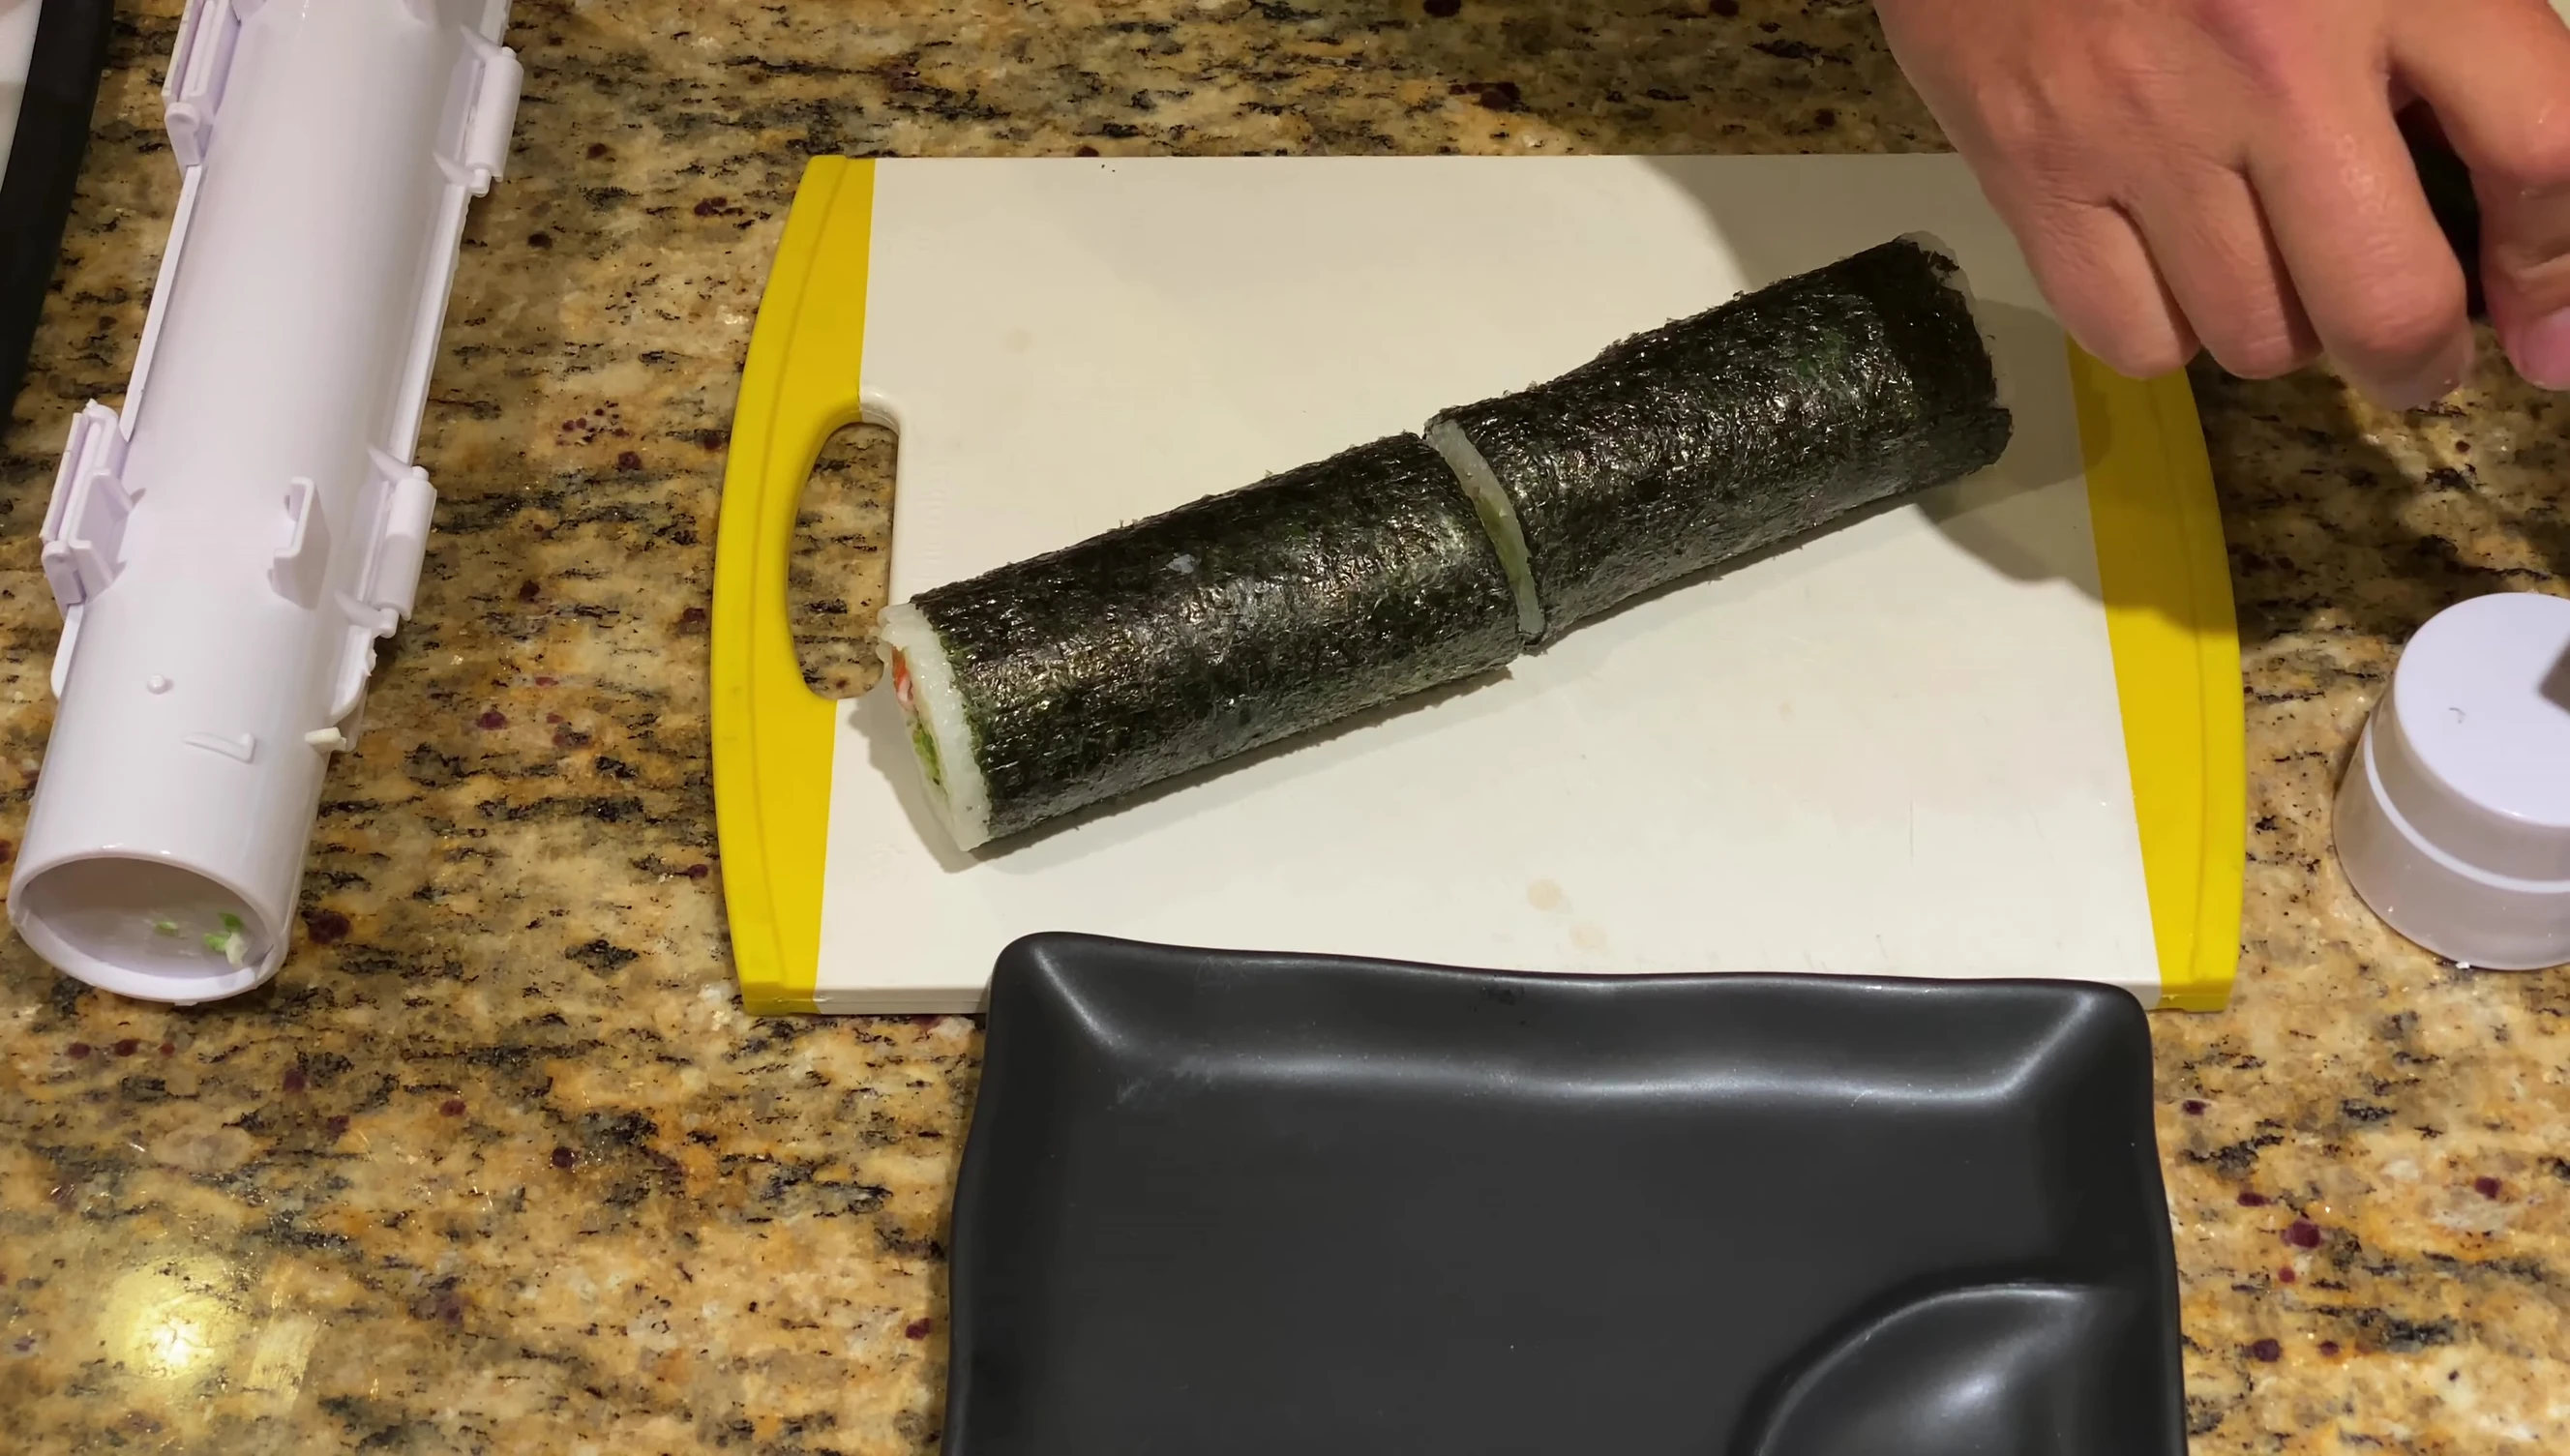
The result is a perfectly formed sushi roll ready for wrapping.

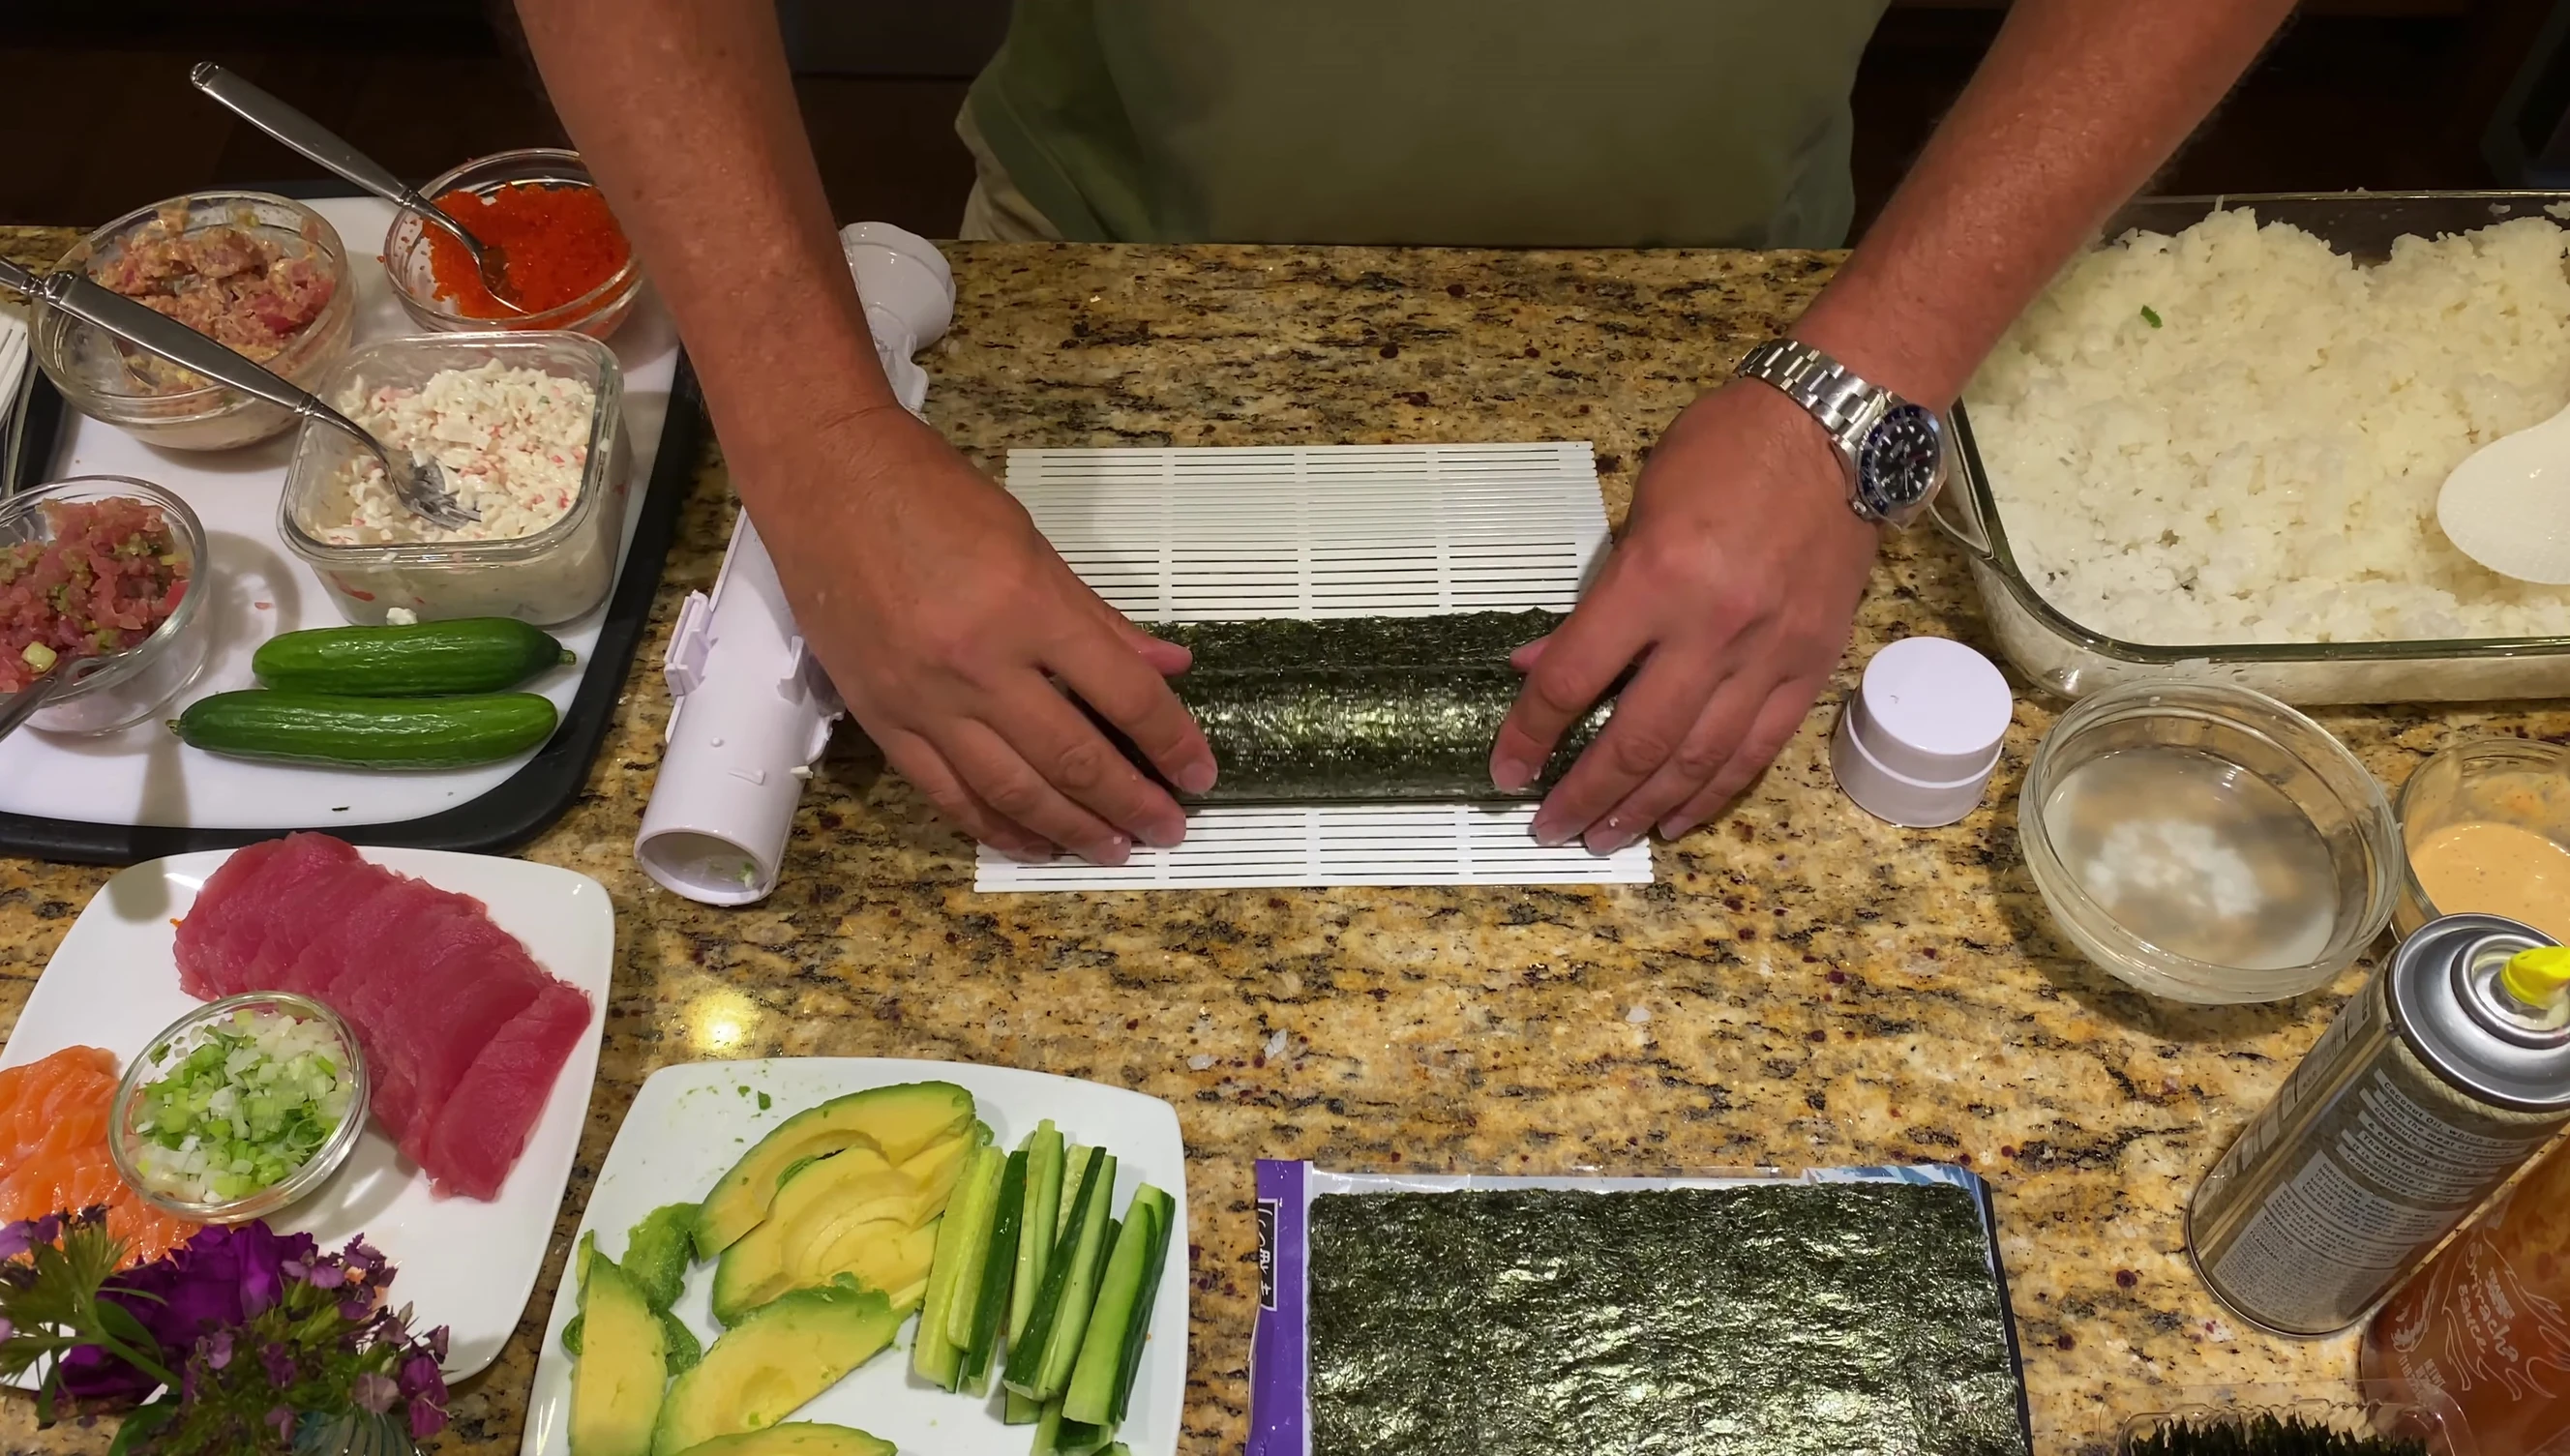
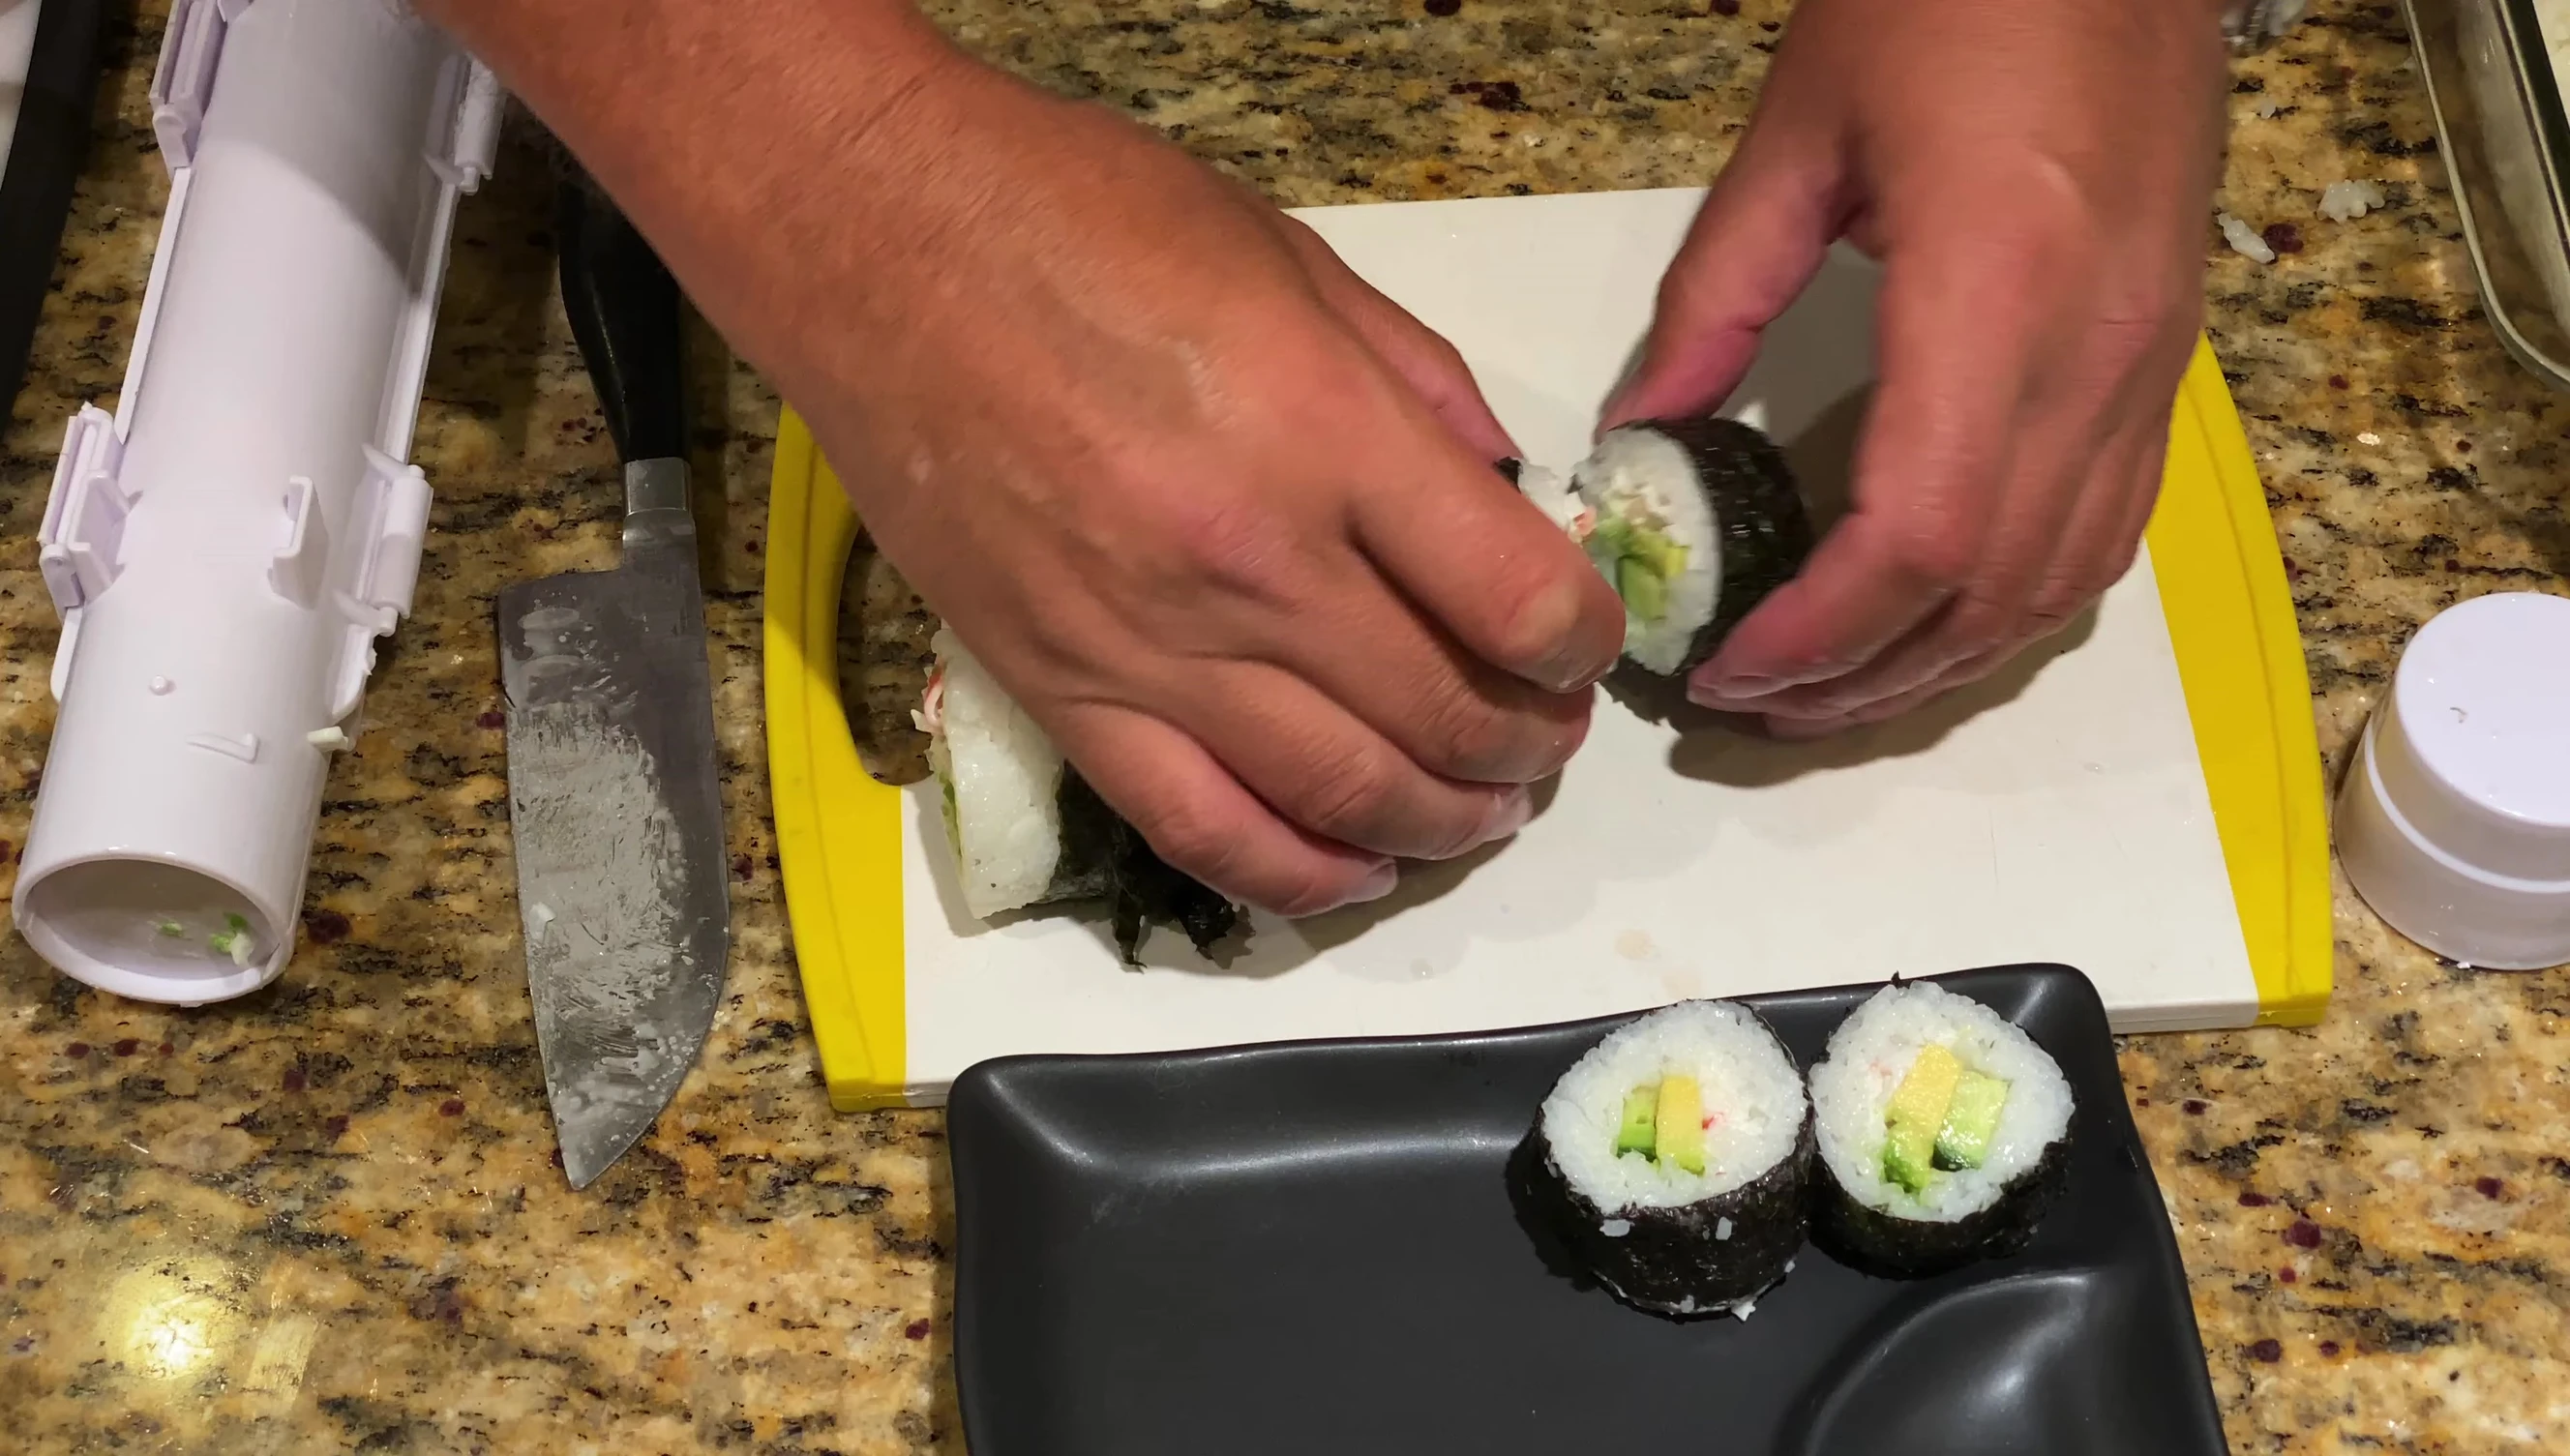
Wrapping and Cutting the Sushi
Place the compressed sushi roll onto a sheet of nori seaweed. Use the nori stripes as guidelines for cutting.
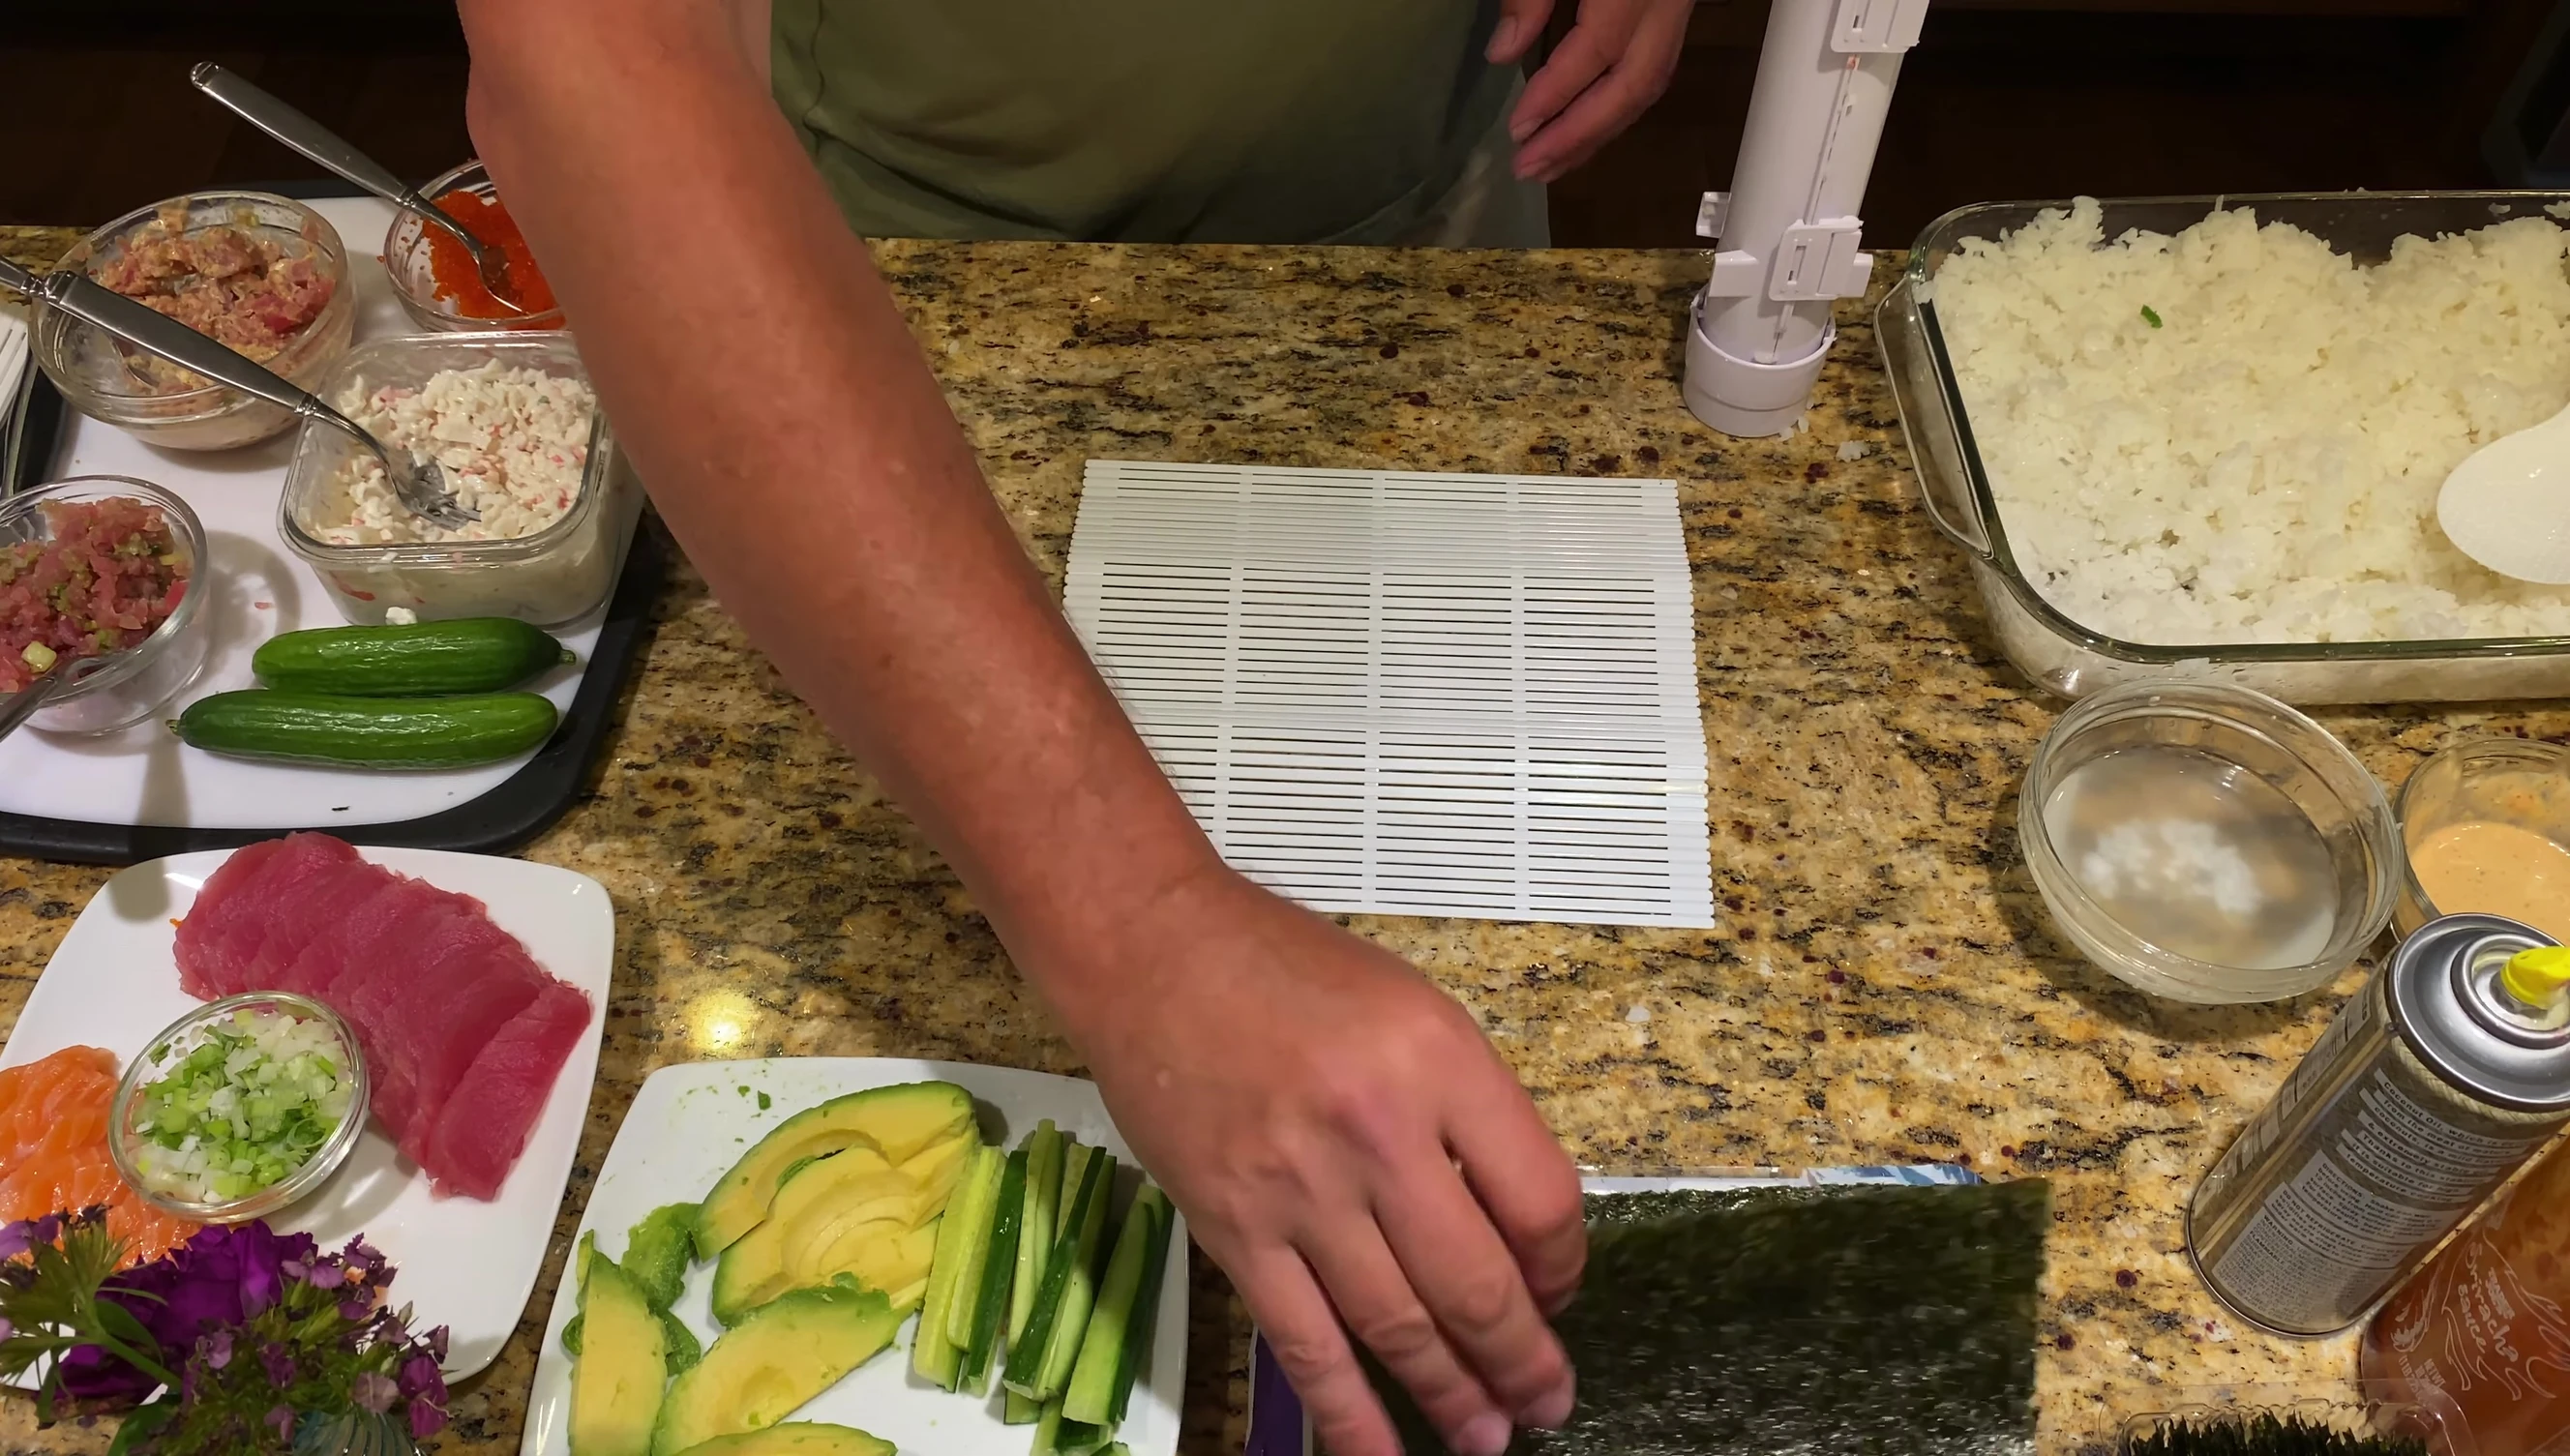
Wet your fingers and gently roll up the sushi, ensuring the nori adheres to itself. Avoid using too much water to prevent sogginess.
Use a sharp, wet knife to cut the roll into even pieces. Cutting from the middle then repeatedly cutting the resulting pieces will ensure neat, uniform sushi slices.
Garnishing and Serving
Garnish your sushi with sesame seeds (black or white), tobiko (flying fish roe), or finely chopped green onions for added visual appeal and flavor.
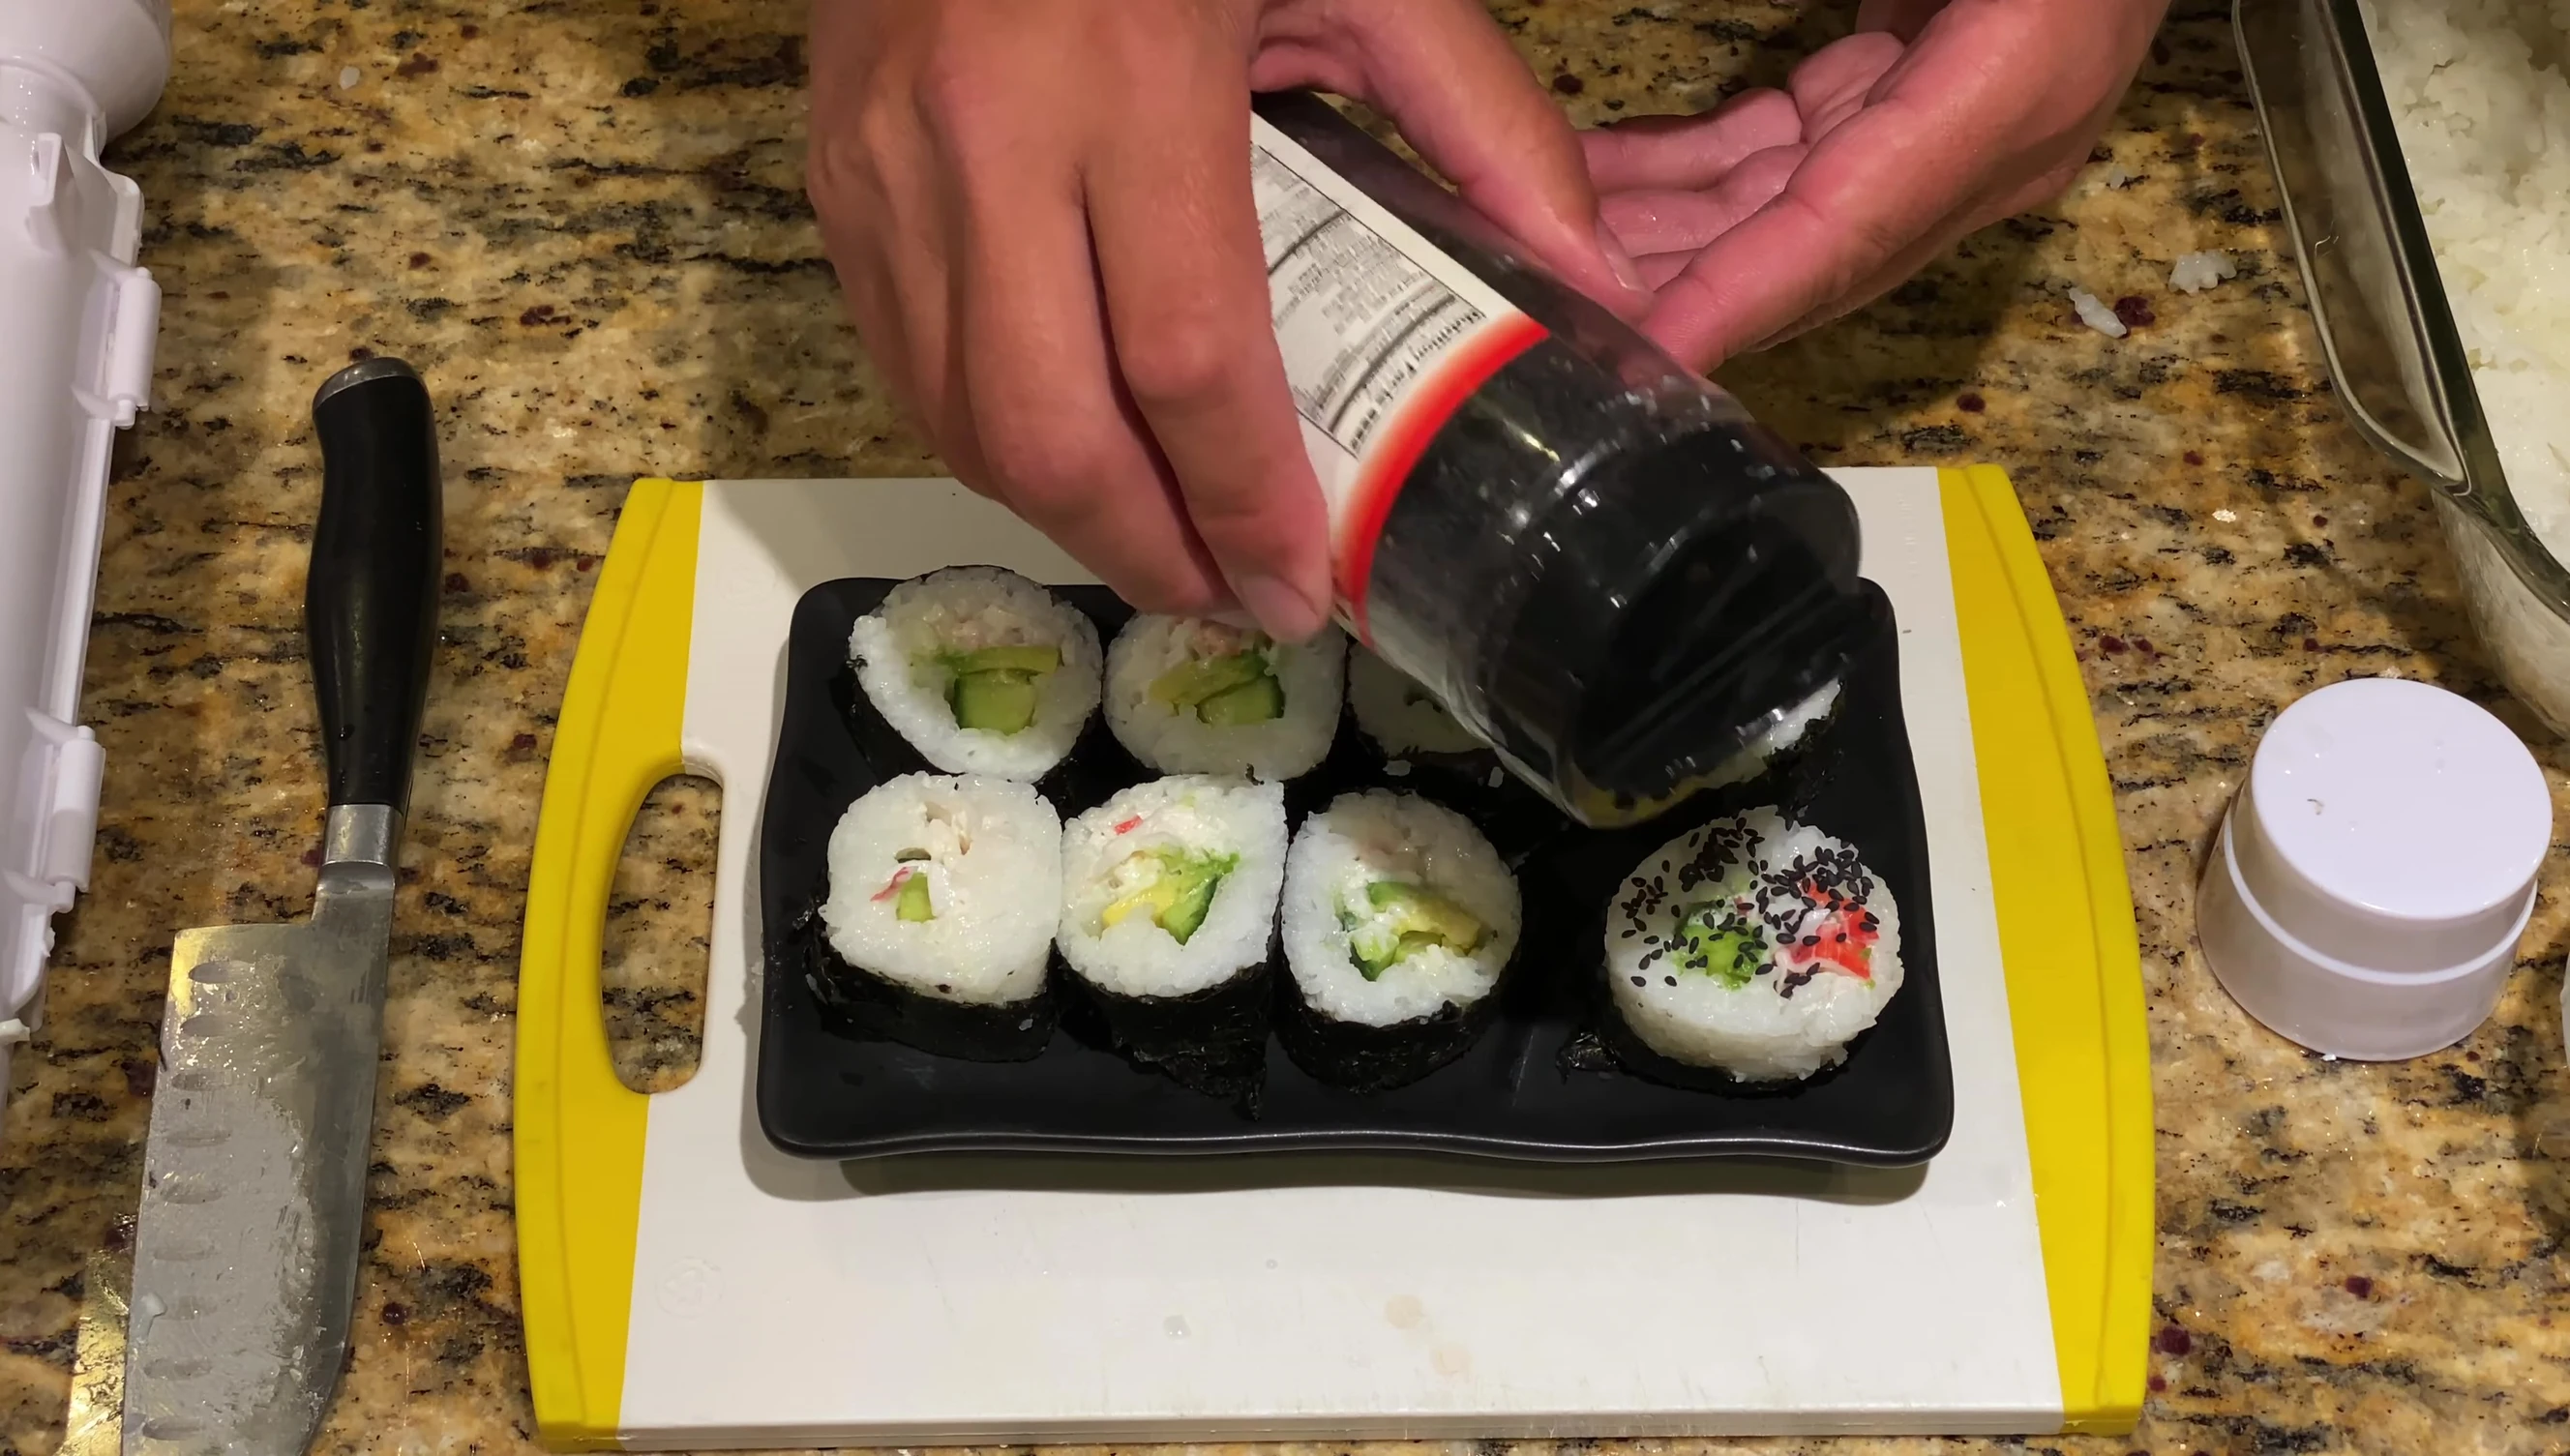
Arrange the finished sushi beautifully on a plate. It's ready to serve and enjoy!
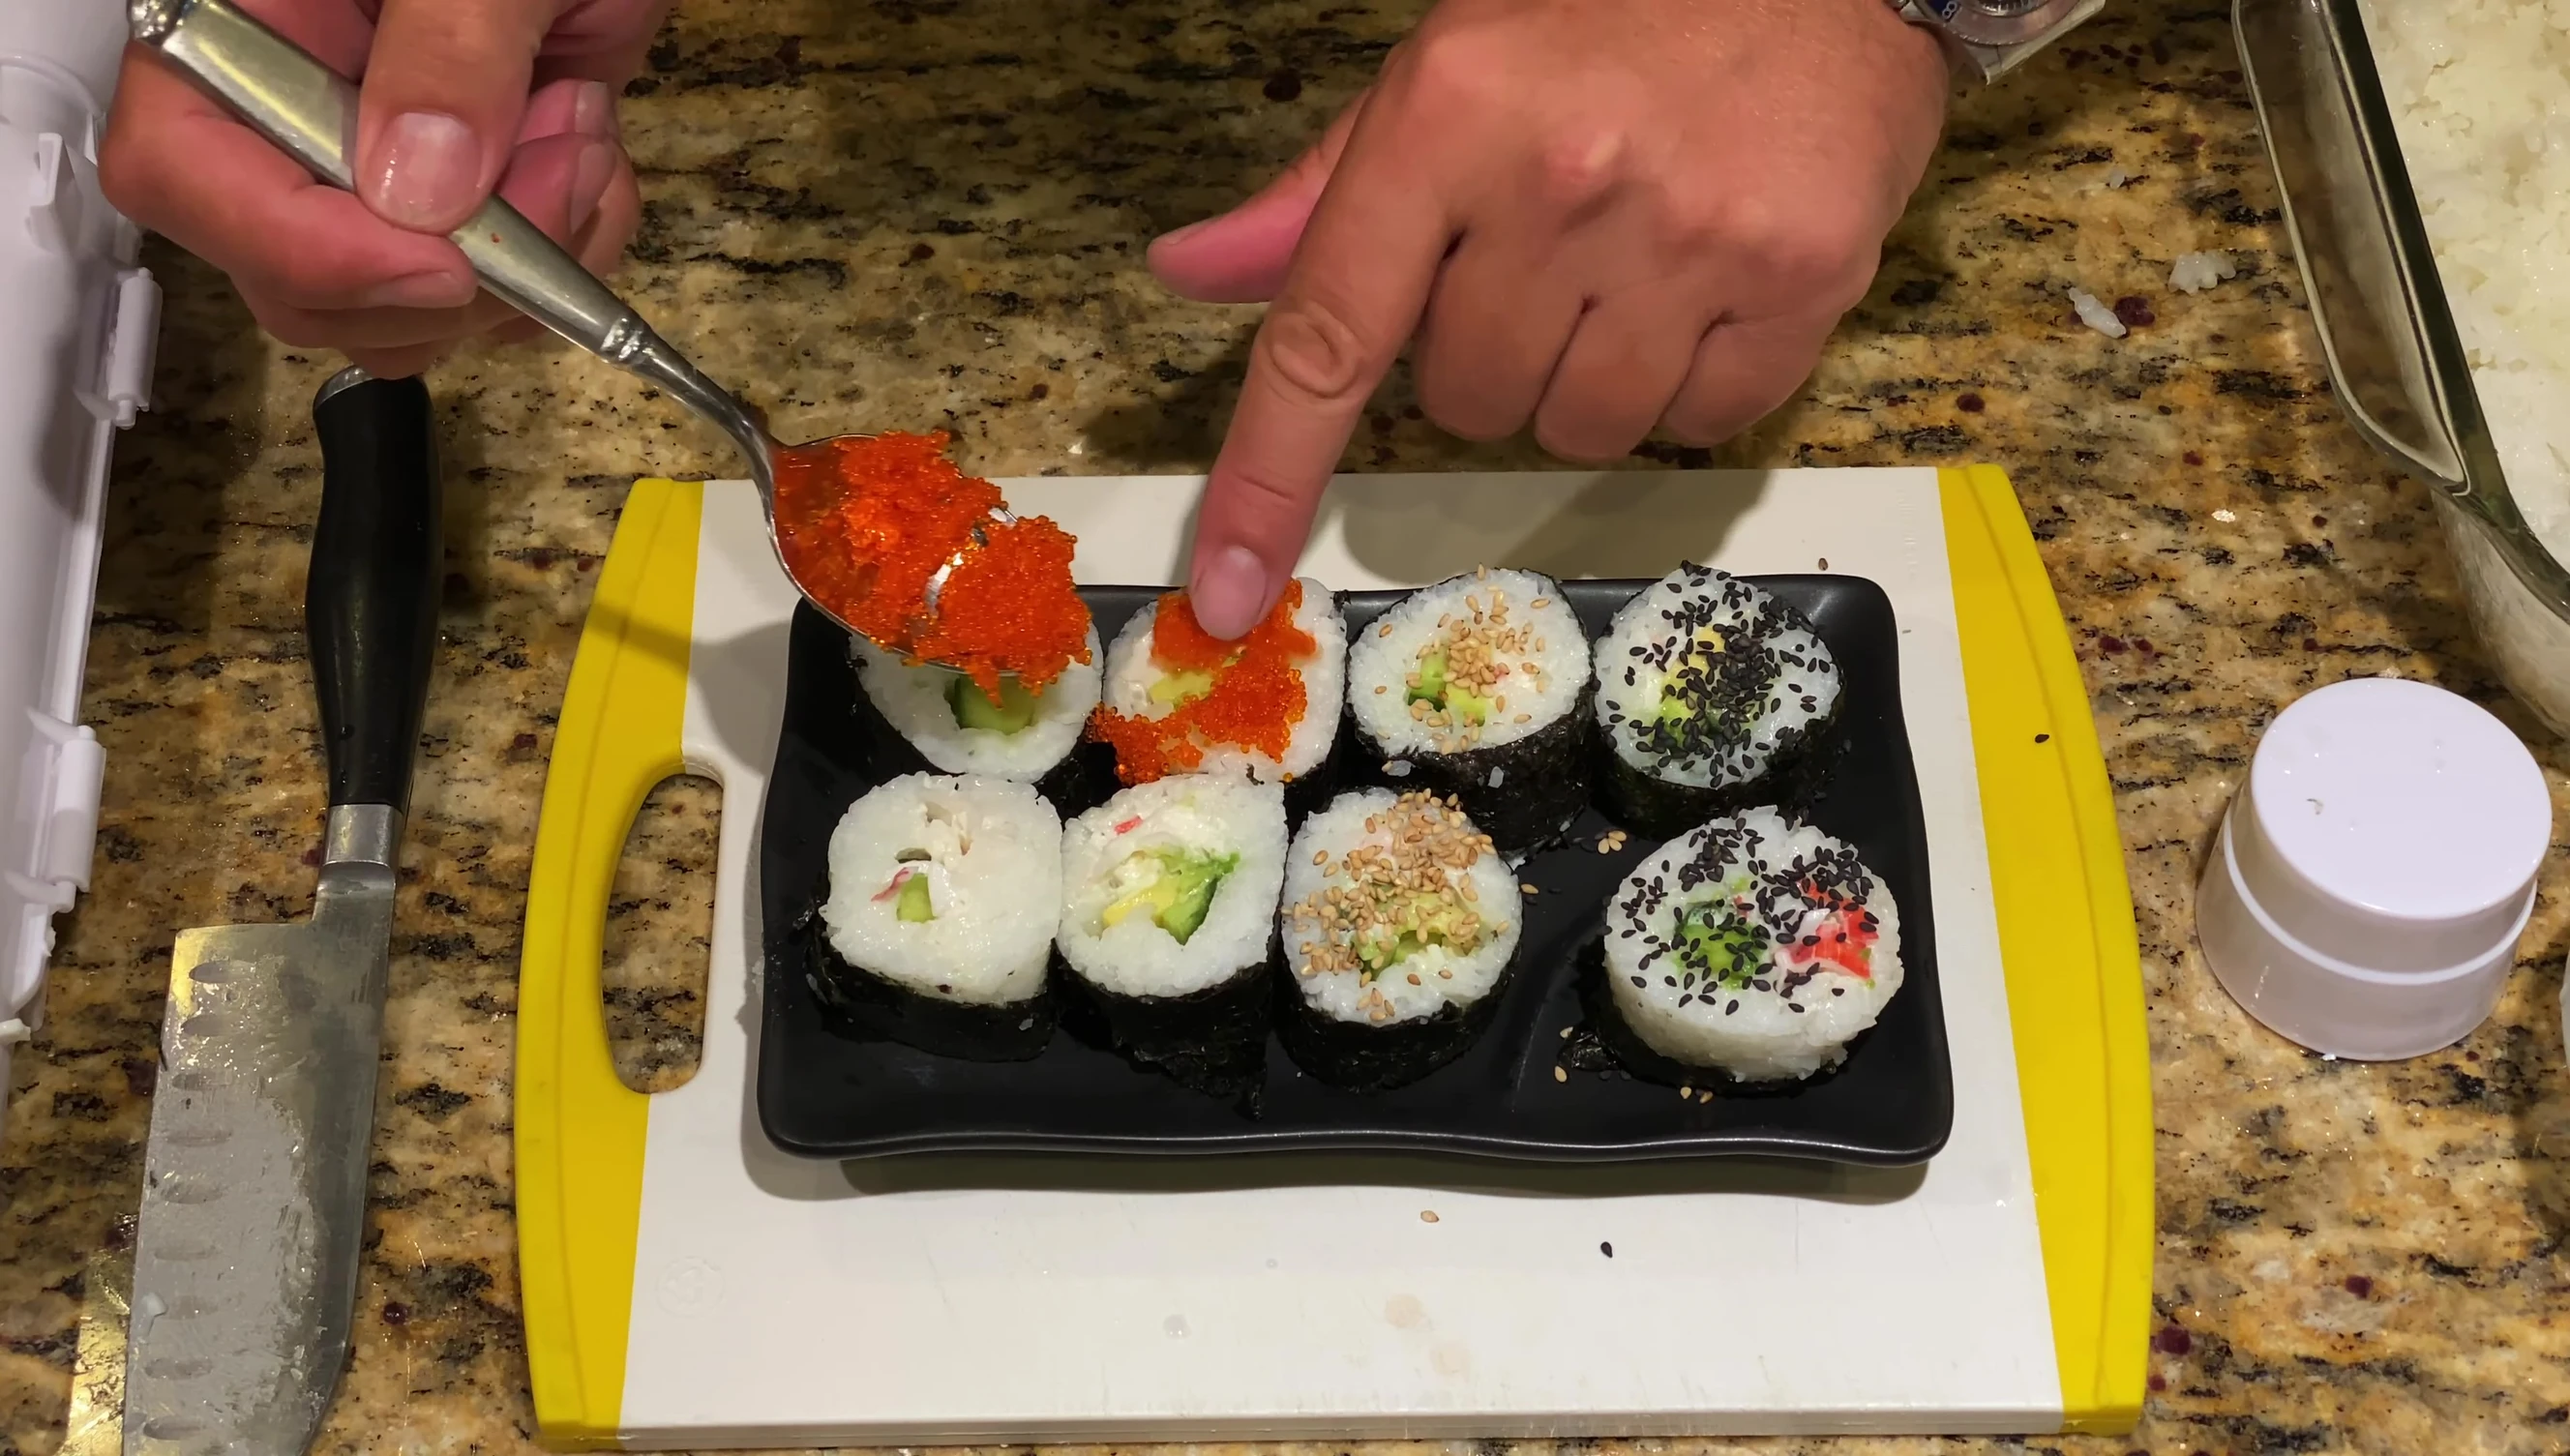
The Sushi Bazooka makes the process significantly easier, resulting in perfectly formed rolls every time.
Conclusion
The Sushi Bazooka simplifies sushi making, allowing even beginners to create perfect, professional-looking rolls with ease.
Its innovative design and simple functionality make it a worthwhile tool for anyone who enjoys sushi, regardless of their culinary experience.
While it requires some practice to master, the results are worth the effort, and the fun of making sushi with friends makes the experience even better.