This Christmas, elevate your dessert game with a stunning and surprisingly simple Christmas Dome Cake. This show-stopping centerpiece is perfect for festive gatherings, impressing guests with its elegant appearance and delightful taste. Forget complicated baking techniques; this recipe utilizes readily available ingredients and straightforward methods to achieve a spectacular result. Imagine the oohs and aahs as you unveil this beautiful dome, adorned with festive sprinkles and a dusting of powdered sugar. The rich, moist cake perfectly complements the creamy filling, creating a dessert that is as visually appealing as it is delicious.
This recipe provides a foolproof guide to creating your own Christmas Dome Cake, from preparing the cake layers to assembling the final masterpiece. Ready to transform your holiday celebrations with this delectable treat? Let's dive into the step-by-step instructions and create a Christmas Dome Cake that will be the star of your festive spread!
Tools Needed
- Hand mixer
- Rubber spatula
- Double boiler
- 18cm cake mold with bottom
- Oven
- Baking tray
- Parchment paper
- Cake cooler
- Acrylic ruler or chopsticks
- 15cm round cake mold
- 10cm diameter mold or ring mold
- Piping bag
- Palette knife
- Turntable (optional)
Ingredients
Step-by-Step Instructions
Step 1. Prepare the Cake & Filling
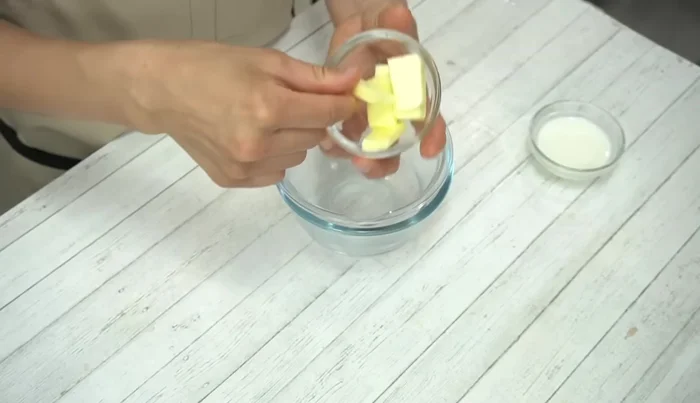
- Prepare the sponge cake ingredients. Melt butter and milk in a double boiler.
- Beat eggs lightly, add granulated sugar, and mix quickly. Whip the egg mixture in a bowl set in hot water (60°C) for 3 minutes at high speed, then 1 minute at low speed.
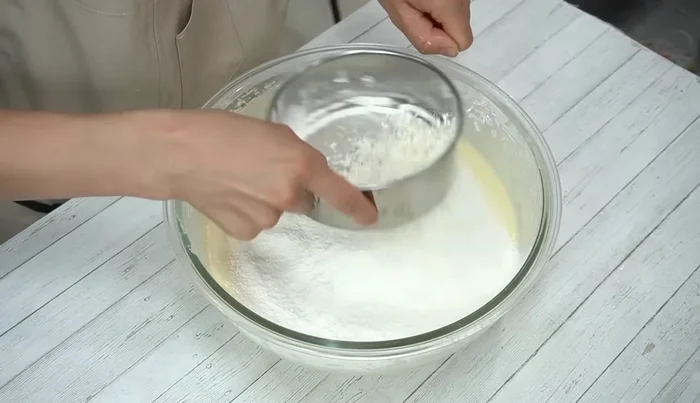
- Gently fold in the flour using a rubber spatula. Then, gradually incorporate the melted butter and milk mixture, ensuring not to overmix.
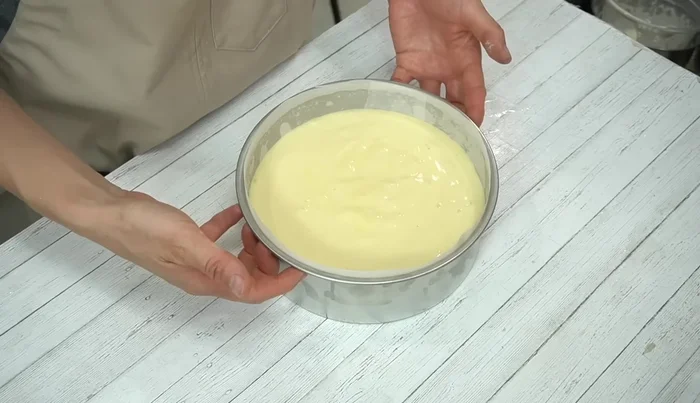
- Pour the batter into the prepared cake mold, drop it gently 23 times, and bake in a preheated oven at 170°C for 30 minutes. Immediately after baking, drop the cake gently to release steam and prevent shrinking.
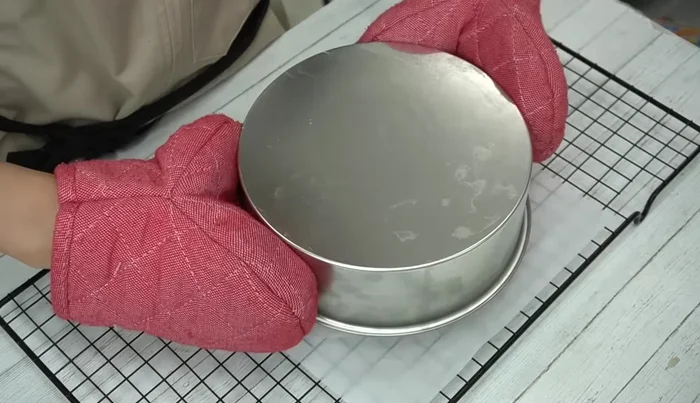
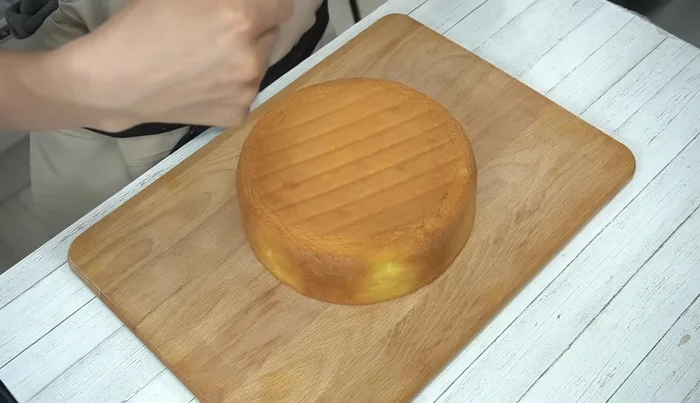
- Let the cake cool completely, then remove it from the mold and wrap it in plastic wrap overnight to keep it moist.
- Cut the cooled sponge cake into 1cm slices. Use 3 slices for the dome cake. Cut one slice into a 15cm circle, one into a 10cm circle, and keep one as is.
- Cut off the bottom and slice them into pieces slightly thicker than 5mm.
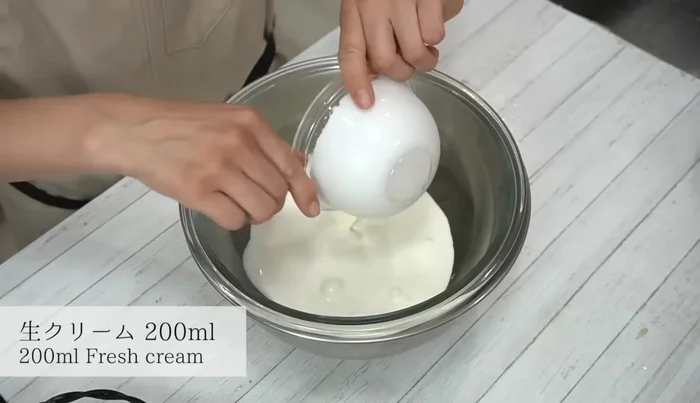
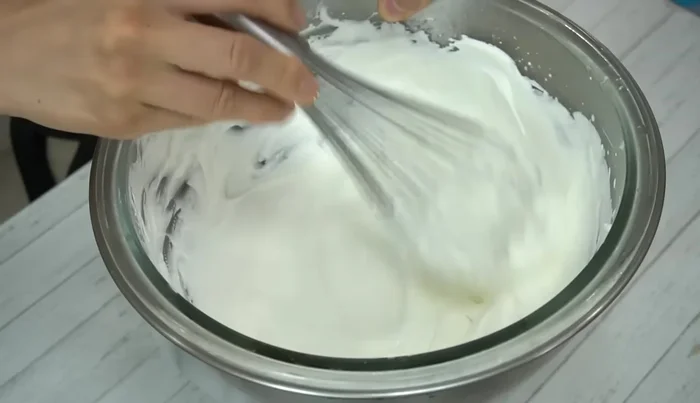
- Whip the cream until it forms soft peaks. Set aside half of the cream and whip the other half until it's stiff.
Step 2. Assemble the Dome
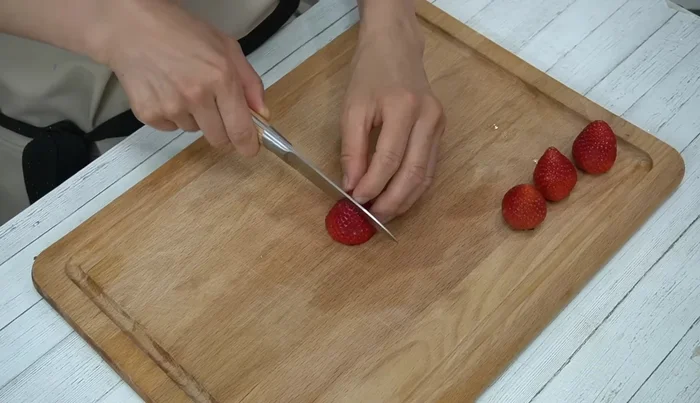
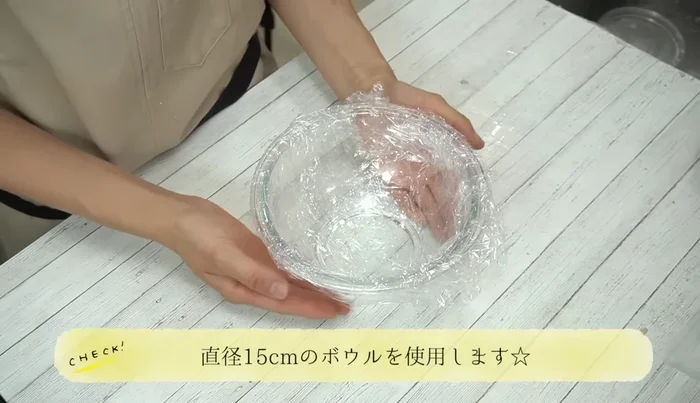
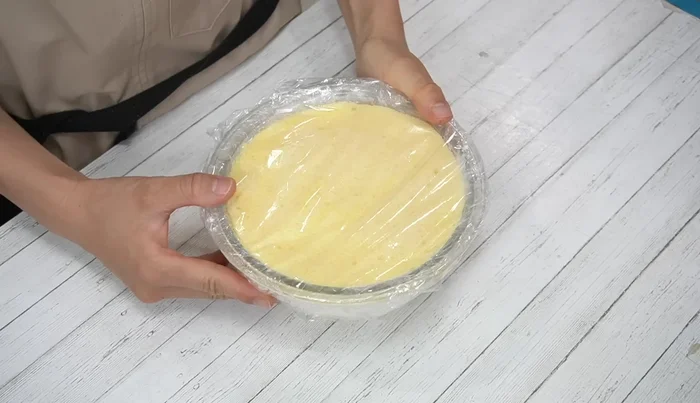
- Place the 18cm sponge on a bowl lined with plastic wrap. Pipe a layer of stiff cream, add strawberries, and repeat with another layer of cream and the 10cm sponge. Top with more cream and the 15cm sponge.
Step 3. Frost and Chill
- Chill the assembled cake in the refrigerator for 30 minutes. Then, carefully invert it onto a turntable or plate.
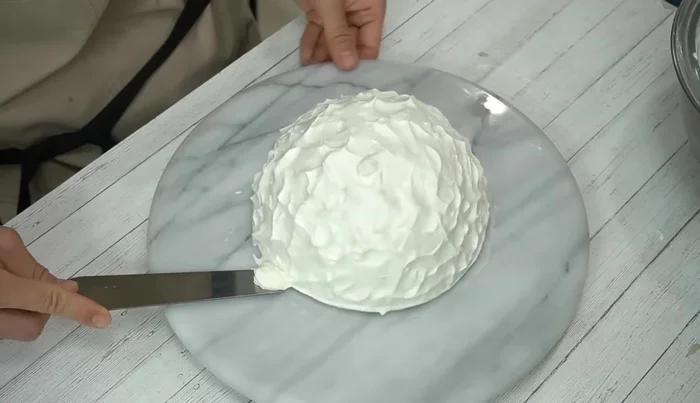
- Apply a thin layer of the remaining soft cream to the entire cake as a primer, then add a final layer of cream and smooth it with a palette knife. Create a textured look by gently scratching the cream.
- Clean up any excess cream from the bottom edges. Carefully transfer the finished cake to a serving plate. Decorate with fruit, Santa, picks and other festive details.
Read more: Black Bean Muffins: Easy Recipe with Pancake Mix
Tips
- For a smoother finish, use a commercially available sponge cake.
- Whisk the egg mixture over a double boiler to help it foam better.
- Gently fold the flour and warm milk/butter mixture into the egg batter to avoid crushing the air bubbles.
- Wrapping the cake overnight will keep it moist.
- Don't worry about a perfectly smooth finish, a rustic look adds charm.
Nutrition
- N/A
FAQs
1. Can I make the cake layers ahead of time?
Yes! Bake the cake layers a day or two in advance and store them in an airtight container at room temperature. This allows the flavors to meld and makes assembly easier.
2. What kind of filling can I use instead of the recipe's suggestion?
You can get creative! Try different flavored whipped creams, buttercream frostings, or even a simple ganache. Choose a filling that complements the cake flavor.
This Christmas Dome Cake is more than just a dessert; it's a statement piece that will impress your guests and leave them wanting more. The combination of delicious flavors and stunning presentation makes it the perfect addition to any holiday celebration. So gather your ingredients, follow the steps, and create a memorable Christmas treat that everyone will adore!