Yakiniku, the Japanese barbecue experience, is incomplete without its signature sauce. This sweet, savory, and slightly tangy condiment elevates grilled meats to a whole new level of deliciousness. Forget the bland, mass-produced options; this authentic Japanese Yakiniku sauce recipe unlocks a restaurant-quality taste you can easily recreate at home. Using simple, readily available ingredients, you'll achieve a depth of flavor that will impress even the most discerning palate. The balance of sweetness from fruit, umami from soy sauce, and a subtle hint of spice is perfectly calibrated to complement the rich char of grilled meats.
This isn't just another recipe; it's a journey to mastering a culinary cornerstone of Japanese cuisine. Prepare to be amazed by how easy it is to achieve professional results with this step-by-step guide. Ready to unlock the secrets to the perfect Yakiniku sauce? Let's get started!
Tools Needed
- Food Processor
- Container
- Fine-mesh strainer or cheesecloth (optional)
Ingredients
- Kelp
- Garlic
- Ginger
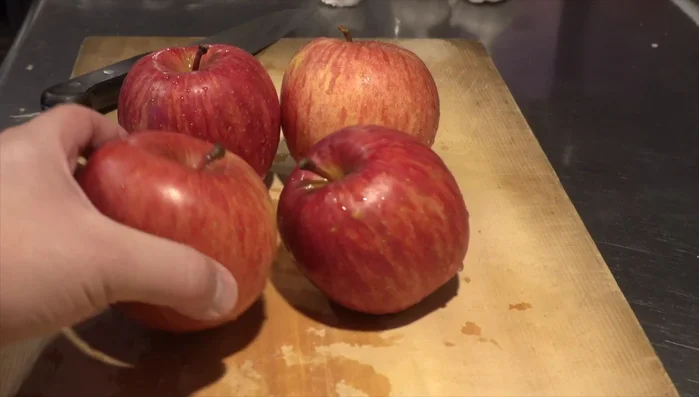
- Apple
- Banana
- Lemon
- Green Onions (white part)
- White Sugar
- Soy Sauce
- Mirin
- MSG (Umami Seasoning)
Step-by-Step Instructions
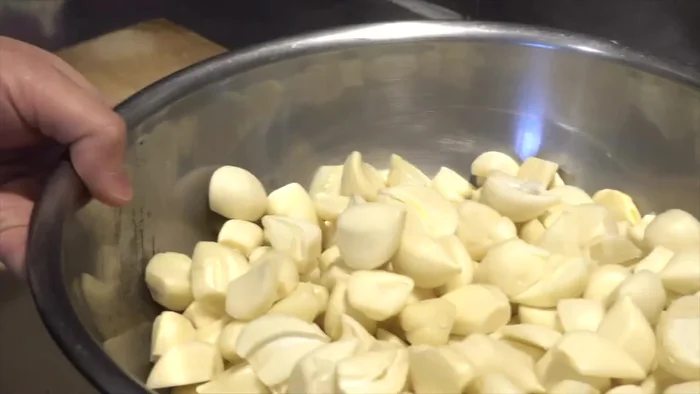
Step 1. Prepare the aromatics and fruits
- Peel and chop the garlic. If using domestic garlic, remove any green shoots. (Note the cost of garlic in Japan)
- Peel and chop the ginger. Save the ginger skin to neutralize the smell of meat later. (Don't throw away the peel!)
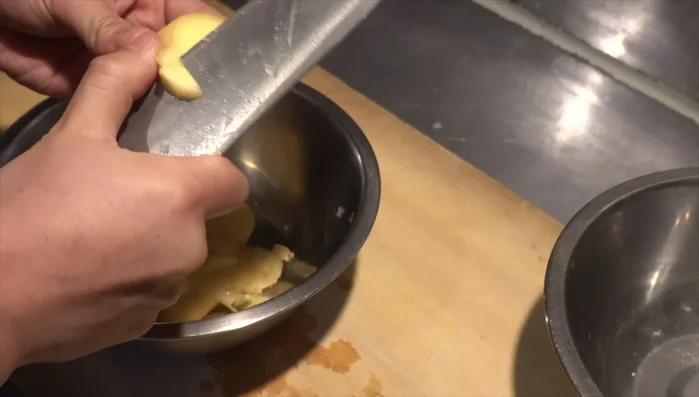
- Peel and chop the apple. (A fun challenge for neat peeling!)
- Peel and chop the banana. (Surprising ingredient!)


- Slice the lemon. (The lemon's flavor is important!)
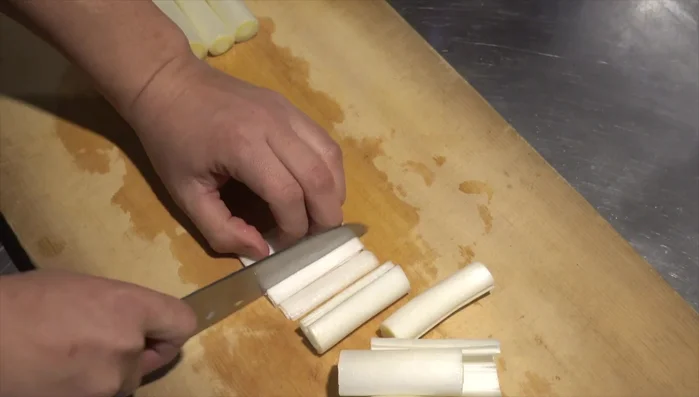
- Finely chop the white part of the green onions. (Reserve the green parts for garnish).

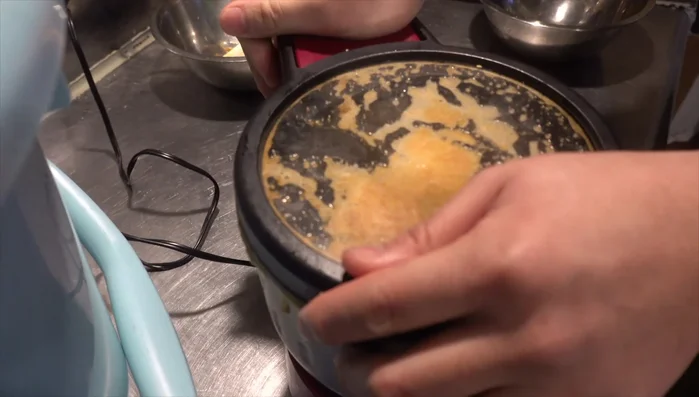
Step 2. Process ingredients individually
- Grind the garlic in the food processor until fine. Add mirin to aid the process. Mix several times for a smooth texture.
- Transfer the garlic mixture to a container.
- Grind the ginger in the food processor. (It’s more fibrous than garlic, so it requires patience.) Add soy sauce and mix.
- Grind the apple in the food processor. (Many Yakiniku restaurants use apples in their sauce).


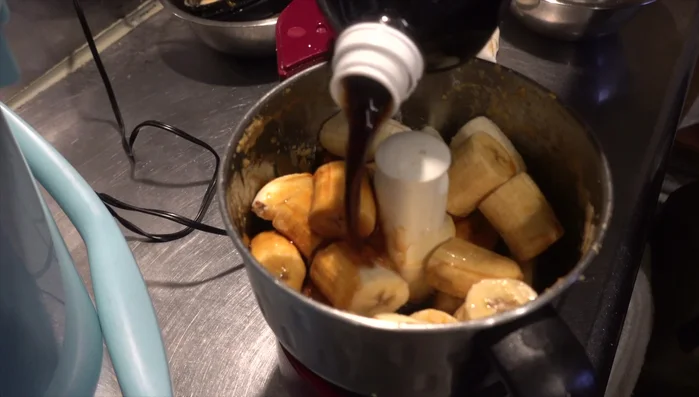
- Grind the banana in the food processor to make a paste.
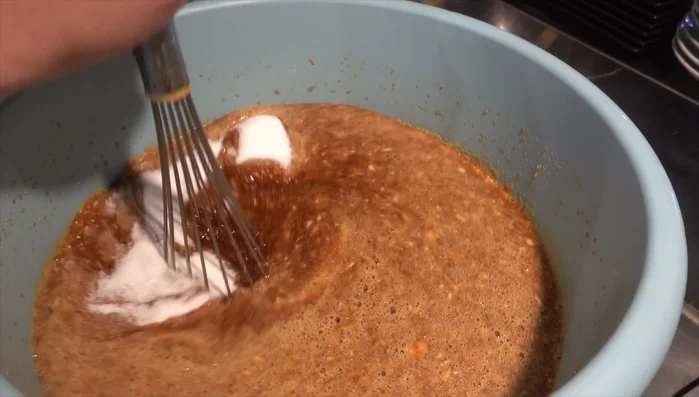
Step 3. Combine and season the sauce
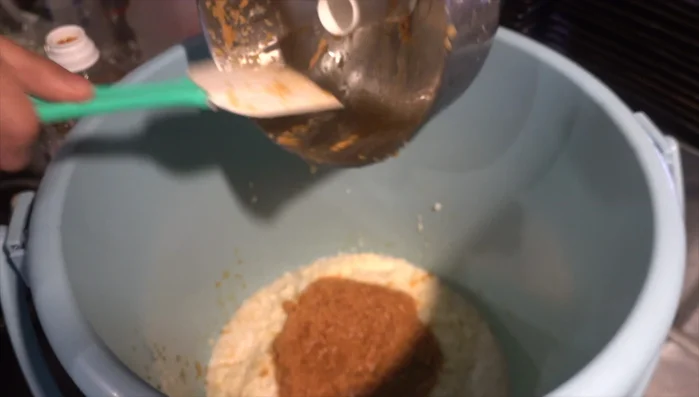
- Combine all the processed ingredients and add more soy sauce, sugar and mix well, taking care not to add too much sugar at once to prevent clumping.
- Add MSG (Umami seasoning) and mix well.
- Add the prepared soup stock and adjust the sauce consistency.
- Gently squeeze the lemon slices (in a mesh bag if desired) and add to the sauce. Similarly, knead the green onions for flavor, then add to the sauce.
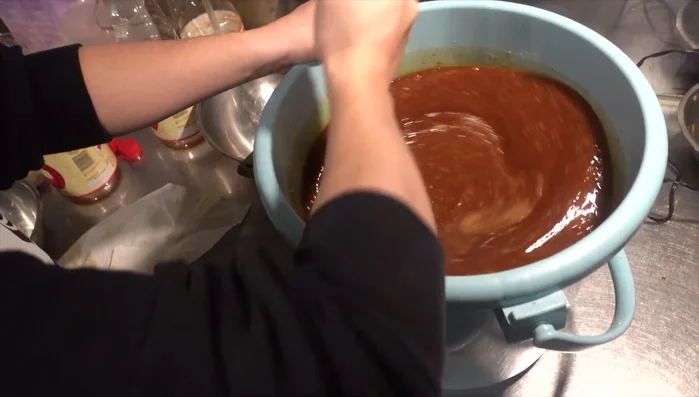
- Mix the sauce thoroughly.
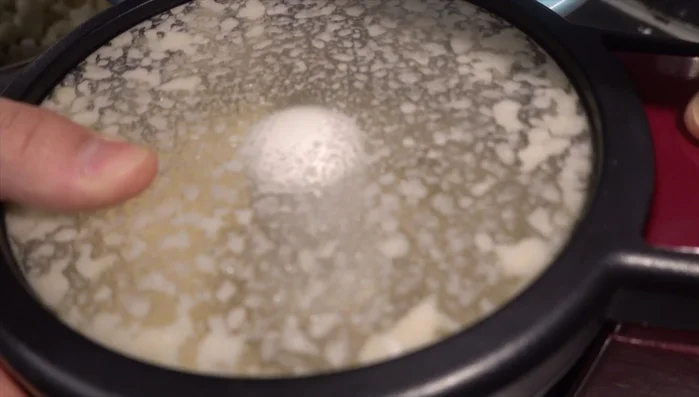
Step 4. Prepare the dashi (optional)
- Prepare the soup stock by soaking kelp in water. (This step is implied, no specific time is given)
Read more: Shojin Ryori: Delicious Buddhist Vegetarian Recipes
Tips
- Save the ginger skin to reduce meat odor.
- Don't add all the sugar at once to avoid clumping.
Nutrition
- N/A
FAQs
1. Can I use a different type of fruit, like peaches or mangoes?
While apples and pears are traditional, you can experiment! Peaches and mangoes will add a different sweetness and complexity. Just be mindful that the sweetness level may vary, so you might need to adjust the sugar accordingly.
2. How long will the Yakiniku sauce last?
Store your sauce in an airtight container in the refrigerator. It should last for about 2 weeks. Always ensure it's properly cooled before storing.
3. Can I make this sauce without mirin?
Mirin adds a unique sweetness and depth of flavor, but if you don't have it, you can substitute with a combination of 1 tablespoon of sake and 1 teaspoon of sugar. The flavor will be slightly different, but still delicious!
So there you have it – your very own authentic Japanese Yakiniku sauce, ready to elevate your grilling game. With its perfectly balanced flavors, this recipe will transform your next barbecue into an unforgettable culinary experience. Now go forth and impress your friends and family with this restaurant-quality sauce!